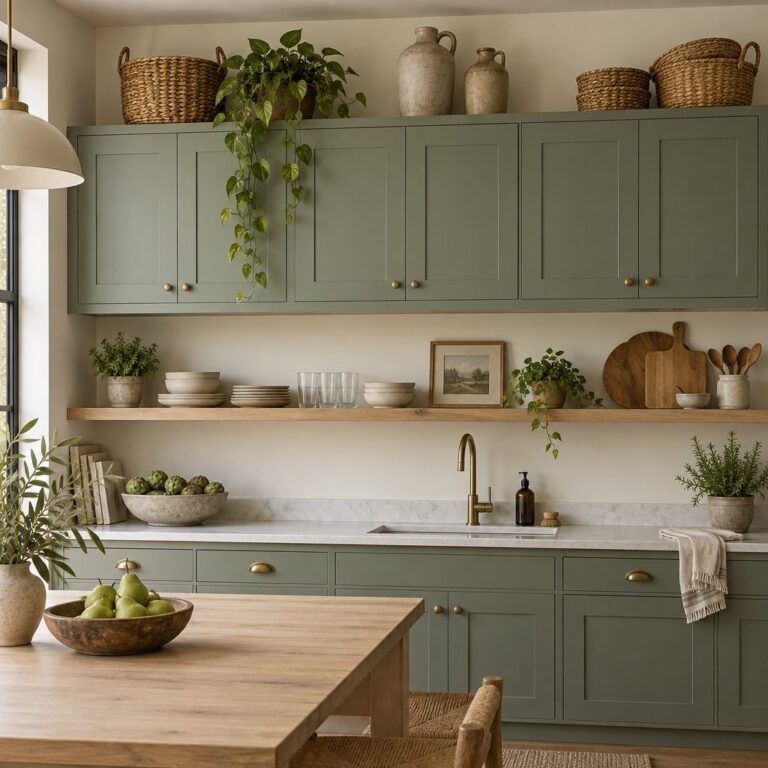
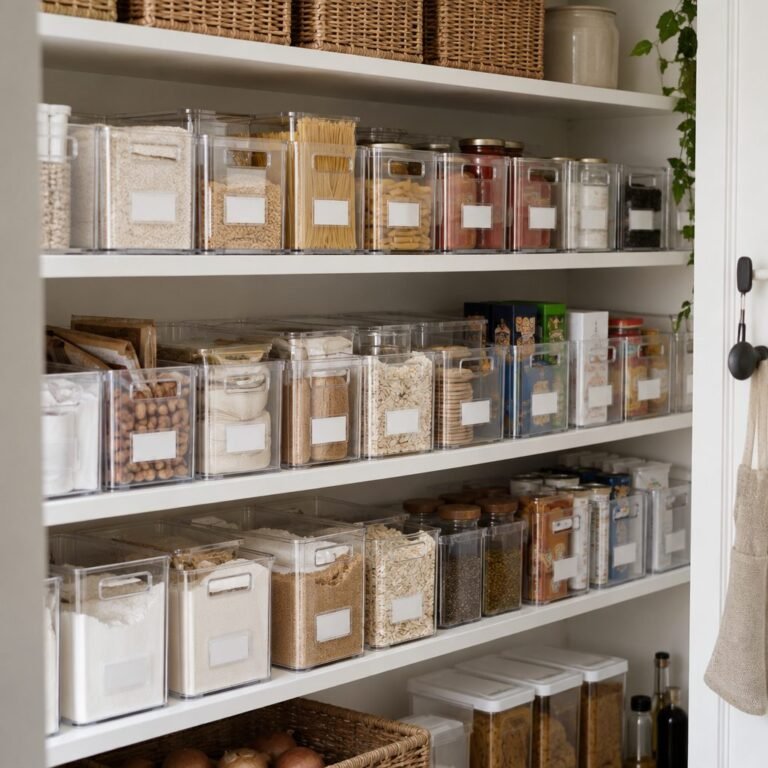
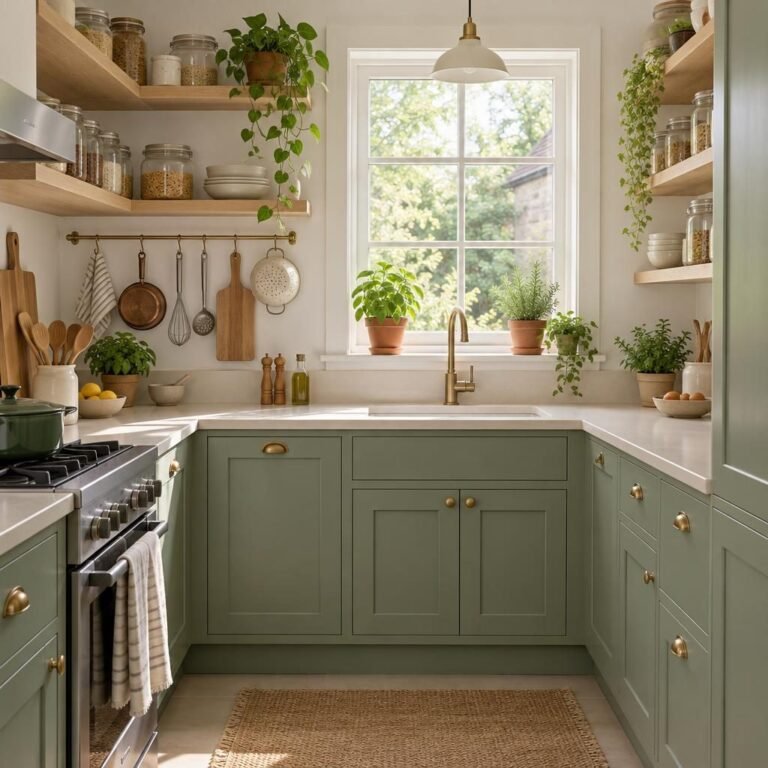
Pantry shelving ideas make the biggest difference before a single jar goes in. The right shelves, at the right depth and spacing, decide whether your pantry is easy to use or a place where food disappears at the back. Many pantries come with a few deep, fixed shelves spaced too far apart, which wastes space and hides what you own.
This guide covers how far apart and how deep pantry shelves should be, the best shelving for walk-in and small pantries, the main shelf types, and how to build your own simple pantry shelves.
Key Takeaways
- Quick answer: The best pantry shelving ideas start with depth and spacing: main shelves 16 to 20 inches deep, a top shelf around 12 inches, and each gap set to the tallest item plus about 2 inches, ideally on adjustable shelves.
- Pantry shelves 16 to 20 inches deep work for most food; 12 inches is enough up top.
- Space shelves to fit what you store, from cans to cereal boxes and bulk items.
- Leave the bottom shelf high enough for bins and heavy items.
Time: 1 hour to a weekend · Cost: $50–400 · Difficulty: Easy to Moderate
Pantry Shelf Spacing and Depth Guide
Good pantry shelves are planned around what you store. Cans need very little height, cereal boxes need more, and small appliances need the most. Depth matters just as much: shelves that are too deep make it easy to lose things at the back.
These numbers come from a professional closet builder interviewed by The Kitchn: main shelves 16 to 20 inches deep, a top shelf around 12 inches deep, the bottom shelf 20 to 24 inches off the floor, and at least 2 inches of clearance above the tallest item. Spacing ranges from about 6.5 to 7 inches for cans up to 18 to 20 inches for large items. A simple rule for pantry shelf spacing: measure the tallest item you plan to keep on each shelf and add about 2 inches (5 cm). To skip the math, enter your wall height and your tallest items in our free shelf spacing calculator and it works out the gaps for you.
Quick Pick: Pantry Shelving Ideas by Pantry Type
| Your pantry | Best shelving ideas |
|---|---|
| Walk-in pantry | Wraparound U-shaped shelves (#1), counter-height shelf (#2), curved corners (#3) |
| Small reach-in pantry | Adjustable shelves (#5), door rack (#6), shallow shelves (#7) |
| Pantry with deep shelves | Pull-out drawers (#11), baskets (#12), risers (#8) |
| Tight budget or DIY | Wood cleat shelves (#13), plywood shelves (#14), freestanding units (#15) |
Walk-In Pantry Shelving Ideas
1. Wrap shelves around three walls
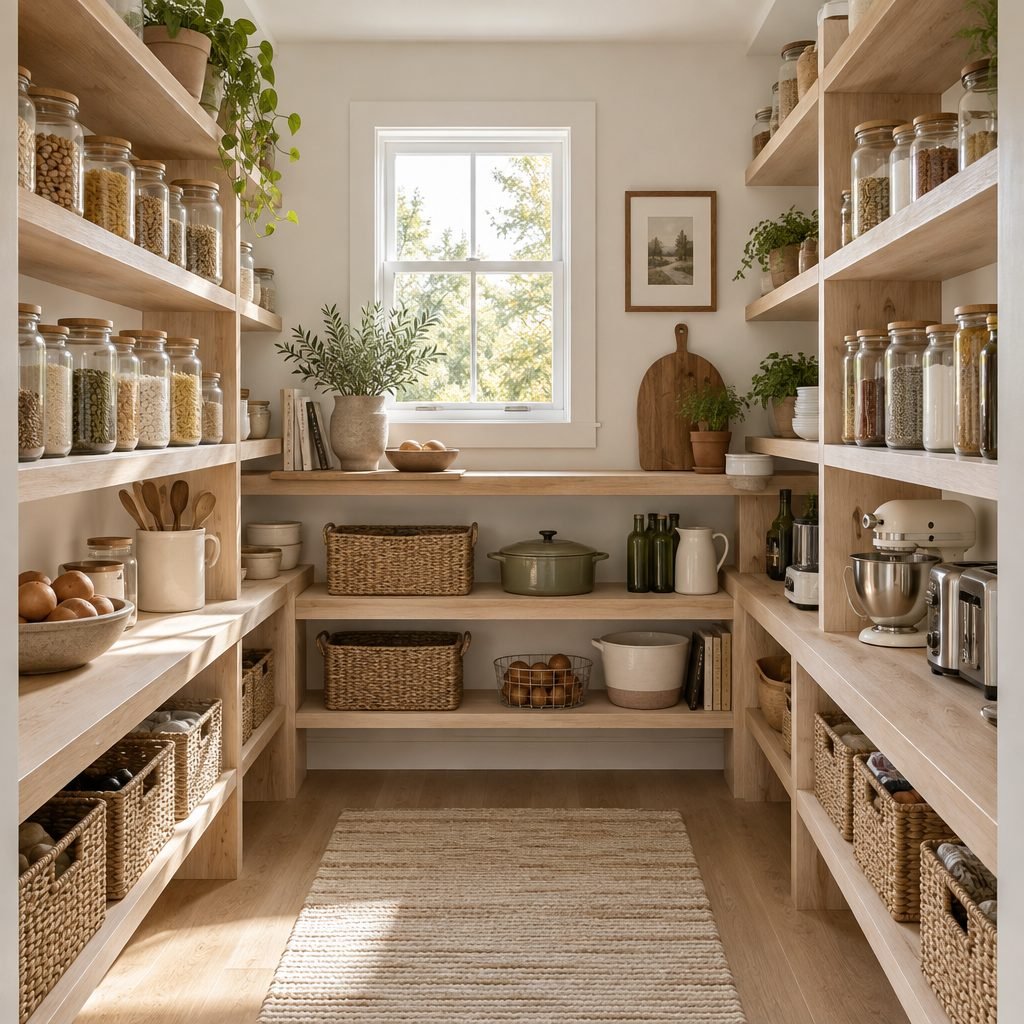
In a walk-in pantry, U-shaped shelves on three walls give you the most storage while keeping a clear path in the middle. Keep the most-used food on the shelves right in front of you and less-used items on the sides. If your walk-in is narrow, make the side shelves shallower than the back wall so the walkway stays comfortable.
2. Make one shelf counter height
A deeper shelf at roughly counter height works as a landing spot for grocery bags and a home for small appliances you use often, like a toaster or stand mixer. Standard kitchen counters sit about 36 inches off the floor, so a shelf near that height is comfortable to work on. Put an outlet nearby only if an electrician confirms it is safe, and keep appliances you run there clear of paper bags and packets.
3. Curve the corners
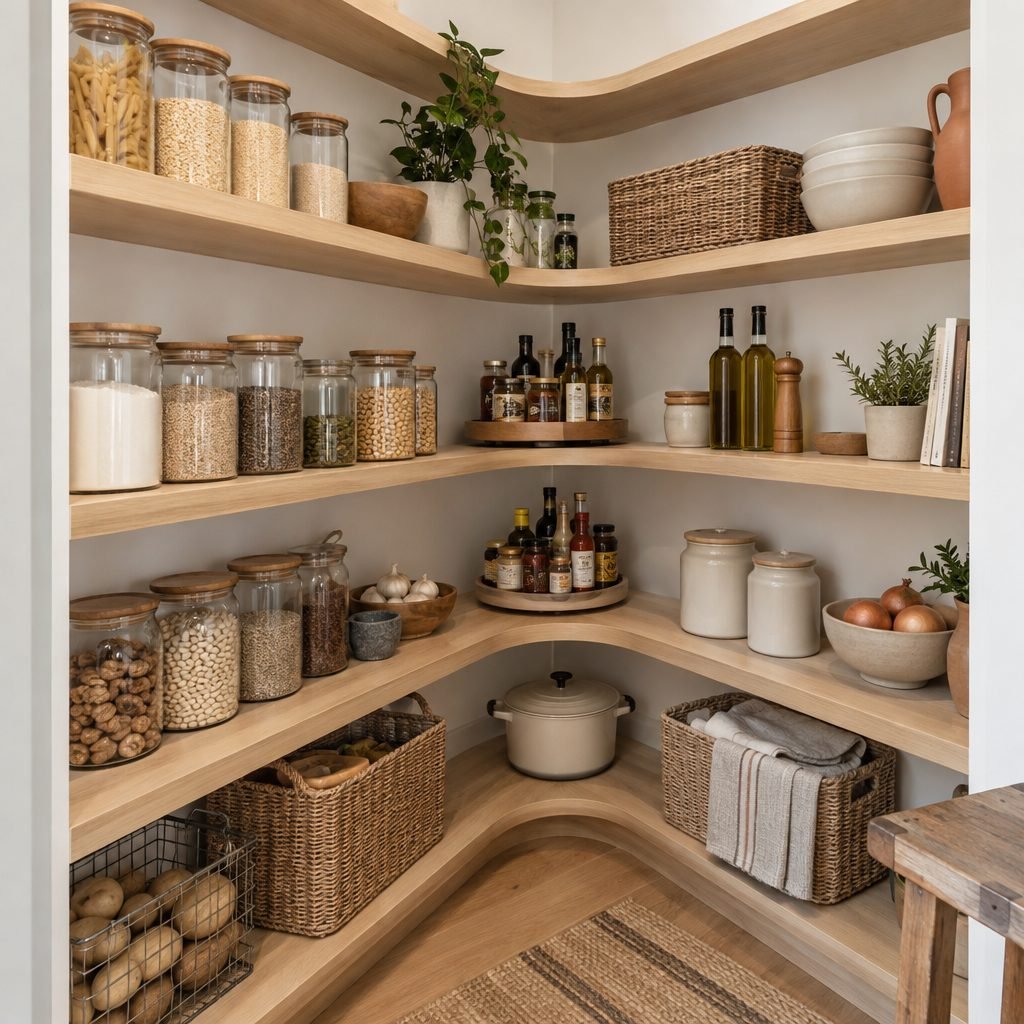
Square corners create dead space where two shelves meet. Curved or wraparound corner shelves connect the walls smoothly, so you can reach into the corner without moving everything in front.
4. Add a turntable in the corner
If your corners are square, a lazy susan turns the hardest spot into one of the easiest. It’s perfect for sauces, oils and condiments.
Small Pantry Shelf Ideas
5. Choose adjustable shelves
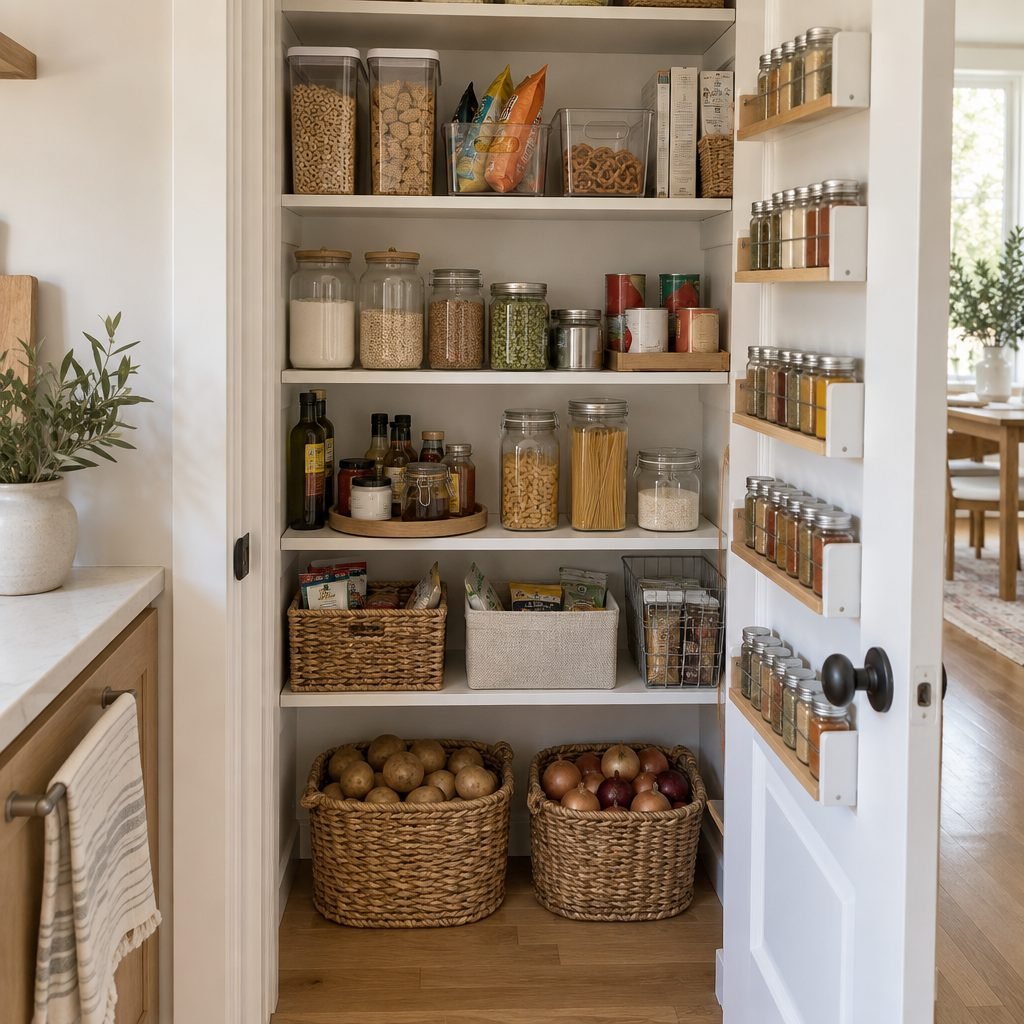
Small pantry shelving ideas all start with flexibility. Adjustable shelves let you set each gap to fit what you actually store, so you don’t waste inches above short cans or crush cereal boxes under a low shelf. In a small pantry, even one extra shelf squeezed into the space above short items can add a surprising amount of storage.
6. Use the back of the door
A slim door rack holds spices, small jars and packets, adding a whole column of storage to a reach-in pantry without taking any shelf space. Before you buy one, check how far the rack sticks out from the door and how deep the front of each shelf is, so the door still closes without hitting anything.
7. Add shallow shelves for cans and spices
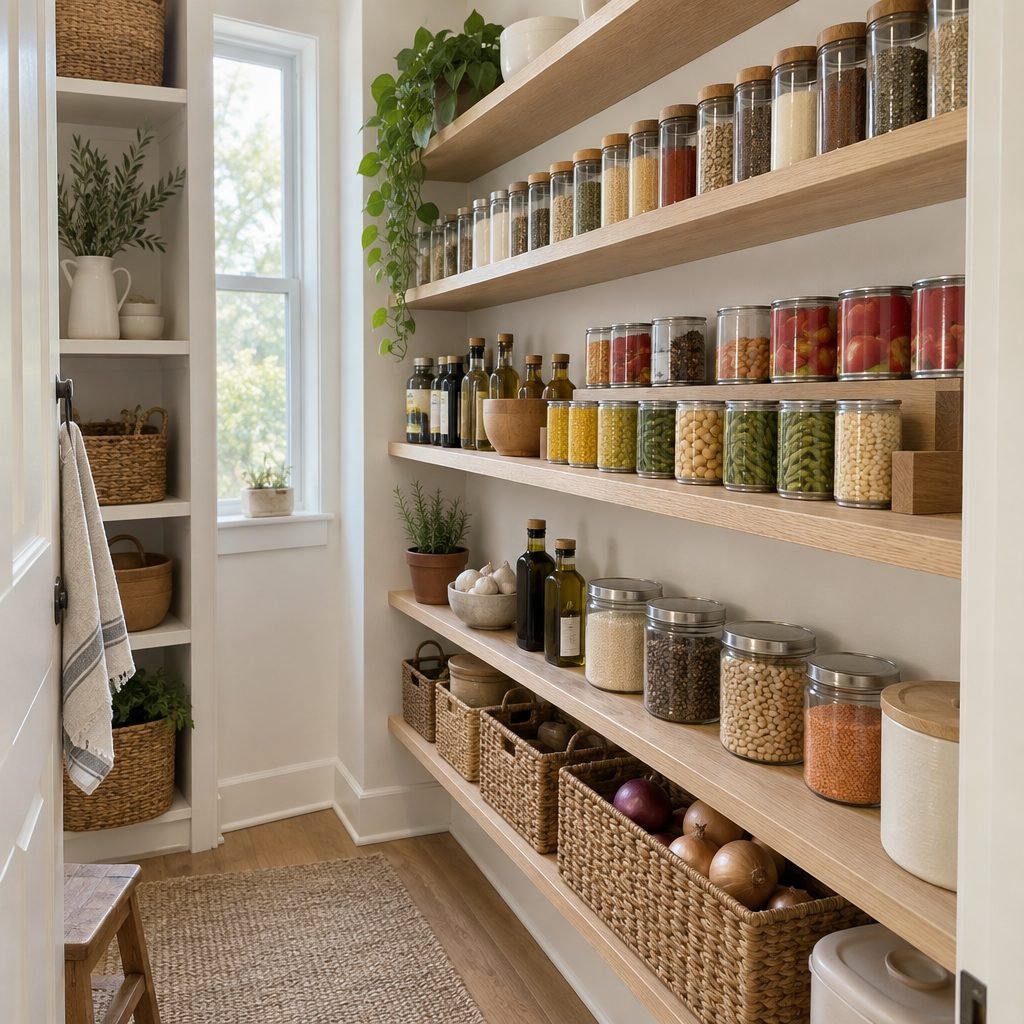
Shelves only a few inches deep hold a single row of cans or spice jars, so every label is visible and nothing hides behind something else. They’re ideal for the side walls of a walk-in or the back of a narrow pantry.
8. Use risers on existing shelves
Tiered can risers and shelf risers add a second level on a shelf, which is an easy fix when the spacing is fixed and too tall. Measure the gap first: a three-step can riser needs room for the top step plus a can, so it only works where there is plenty of height above the shelf.
Pantry Shelf Types to Consider
9. Adjustable track systems
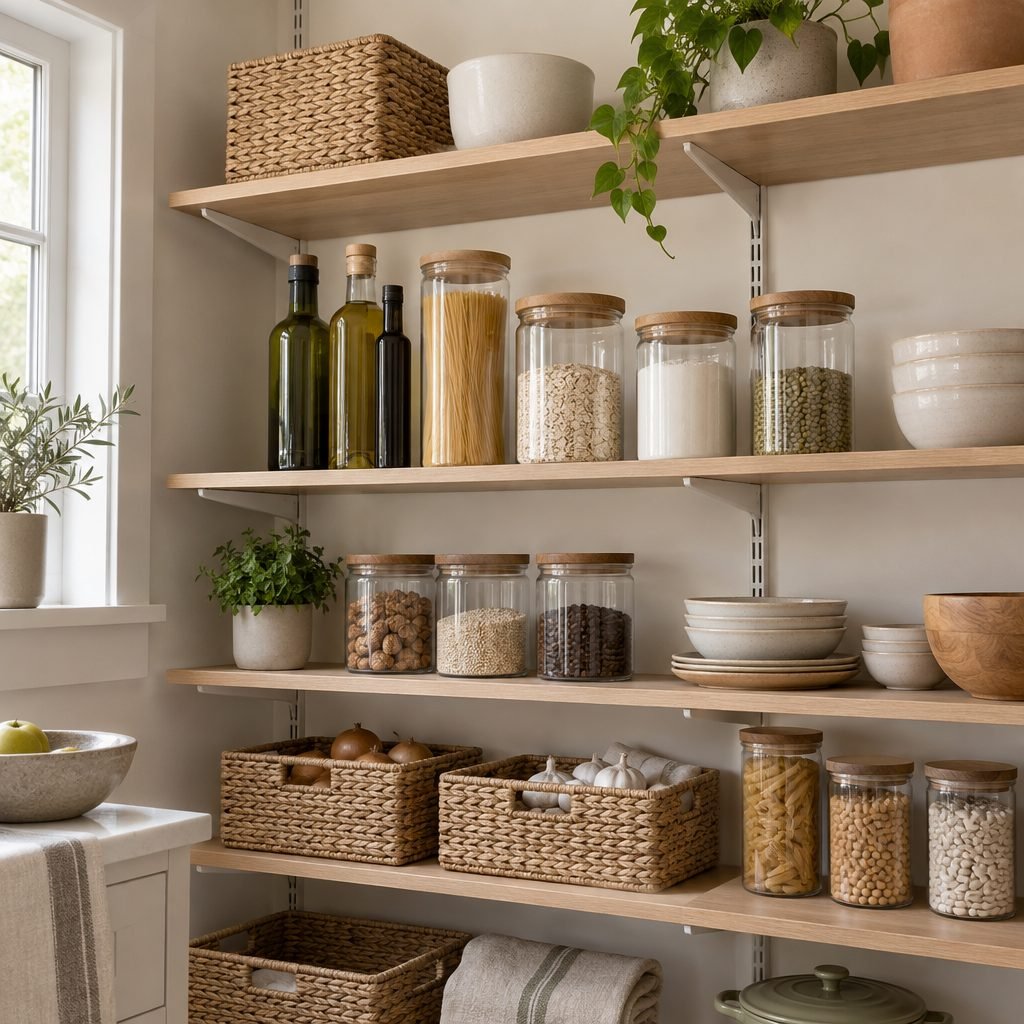
Wall-mounted tracks with brackets let you move shelves up or down in minutes. They’re a great choice if your storage needs change or you’re not sure of the right spacing yet.
10. Wire vs. wood shelves
Wire shelving is affordable, easy to install and lets air flow, but small jars can tip on the gaps. A shelf liner fixes that. Wood shelves look warmer and give a flat, solid surface, but they cost more and should be sealed so spills wipe clean. Many people mix the two: wire shelves in the pantry closet for bulk storage, and wood shelves where they show.
11. Pull-out drawers for the bottom
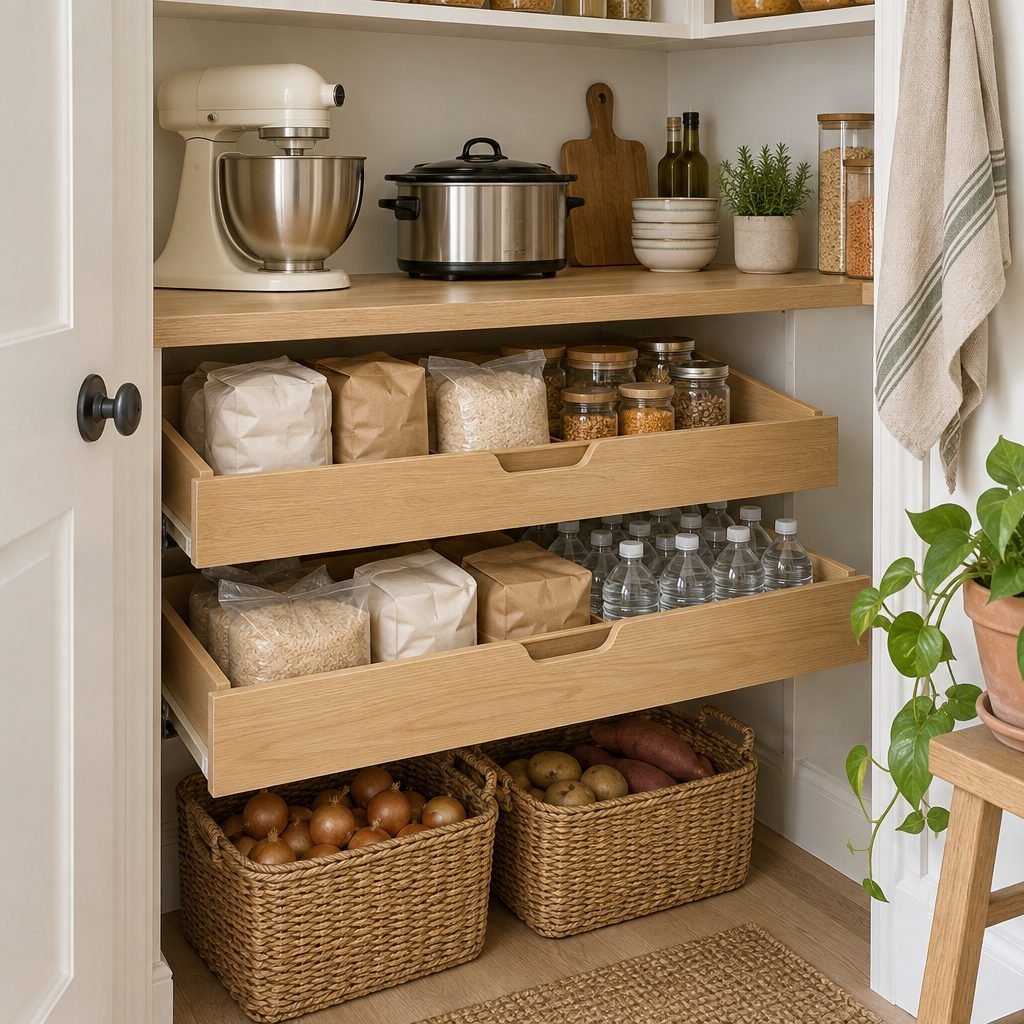
The lowest part of a pantry is the hardest to see. Pull-out drawers bring bulk bags, drinks and heavy items out to you. If your pantry already has deep shelves, our guide on how to organize a pantry with deep shelves covers more ways to fix them.
12. Baskets on the lowest shelf
Woven baskets or bins on the floor or bottom shelf hold potatoes, onions and bulk snacks, and they pull out like drawers without any installation. Keep potatoes and onions in separate baskets, since onions can make potatoes sprout sooner, and add a label to the front of each basket so you can see what is inside without pulling it out.
DIY Pantry Shelving Ideas
13. Build simple cleat shelves
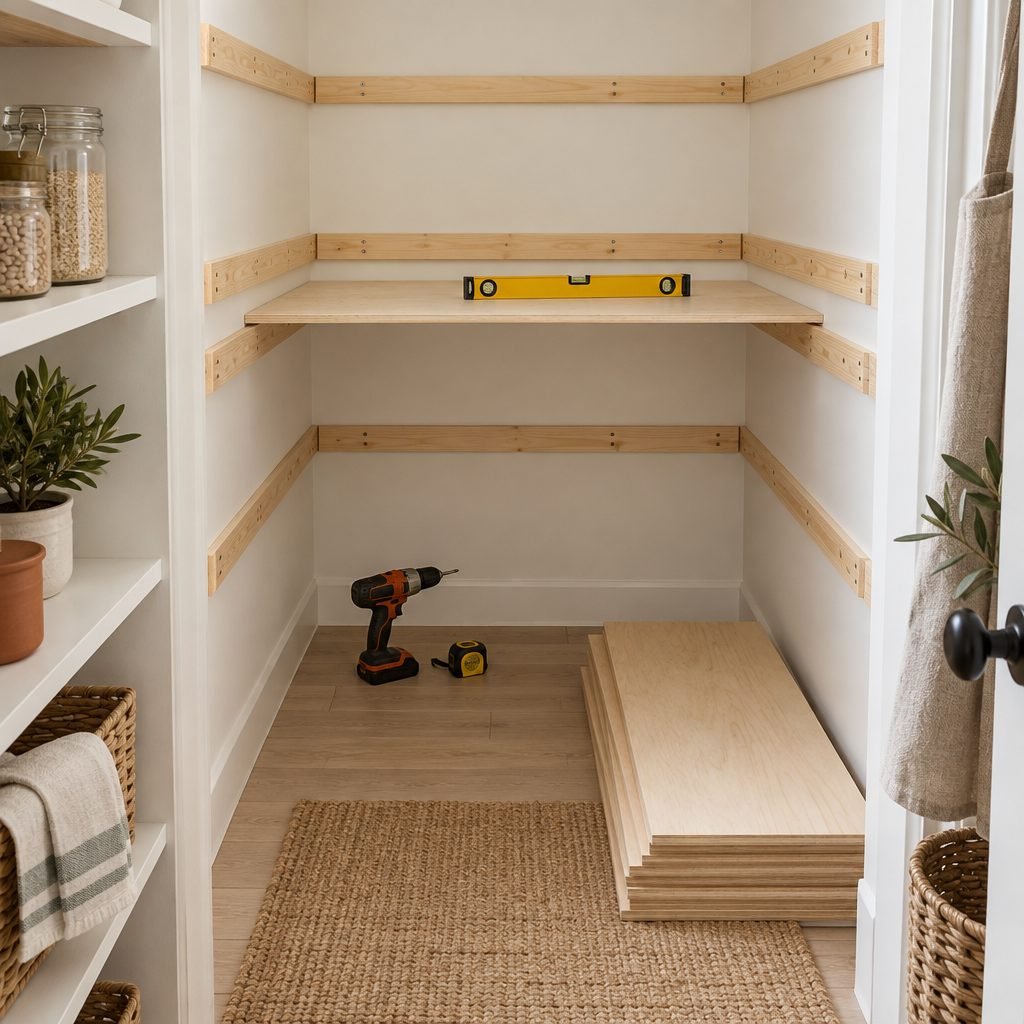
The easiest way to build your own pantry shelves is with wood cleats: strips of wood screwed to the wall studs along the back and sides, with a shelf board resting on top. Use a level for every cleat and screw into studs wherever possible. Our DIY floating shelves guide explains how to find studs and choose the right fasteners.
14. Use plywood with a finished front edge
Plywood is strong and budget-friendly. Add a strip of solid wood or edge banding to the front edge to hide the layers and stiffen the shelf, then paint or seal the shelves so they’re easy to wipe clean.
15. Try freestanding shelving units
If you rent or can’t drill, freestanding shelving units fit in a pantry closet and move with you. Choose units with adjustable shelves, and anchor tall units to the wall if they could tip.
16. Turn awkward spaces into pantry storage
If your kitchen doesn’t have a pantry, a pull-out cabinet or shelves in another spot can work. Our under stairs storage ideas include a pull-out pantry that fits in a surprisingly small space.
How to Plan Pantry Shelves in 5 Steps
- Empty and sort. Group what you store: cans, jars, boxes, bulk items and appliances.
- Measure. Note the wall widths, depth and height of your pantry.
- Set the depth. Main shelves 16 to 20 inches, the top shelf around 12 inches, shallow shelves for cans.
- Space by item. Match each gap to the tallest item plus about 2 inches.
- Plan the bottom. Leave the lowest area for baskets, drawers or heavy bulk items.
Once the shelves are in, our pantry organization ideas show exactly what to put on each level.
Common Pantry Shelving Mistakes
- Shelves that are too deep. Food at the back gets forgotten and expires.
- Equal spacing everywhere. Cans and cereal boxes need very different heights.
- Ignoring the corners. Square corners without a turntable become dead space.
- Skipping the studs. Loaded pantry shelves are heavy and need solid support.
- Unsealed wood. Spills soak in and stain unless the shelves are painted or sealed.
Pantry Shelving FAQ
How deep should pantry shelves be?
A common recommendation is 16 to 20 inches for main shelves and around 12 inches for the top shelf. Shallow shelves only a few inches deep work well for cans and spices.
How far apart should pantry shelves be?
Around 6.5 to 7 inches for cans, 14 to 16 inches for cereal boxes and 18 to 20 inches for large items, with the bottom shelf 20 to 24 inches off the floor.
What is the best material for pantry shelves?
Wood looks good and gives a solid surface but should be sealed. Wire is cheaper and easy to install, and a shelf liner keeps small items from tipping.
What is the cheapest way to build pantry shelves?
Wood cleats screwed to the wall studs with plywood or pine boards on top are one of the most affordable DIY options.
What shelves work best in a small pantry?
Narrow reach-in pantries can use shallow 10 to 12 inch shelves on adjustable tracks, a rack on the back of the door and risers for cans. Together these add usable space without making things harder to see.
Planning open shelves on a wall instead? The same shelf spacing calculator works for any wall, not just the pantry.
Final Thoughts
The best pantry shelving ideas are the ones planned around your food: shallow shelves for cans, taller gaps for boxes, a strong bottom for heavy items, and depths that keep everything in view. Get the shelves right first, and organizing the pantry becomes much easier.
Save this guide to Pinterest for when you plan your pantry.
How this guide was made: researched and written with the help of AI tools, fact-checked against trusted sources and published by Mohamed Elber. Images are AI-generated illustrations. See our Editorial Policy.