A pantry rarely gets messy because it’s too small. It gets messy because nothing has a fixed place: the pasta ends up behind the cereal, the third jar of cinnamon hides behind the flour, and the snacks spread onto every shelf.
This guide shows you how to organize a kitchen pantry so it stays that way. It starts with a simple zone map that tells you what belongs on each shelf. Then it walks you through a 7-step reset and 22 pantry organization ideas for containers, cans, doors, snacks and small pantries. Most of them work in a walk-in, a reach-in closet or a single kitchen cabinet.
Key Takeaways
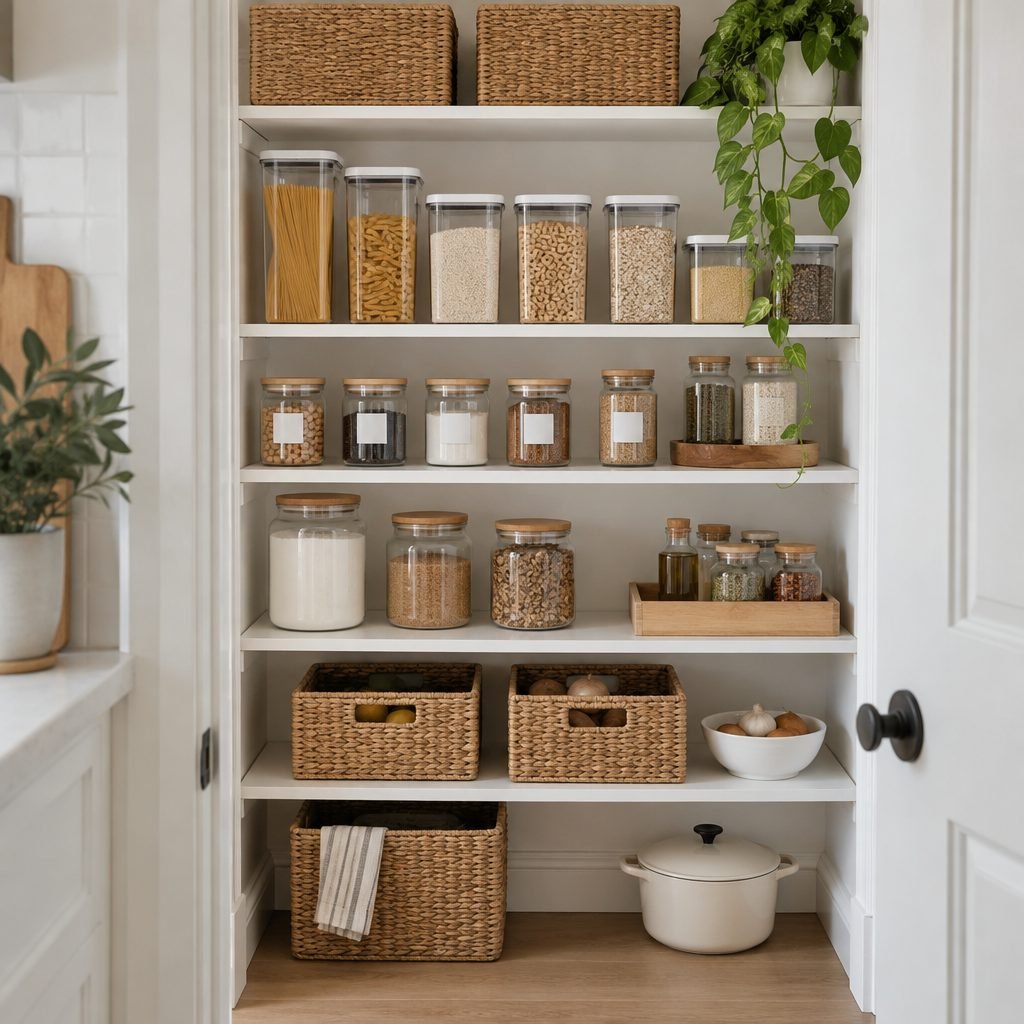
- Quick answer: To organize a kitchen pantry, empty it, toss expired food, group like with like, then give each shelf one job: daily food at eye level, heavy items low and backups high. Contain each group in bins or clear containers and label the shelves.
- Group food by category and give each shelf one job.
- Everyday items go at eye level; heavy and bulk items go on low shelves.
- Clear containers and labels make it easy to see what needs restocking.
Time: 2–4 hours · Cost: $30–150 · Difficulty: Easy
Start With a Pantry Zone Map
Before you buy a single container, decide what each shelf is for. The rule is the same one we use in bathroom organization: the more often you reach for something, the easier it should be to reach.
- Eye level is prime space. Keep the food you use every day here: breakfast, pasta, rice, oils and your own snacks.
- Waist level is for cooking and baking supplies: canned goods, grains, jars and a baking bin.
- Low shelves hold heavy items and anything kids should reach on their own.
- The top shelf is for backups and things you use a few times a year.
- The door is for small, flat items like spices and seasoning packets.
How to Organize a Kitchen Pantry in 7 Steps
Set aside about two hours for an average pantry. Put a trash bag, a box for donations and a damp cloth nearby before you start.
- Empty everything. Take it all out, shelf by shelf, and put it on the counter or table. You can’t see what you have while it’s still in the pantry.
- Check dates and condition. Toss anything past its use-by date, stale or opened too long ago (best-by dates are about quality, so check those items for smell and texture). Check cans too: the USDA’s Food Safety and Inspection Service advises discarding deeply dented, heavily rusted, leaking or bulging cans.
- Clean the empty shelves. Wipe them down and look for crumbs, sticky spots or signs of pantry pests before anything goes back.
- Group like with like. Make piles on the counter: breakfast, pasta and grains, cans, baking, snacks, sauces and oils, spices, backups.
- Assign each group a zone. Use the zone map above. Daily groups go at eye level, heavy groups go low, backups go high.
- Contain each group. Now you know what you’re keeping, so you know which containers and bins you actually need. Measure your shelf height and depth before you buy.
- Label shelves and bins. Labels keep the system working when someone else unpacks the groceries.
22 Pantry Organization Ideas
Containers and Decanting
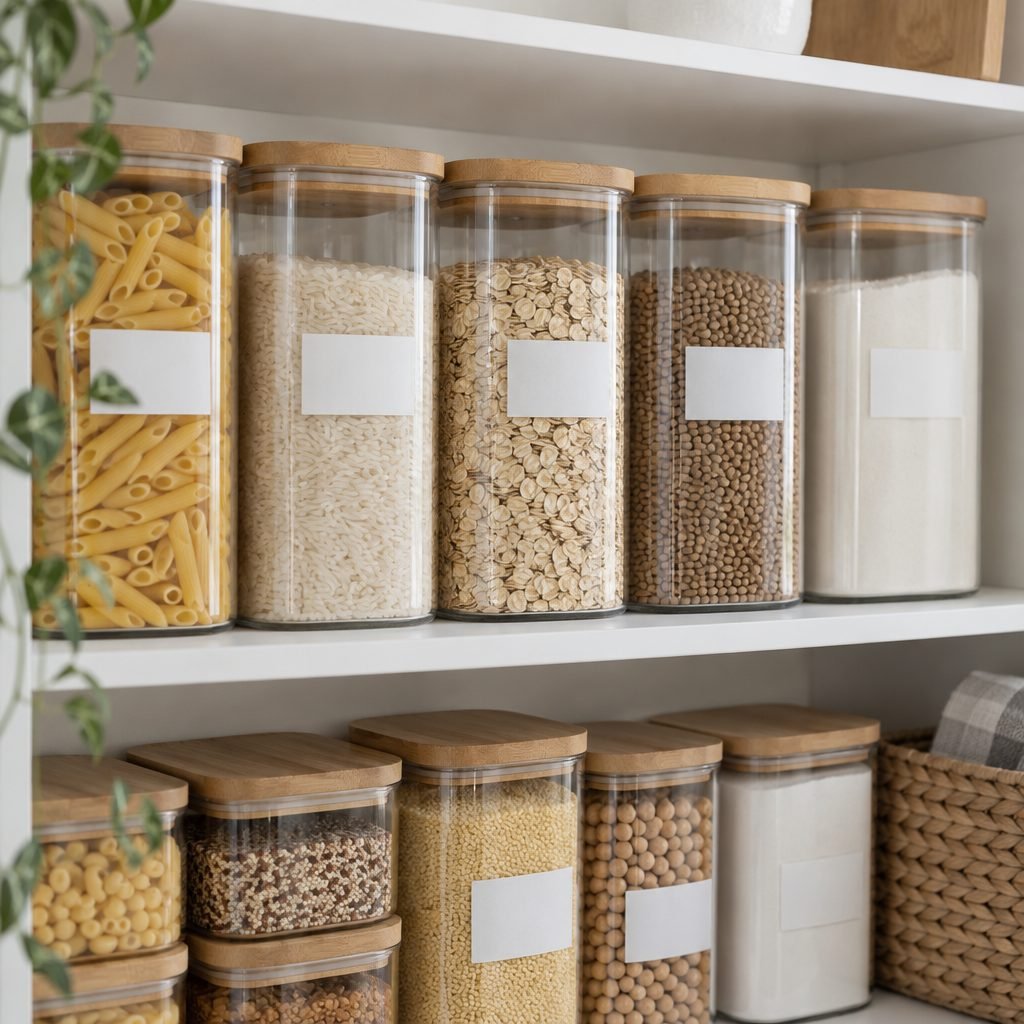
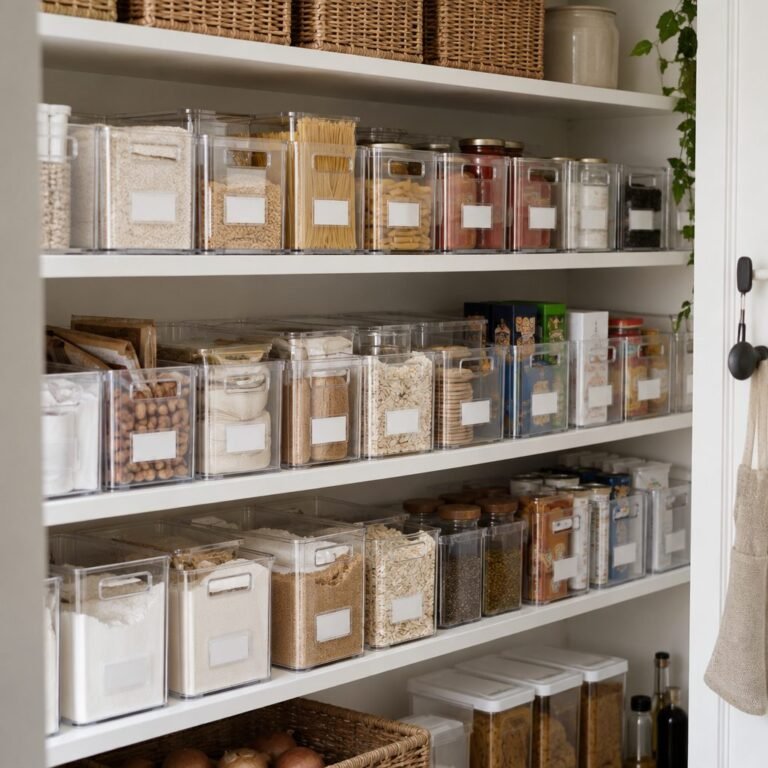
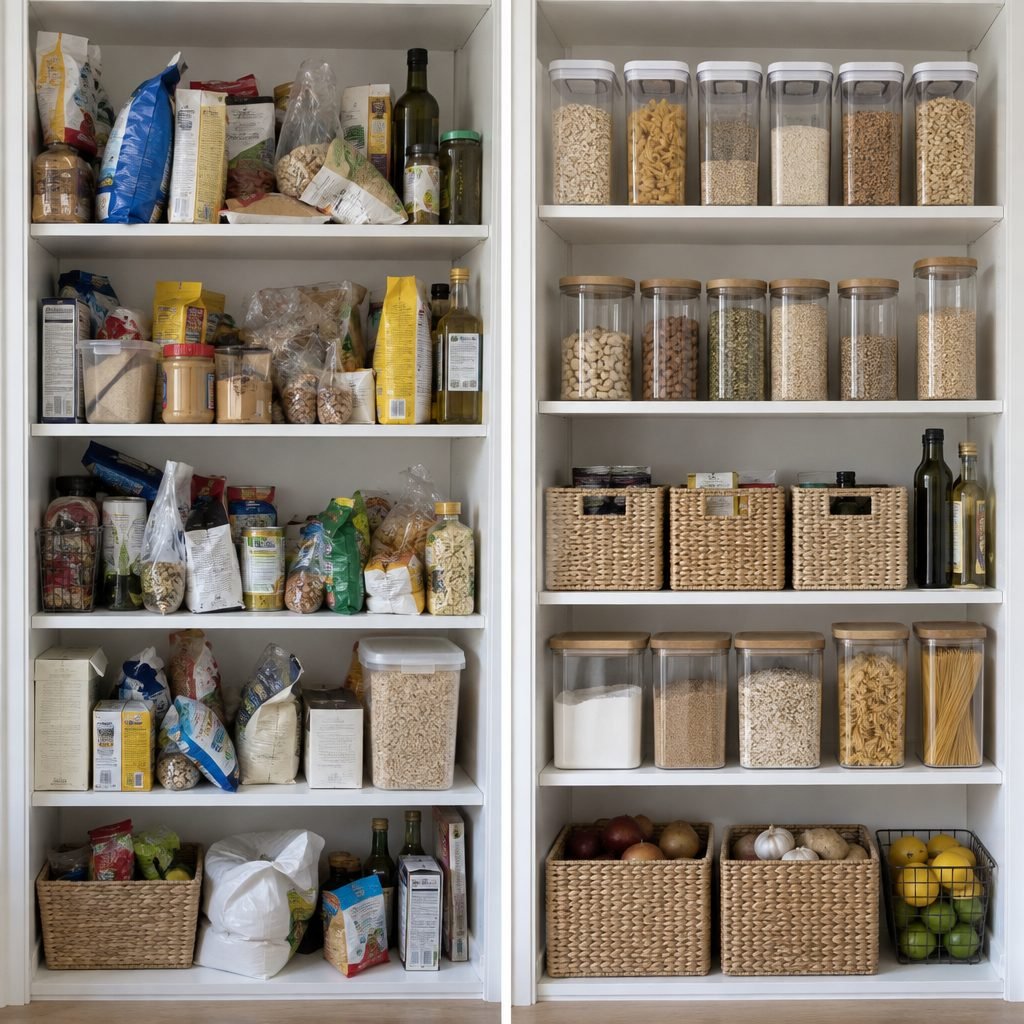
1. Decant the staples you use most. Pasta, rice, oats, flour, sugar and cereal are worth moving into clear airtight containers. You see at a glance when you’re running low, and the food stays fresher than in a folded-over bag.
2. Choose square containers over round ones. Square and rectangular containers sit flush against each other and waste less shelf space than round jars.
3. Keep the expiration date. Cut the date and cooking instructions off the original package and tape them to the back of the container, or write the date on a piece of masking tape.
4. Don’t decant everything. Items you use rarely or buy in small amounts can stay in their packaging inside a labeled bin. Decanting everything adds work after every grocery trip, which makes the system harder to keep up.
Shelves, Cans and Corners
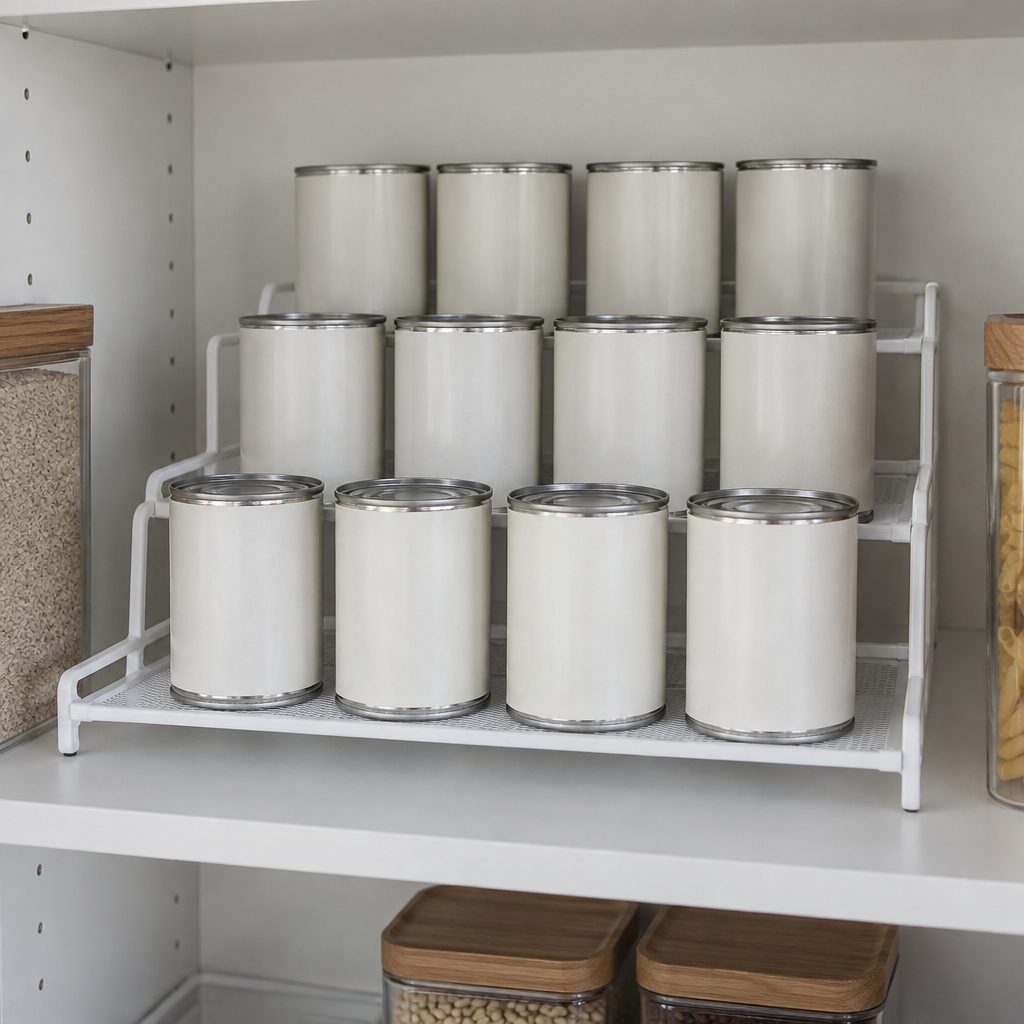
5. Put cans on a tiered riser. A stepped can organizer raises each row so you can read every label. It stops you from buying a fourth can of tomatoes because the other three were hidden at the back.
6. Add shelf risers for short items. A simple wire shelf riser adds a second layer in the space above short jars and cans, which is often wasted on tall pantry shelves.
7. Use pull-out bins on deep shelves. On shelves deeper than your arm, group items in long bins with handles. Pull the bin out like a drawer instead of reaching blindly into the back. For a full walkthrough, see our guide on how to organize a pantry with deep shelves.
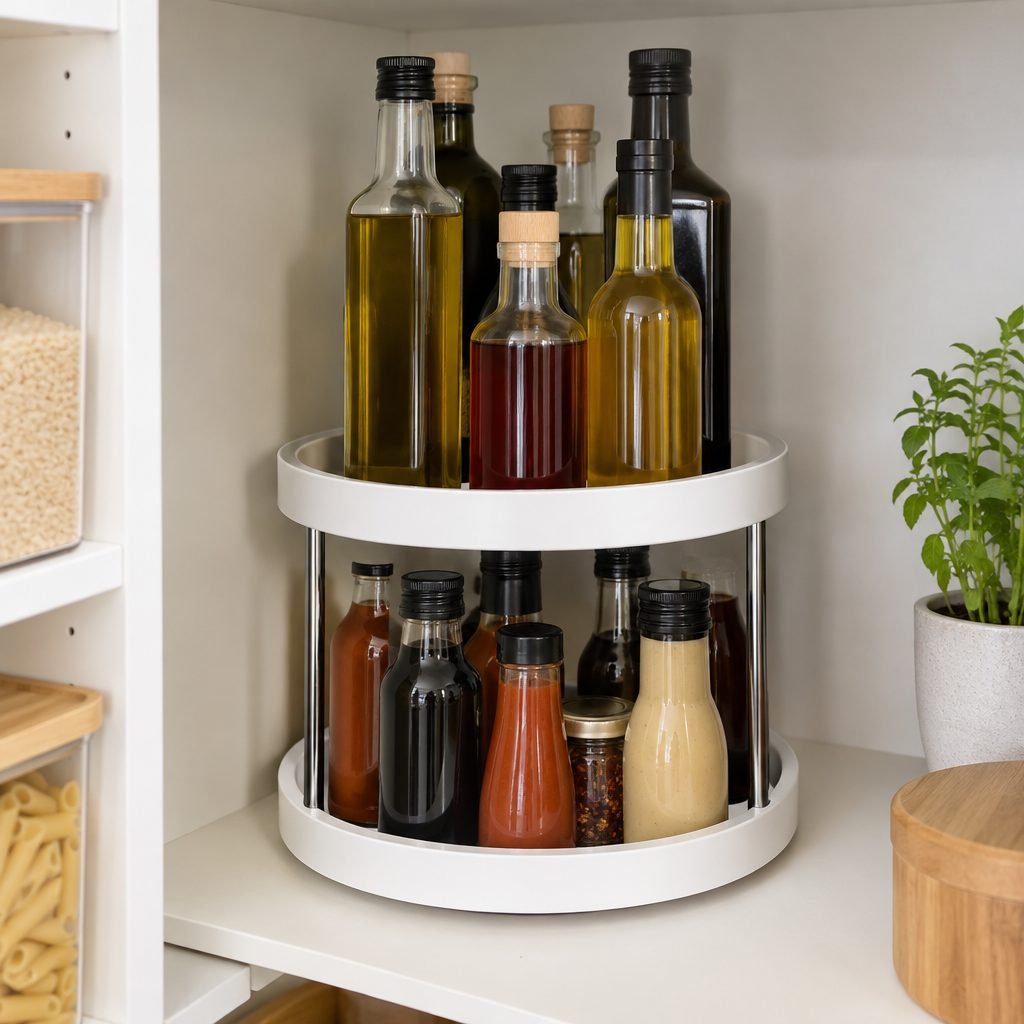
8. Put a lazy Susan in the corners. Corners are where things go to be forgotten. A turntable brings oils, vinegars and sauces to the front with one spin.
9. Group by meal, not just by food type. A “taco night” or “pasta night” bin holds everything for one meal, so dinner starts with grabbing one bin instead of searching three shelves.
10. Store cans where it’s cool and dry. The USDA recommends keeping canned and shelf-stable foods in a cool, dry place, below 85°F, and never above or beside the stove, under the sink or in a damp garage. If your pantry backs onto the oven wall, keep cans on the opposite side.
Doors and Walls
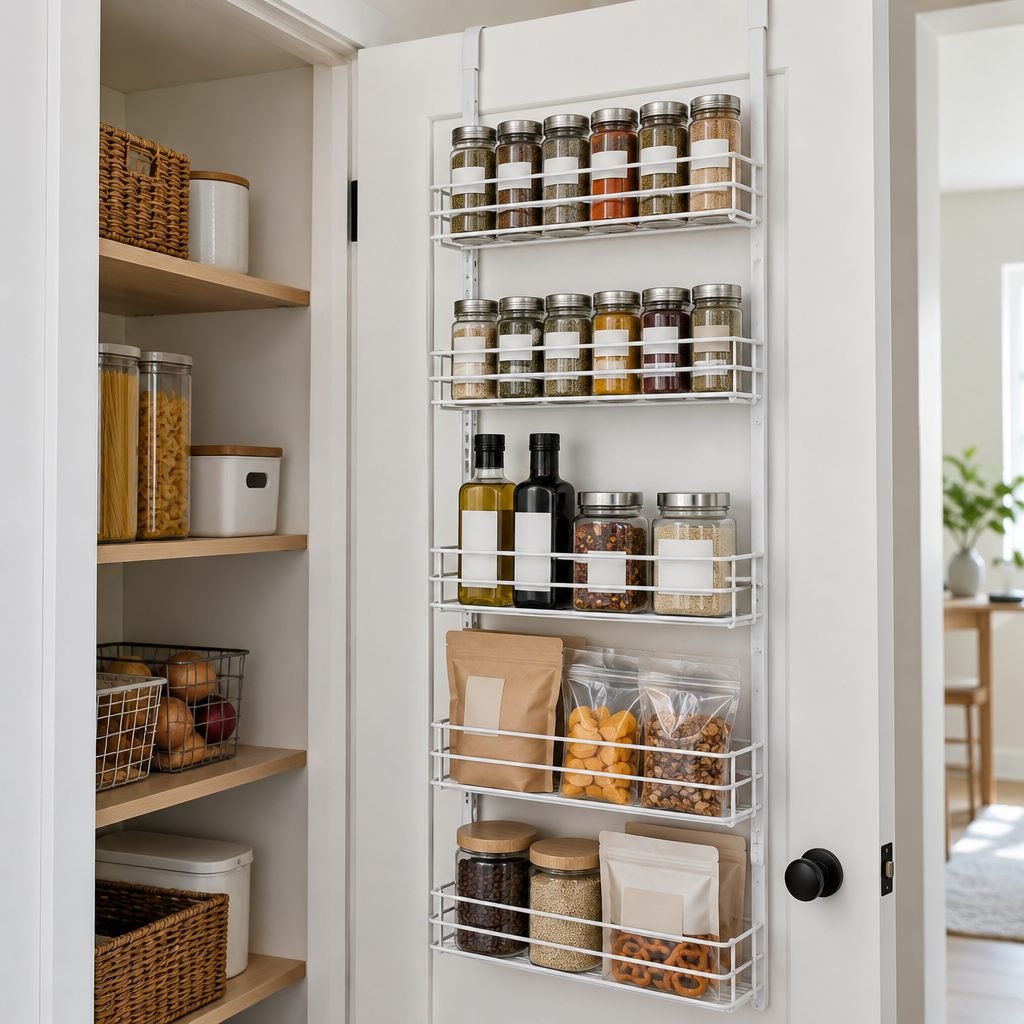
11. Hang an over-the-door rack. The back of the pantry door is one of the most underused storage spots in the kitchen. A door rack holds spices, small bottles, seasoning packets and snack bars in shallow rows where nothing can hide. Check how much depth your door can take when closed before you buy one.
12. Use adhesive hooks for bags and aprons. A few hooks on the inside wall or door hold reusable shopping bags, aprons and a small broom.
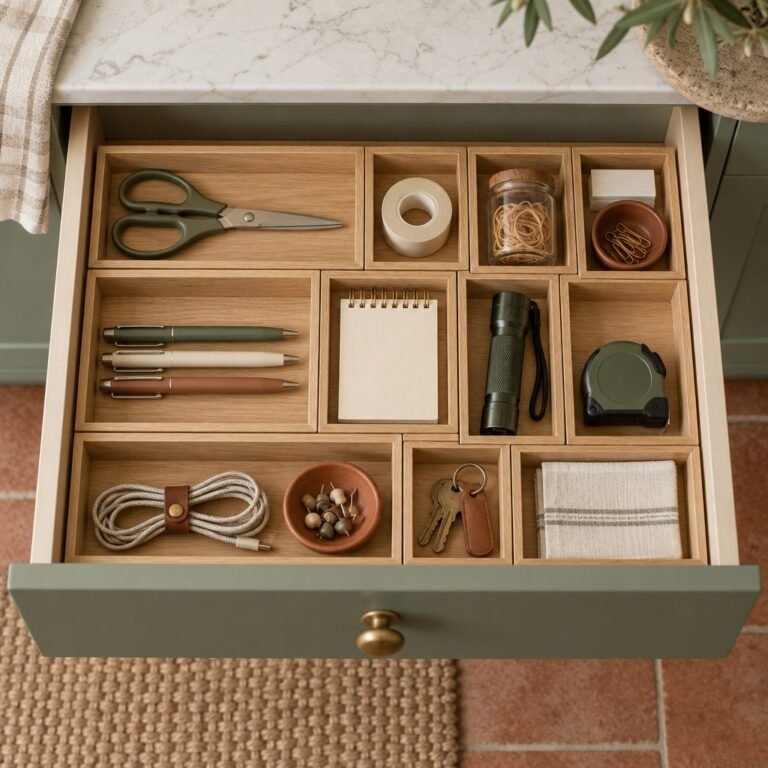
13. Keep spices in one row, one layer deep. Spices stacked two or three deep are a common reason for buying duplicates. A door rack, a narrow step shelf or a drawer insert keeps every jar visible. If your spices live in a kitchen cabinet instead, our spice cabinet organization guide shows the best setups for upper, corner and narrow cabinets.
Snacks and Kids
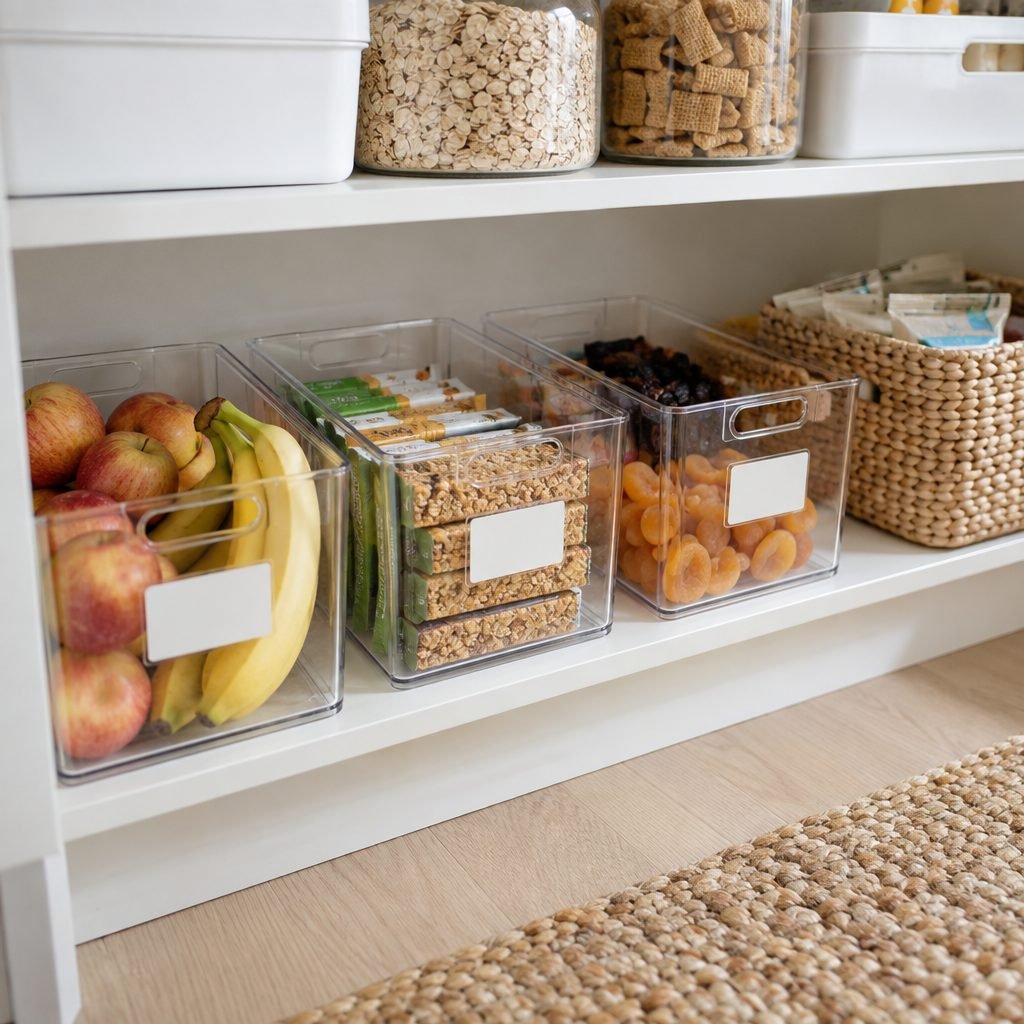
14. Create a grab-and-go snack zone. Put kids’ snacks in clear bins on a low shelf, sorted by type: bars, crackers, dried fruit. Kids can help themselves without climbing or moving everything else.
15. Keep treats one level higher. Everyday snacks live at kid height. Sweets and treats go on a higher shelf, so the pantry sets the default for you.
16. Use a basket for open packages. One “eat this first” basket for opened crackers and half-finished bags stops five open boxes of the same thing.
Produce, Bulk and Backups
17. Store potatoes and onions in separate baskets. Keep both in ventilated baskets on a low, dark shelf, but not together. Most storage guides recommend keeping them apart, because onions give off moisture and gases that may make potatoes sprout sooner.
18. Create one overflow shelf with a limit. Bulk buys and backups go on the top shelf and nowhere else. When that shelf is full, you shop from it before buying more.
19. Use first in, first out. When you unpack groceries, put the new items behind the older ones. It’s the simplest way to waste less food.
Small Kitchen Pantry or No Pantry at All
20. Use the space under each shelf. Under-shelf baskets hang from the shelf above and use the air gap that’s usually empty. They’re ideal for bread, wraps and snack packets.
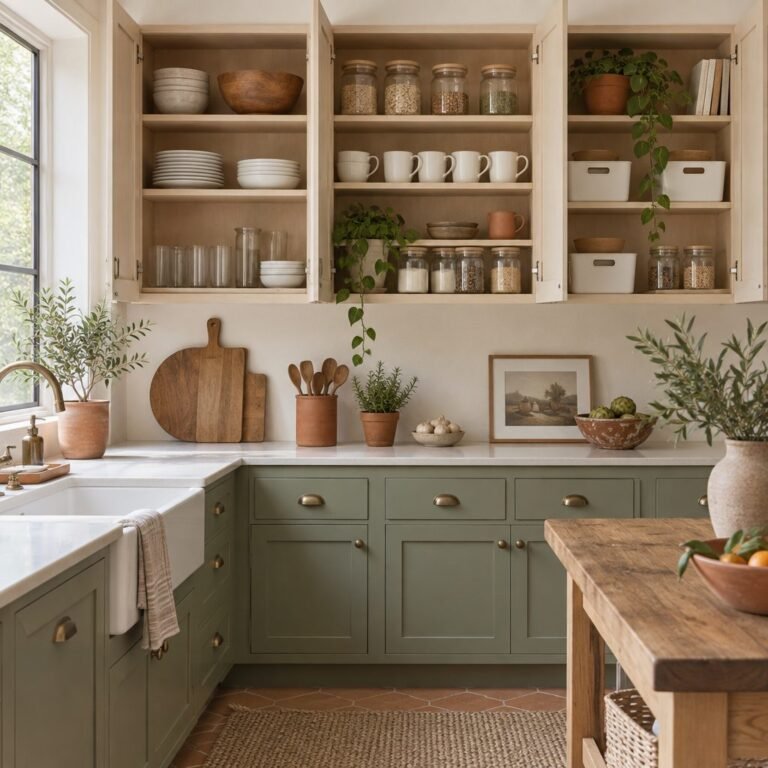
21. Turn a cabinet or bookcase into a pantry. No pantry? Pick one tall kitchen cabinet or a bookcase near the kitchen and apply the same zone map: daily food in the middle, heavy items low, backups high. Bins with labels make open shelves look tidy. If you’re spreading food across several cabinets, our guide on how to organize kitchen cabinets shows how to zone them so food stays in one area.
22. Add a slim rolling cart. A narrow cart fits in the gap beside the fridge or between the counter and the wall. It holds cans, jars or oils, then rolls out when you need them.
The 10-Minute Pre-Shopping Reset
A pantry stays organized with a short habit before each big grocery trip:
- Minutes 1–3: put anything that wandered back into its zone.
- Minutes 4–6: move older items to the front and check the “eat this first” basket.
- Minutes 7–8: wipe up crumbs or spills on the shelves.
- Minutes 9–10: look at what’s missing and write your shopping list from the empty spots.

Save the checklist
The whole pantry zone map on one page. Pin it so you have it next time you unload the groceries.
Save to PinterestCommon Pantry Organization Mistakes
- Buying containers first. Sort and measure first, then buy. Otherwise you end up with containers that don’t fit your food or your shelves.
- Using the top shelf for daily food. If you need a step stool every morning, the system will quickly fall apart.
- Stacking things more than one row deep without a bin. Anything in the second row gets forgotten.
- Labeling containers but not shelves. Shelf labels tell everyone where things go back, not only what’s inside.
Pantry Organization FAQ
What is the best way to organize a kitchen pantry?
Sort your food into categories, then give each category a zone based on how often you use it: daily food at eye level, heavy items low, backups high. Contain each category in bins or clear containers and label the shelves.
How do I organize a small pantry with deep shelves?
Use long pull-out bins so the back of the shelf becomes a drawer, add risers for cans and short jars, and put a rack on the door for spices and small items. Our deep pantry shelves guide covers this step by step.
How do you organize a small kitchen without a pantry?
Choose one tall cabinet, or two cabinets side by side, as your pantry and keep all dry food there instead of scattering it around the kitchen. Use the same zones: daily food at eye level, heavy items low, backups up high. Add a shelf riser, a door rack and a slim rolling cart beside the fridge to gain extra space without new cabinets.
Should I decant all my pantry food into containers?
No. Decant the staples you use often, like pasta, rice, oats and cereal. Keep the rest in its original packaging inside labeled bins. It’s faster to maintain and works just as well.
How often should I clean out my pantry?
Do a quick 10-minute reset before each big grocery trip and a full clear-out every three to six months, when you empty the shelves, wipe them and check dates.
If your shelves themselves are the problem, start with our pantry shelving ideas, including how deep and how far apart pantry shelves should be.
Moving small appliances and backup items into the pantry is also the fastest way to clear your countertops. See our kitchen counter organization guide for what should stay out.
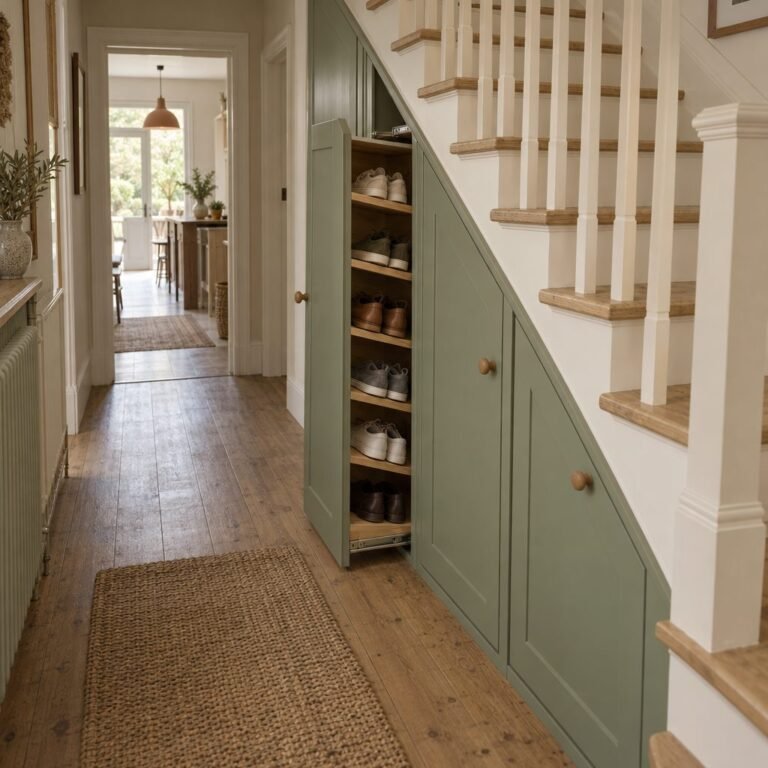
No room for a walk-in pantry? A cupboard under the stairs can hold the overflow; our under stairs storage ideas show how to fit shelves to the slope.
Final Thoughts
An organized pantry isn’t about matching jars. It’s about giving every shelf one job: daily food where you can see it, heavy items low, backups out of the way, and small items on the door.
Start with one shelf today, the one you open most. When the pantry is done, use the same zone method for your fridge organization. Then save this guide to your pantry board on Pinterest so the zone map is there when you tackle the rest.
How this guide was made: researched and written with the help of AI tools, fact-checked against trusted sources and published by Mohamed Elber. Images are AI-generated illustrations. See our Editorial Policy.