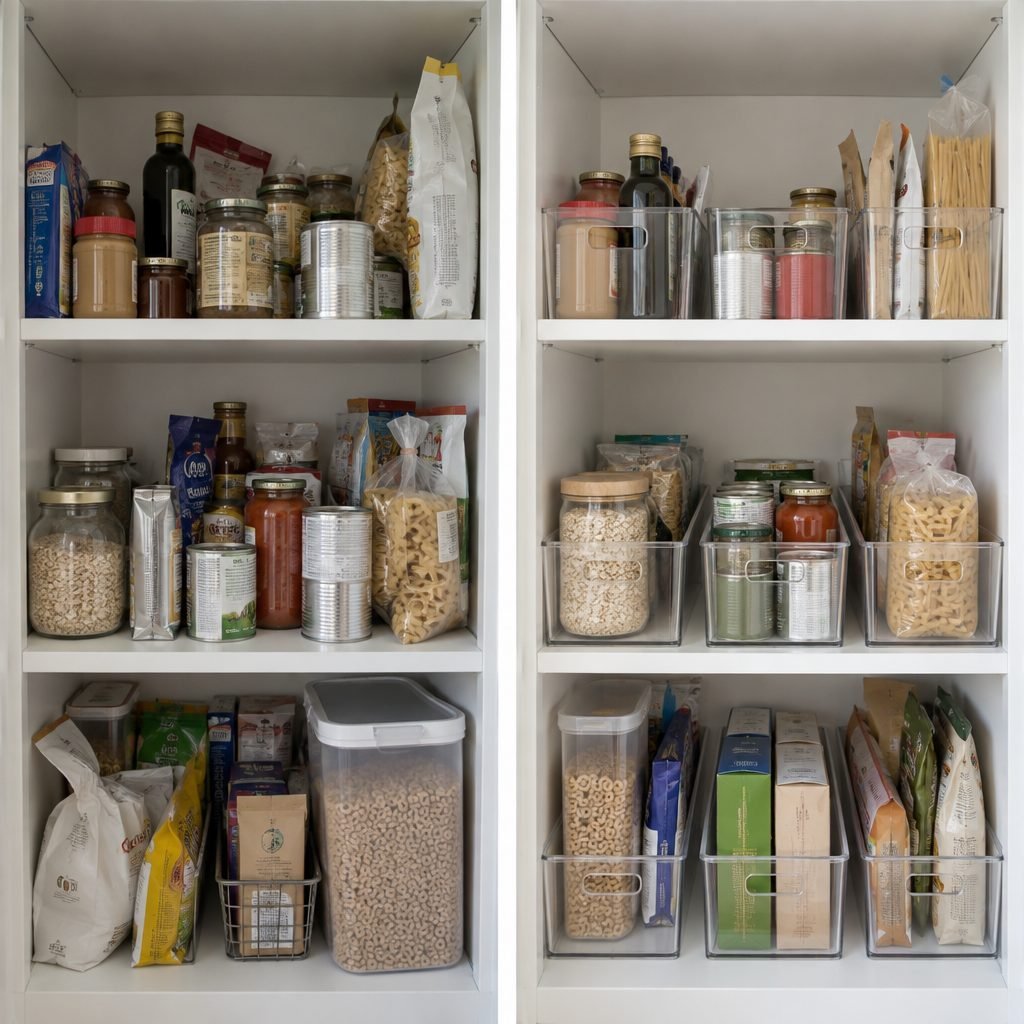
Deep pantry shelves look like a gift until you actually use them. Everything you put at the back disappears behind the first row, so you keep buying things you already have, and the front of the shelf slowly fills up until nothing fits.
The fix isn’t more organizers. It’s one simple rule for depth, plus containers that bring the back of the shelf to you. Here’s how to organize a pantry with deep shelves, step by step, with 12 ideas for bins, drawers, corners and floor space.
Key Takeaways
- Quick answer: To organize a pantry with deep shelves, follow the front-to-back rule: daily food in front, weekly supplies in the middle, backups at the back. Use long bins that run front to back, one category per bin, so you pull the whole bin out.
- Measure depth, width and height before buying bins, and leave about an inch so they slide easily.
- Pull-out drawers and bins bring the back of deep shelves to you.
- Use turntables for corners and rolling bins for the floor.
Time: 1–3 hours · Cost: $20–120 (more for pull-out drawers) · Difficulty: Easy
Why Deep Pantry Shelves Get Messy
On a normal shelf you see everything at once. On a deep shelf you only see the first row. Three things usually happen:
- The back becomes invisible. Items pushed behind the first row are forgotten until they expire.
- You stack in front of things. To reach one jar at the back, you have to move three things out of the way, so you stop reaching.
- You buy duplicates. If you can’t see the cinnamon, you assume you’re out of it.
Every idea below solves the same problem: making the back of the shelf easy to see and easy to reach.
The Front-to-Back Rule
Think of every deep shelf as three zones from the front edge to the back wall. Daily food goes in front, weekly cooking supplies in the middle, and backups at the back. The key is that nothing sits loose at the back. Anything stored back there lives inside a bin you can pull forward like a drawer.
This works with the same shelf-by-height zones we use in our main guide to pantry organization ideas: height decides which shelf, depth decides where on the shelf.
How to Organize Deep Pantry Shelves in 5 Steps
- Measure the shelf. Write down the depth, the width and the height between shelves (our shelf spacing calculator helps if your shelves adjust). You’ll need all three before you buy a single bin.
- Empty it and sort. Take everything out, toss what’s expired, and group what’s left into categories: pasta and grains, snacks, baking, cans, backups.
- Choose bins that match the depth. Look for long, narrow bins that cover most of the shelf depth, so one bin runs from the front edge almost to the back wall. Leave about an inch of space so they slide easily.
- Load each bin front to back. One category per bin. Put what you use most at the front of the bin and the extras at the back.
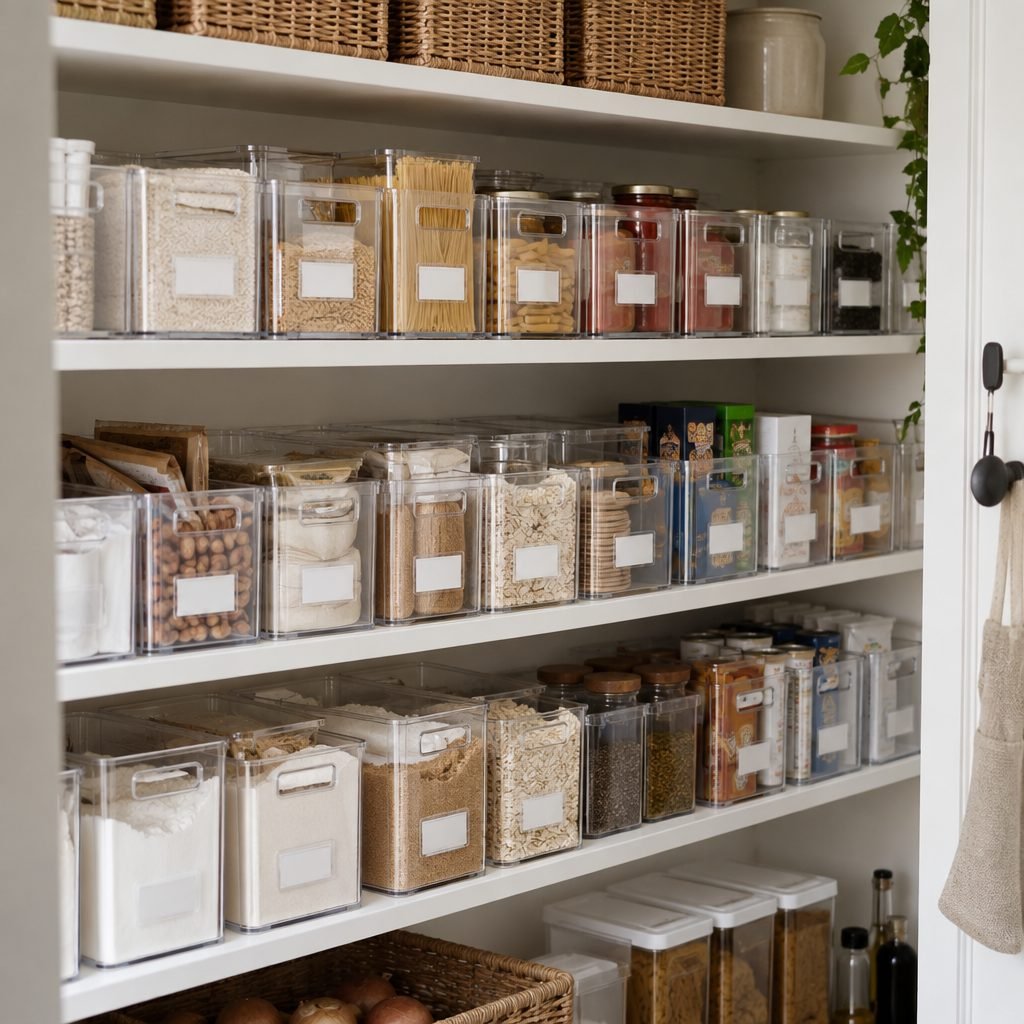
- Label the front. A label on the front of each bin tells you what’s inside without pulling it out, and tells everyone else where things go back.
Match the Solution to Your Shelf Depth
Not every deep shelf needs the same fix. Use this as a starting point:
| Shelf depth | What works best |
|---|---|
| Up to about 12 in (30 cm) | Single rows, step risers for cans and jars, small turntables |
| About 12–18 in (30–45 cm) | Long clear bins that run front to back, one category per bin |
| Over 18 in (45 cm) or walk-in | Pull-out drawers, or two rows of bins: daily bin in front, backup bin behind |
12 Ideas for Organizing a Pantry With Deep Shelves
Bins and Drawers
1. Use long bins that run front to back. This is one of the most useful changes for deep shelves. Instead of rows of items, you have rows of bins. Pull one out and you can see everything in it, including what used to be lost at the back.
2. Face the handles out. Bins with a handle or a cut-out at the front are easier to pull when the shelf is at eye level or above. Without a handle, you’ll end up tipping them to get them out.
3. Keep one category per bin. A bin that holds “pasta” stays organized. A bin that holds “stuff” turns into a junk drawer within a week.
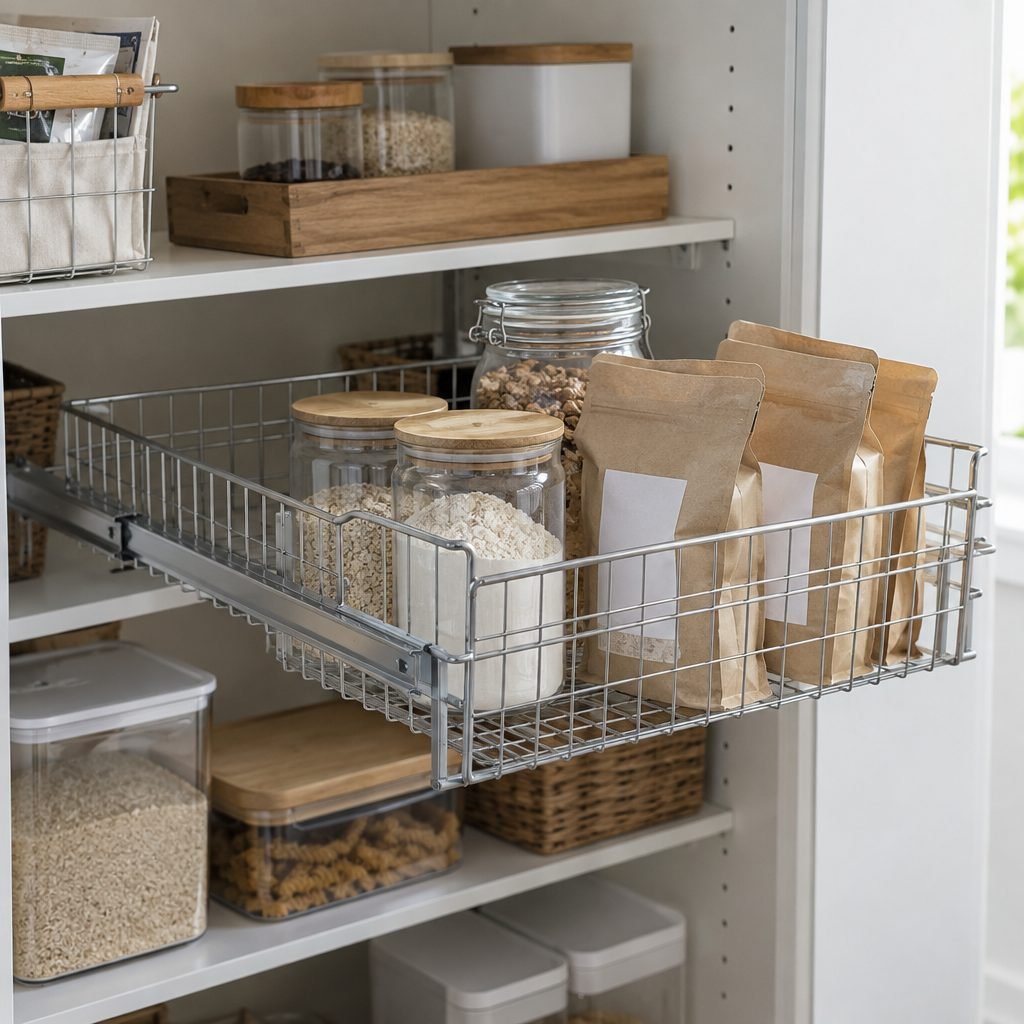
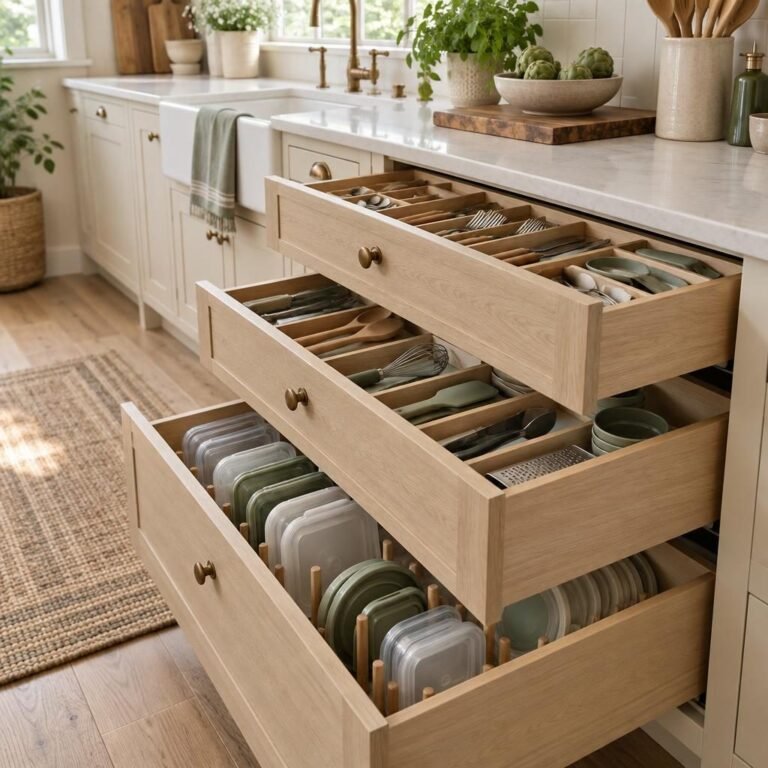
4. Add pull-out drawers to the deepest shelves. Sliding wire or wood drawers turn the whole shelf into a drawer. They cost more than bins but work best on very deep shelves. Some models screw into the shelf, while others are freestanding, which is better if you rent. See more pantry shelving ideas.
5. Use clear bins for food, baskets for bags. Clear bins let you see what’s running low. Woven baskets work better for bags of chips and bulky packets that look messy through clear plastic.
Using the Depth
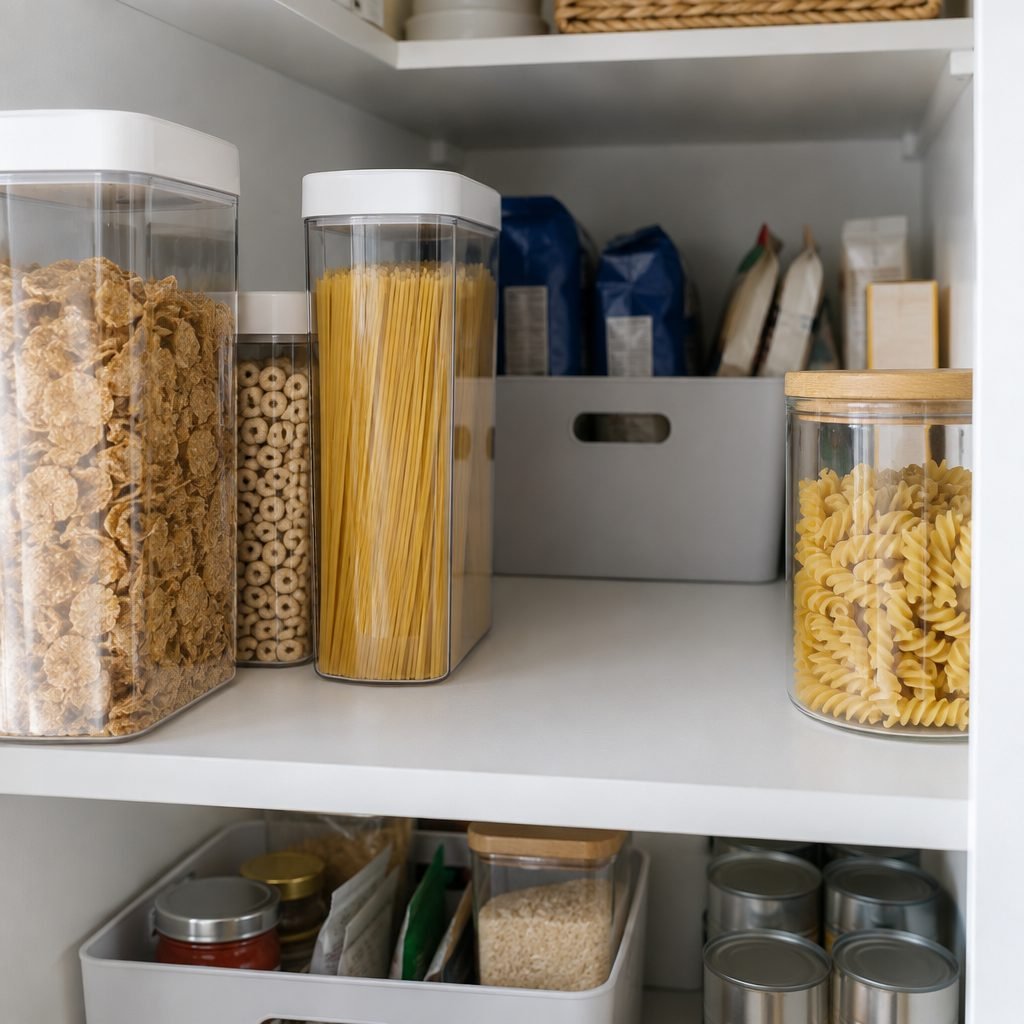
6. Keep daily items in the front third. Breakfast, snacks and whatever you cook with most should be reachable without moving anything. If you have to reach past something every day, swap them.
7. Put backups at the back, but only in a bin. The back of a deep shelf is perfect for spare pasta, extra cans and bulk refills. Keep them in one labeled backup bin, so they’re one pull away instead of lost behind the front row.
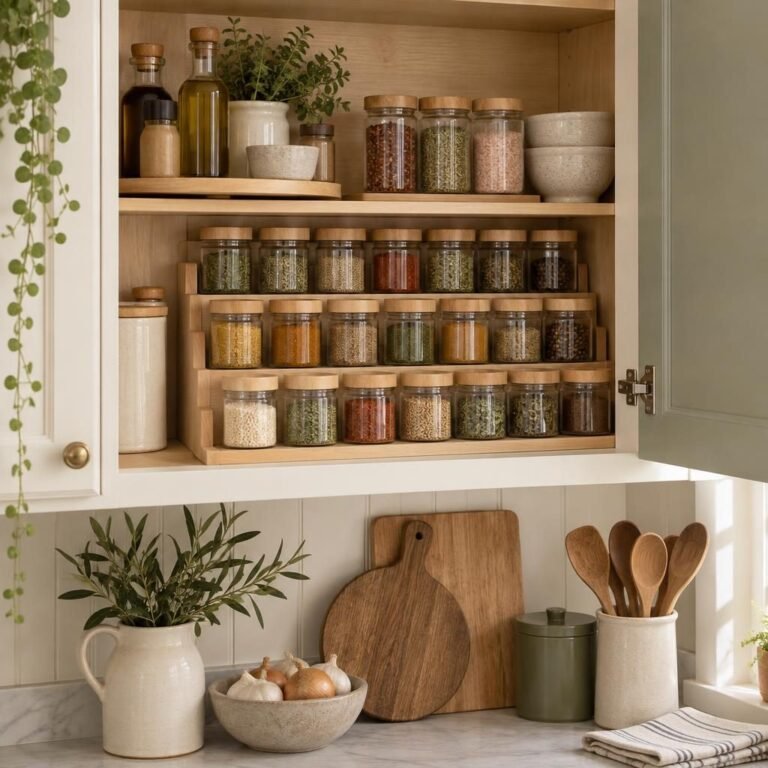
8. Raise the back row with a step riser. If you store cans or jars in rows, a stepped riser lifts the back rows so you can read every label. It works best on shelves up to about 12 inches deep.
9. Use the height above deep bins. Deep shelves are often tall too. A second layer of lidded bins works well for light backups you rarely touch. Keep heavy items on lower shelves and use a sturdy step stool to reach high bins. Keep daily items in the bottom layer.
Corners and Floor Space
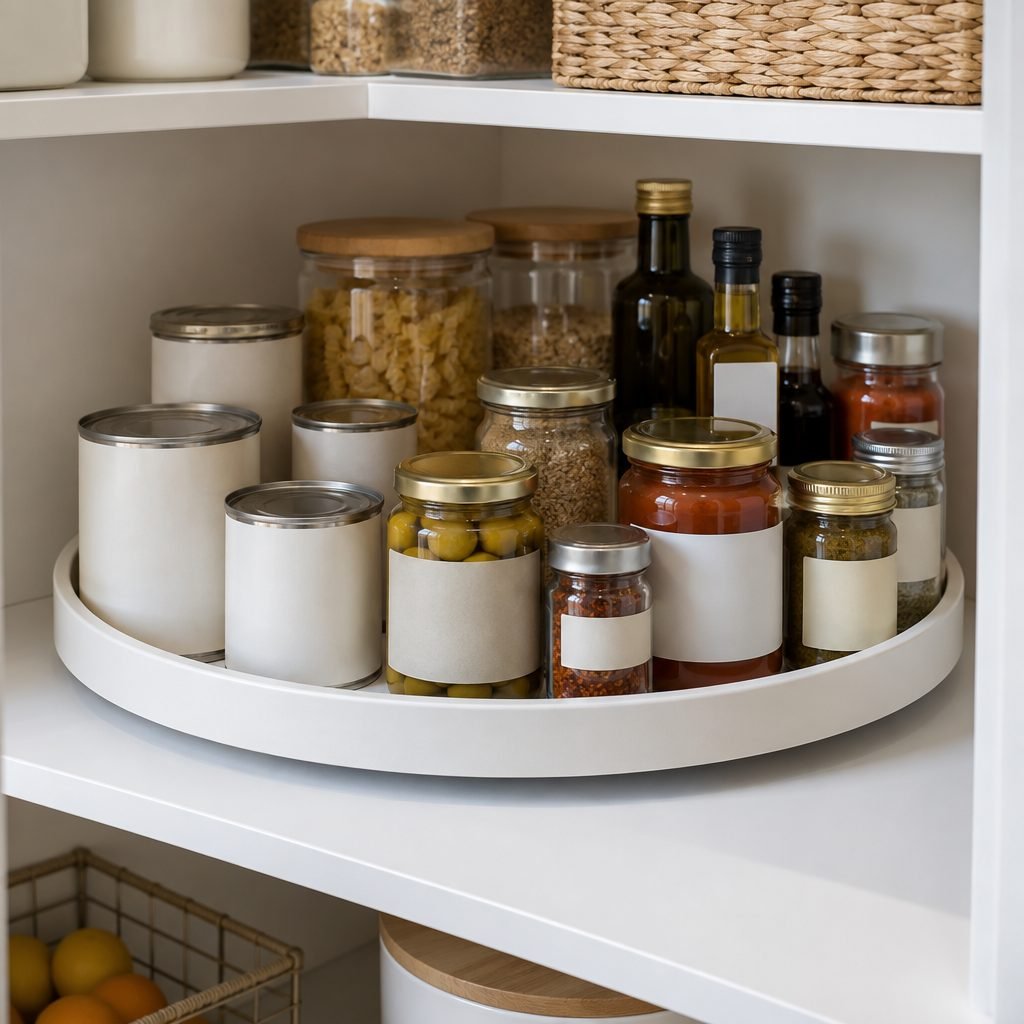
10. Put a large turntable in deep corners. In a corner pantry with deep shelves, the back corner is the hardest spot to reach. A large single-tier turntable brings it to the front with one spin. Measure the corner first, since the turntable needs room to rotate.
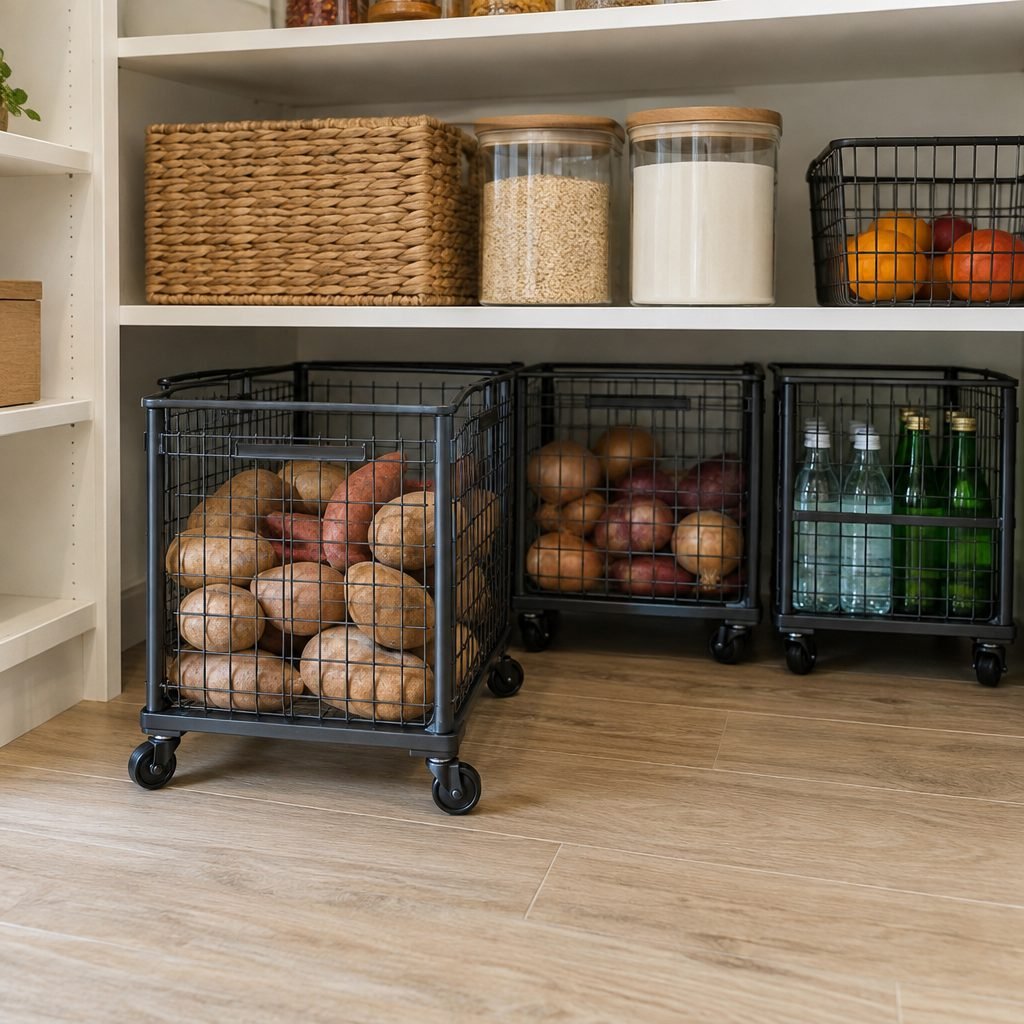
11. Roll heavy items on the floor. The floor of a deep pantry is great for heavy things like potatoes, onions, drinks and bulk bags. Bins on casters roll out, so you don’t have to kneel and reach into the back. Keep potatoes and onions in separate bins.
12. Keep a backup list on the door. Tape a short list inside the pantry door of what’s in the backup bins. When you use something from the back, cross it off. It’s a simple way to stop buying duplicates.
If Your Pantry Is Small With Deep Shelves
Small pantries with deep shelves have the same problem in less space. Focus on three things: use bins on every shelf so the full depth is usable, put a rack on the door for spices and small packets, and keep only one backup bin so extras don’t take over. Our pantry organization guide has more ideas for small pantries and pantries without doors.
Common Mistakes With Deep Pantry Shelves
- Buying short bins. A bin that only covers the front half of the shelf leaves the back half empty or cluttered. Measure first.
- Storing loose items behind bins. Anything behind a bin is invisible. If it’s at the back, it goes in a bin.
- Mixing categories in one bin. You’ll have to dig through it every time, which is exactly the problem you were trying to fix.
- Filling bins to the top. Overfilled bins are heavy and hard to pull out. Leave room to see and grab things.
Deep Pantry Shelves FAQ
How do you organize a pantry with deep shelves?
Split each shelf into three depth zones: daily food at the front, weekly supplies in the middle and backups at the back. Then use long bins that run front to back, one category per bin, so you can pull out the whole bin instead of reaching behind other items.
What are the best bins for deep pantry shelves?
Long, narrow bins that cover most of the shelf depth, with a handle at the front. Clear bins work best for food you need to see, and pull-out drawers are worth it for very deep shelves.
How do you reach the back of a deep corner pantry?
Use a large turntable in the corner so items rotate to the front, and put long bins on the shelves on either side. Keep rarely used items in the corner itself.
What should go at the back of a deep pantry shelf?
Backups and bulk items you don’t need every day, like spare pasta, extra cans and refill bags. Store them inside a labeled bin so they’re easy to pull forward and check.
Final Thoughts
Deep pantry shelves don’t need to be a black hole. Give each shelf a front, a middle and a back, keep one category per bin, and make sure nothing sits loose where you can’t see it.
Start with the deepest shelf you use most, and save this guide to your pantry board on Pinterest for the next one.
How this guide was made: researched and written with the help of AI tools, fact-checked against trusted sources and published by Mohamed Elber. Images are AI-generated illustrations. See our Editorial Policy.