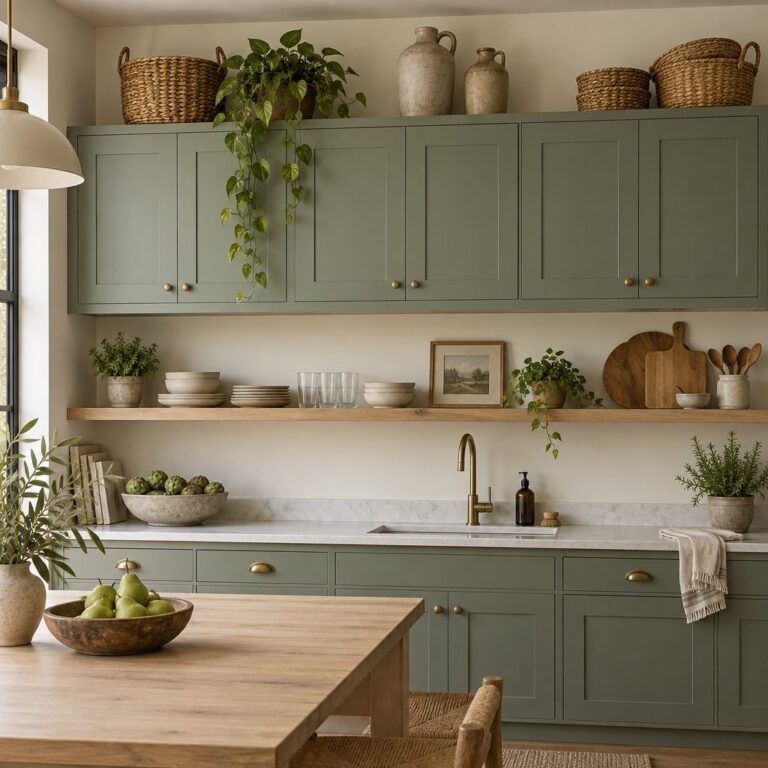
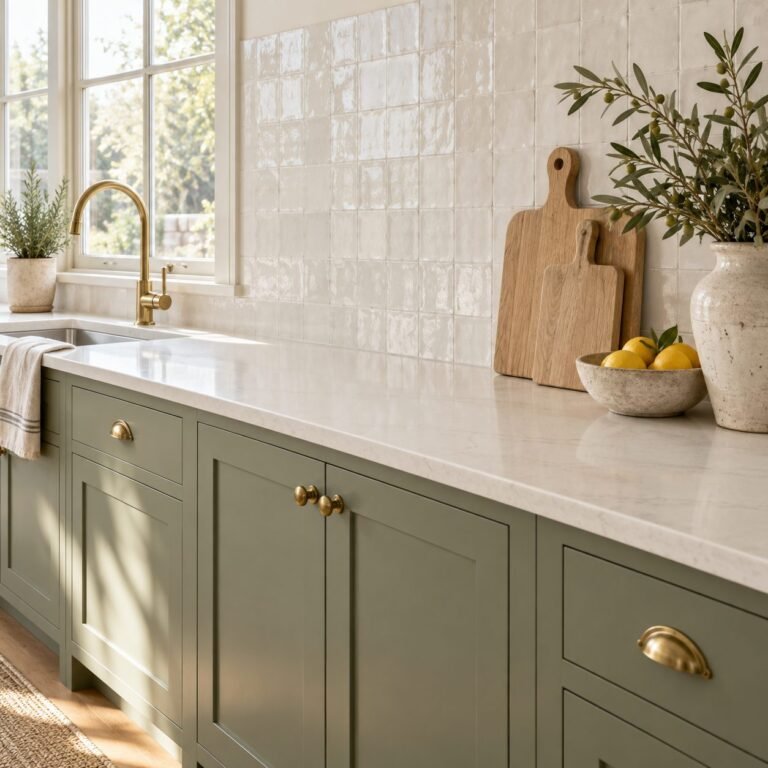
Kitchen counter organization is one of those jobs that never seems to stay done. Countertops are the flattest, most convenient surface in the house, so everything lands there: mail, appliances, bottles, keys, fruit, dishes waiting to be put away. Before long, there’s no room left to actually cook.
The fix isn’t more organizers. It’s deciding what truly belongs on the counter, giving it a zone, and finding a better home for everything else. This guide shows you how, with ideas for small kitchens, appliances and paper clutter.
Key Takeaways
- Quick answer: For kitchen counter organization, keep only items you use every day on the counter, give each zone one job, protect a clear prep area of at least 36 inches next to the sink, and move everything else to walls, trays and cabinets.
- Only items you use every day earn a spot on the counter.
- Keep a clear prep area and give each zone one job.
- Move the rest to walls, trays and cabinets.
Time: 1–2 hours · Cost: $0–80 · Difficulty: Easy
Start With the Counter Test
Take everything off the counter and sort it into three groups: things you use every day, things you use every week, and things you use less often. Only the daily group earns a spot on the counter. Weekly items go in the nearest cabinet, and everything else goes further away, like the pantry or a high shelf.
Give Your Counter Zones
An organized counter works like a small assembly line: coffee in one corner, oils and utensils by the stove, a wide clear space for chopping, and papers kept at the far end, away from food.
That clear prep space matters. The National Kitchen & Bath Association (NKBA) Kitchen Planning Guidelines recommend a section of continuous countertop at least 36 inches wide and 24 inches deep next to the sink for a main prep area, plus landing space on both sides of the sink and the cooktop. If appliances and clutter cover that space, the kitchen gets harder to use, no matter how nice the organizers look.
Quick Pick: Kitchen Counter Organization Ideas by Problem
| Your problem | Start with these ideas |
|---|---|
| Too many appliances out | Appliance garage (#11), store by frequency (#12), rolling cart (#13) |
| Small kitchen, tiny counter | Wall rail (#6), knife strip (#7), floating shelf (#8) |
| Bottles and oils everywhere | Tray by the stove (#2), sink caddy (#9) |
| Mail and papers pile up | Mail station (#14), drop basket (#15) |
| No room to prep | Keep the prep zone empty (#4), cutting boards on edge (#5) |
16 Kitchen Counter Organization Ideas
1. Build a coffee station in one corner
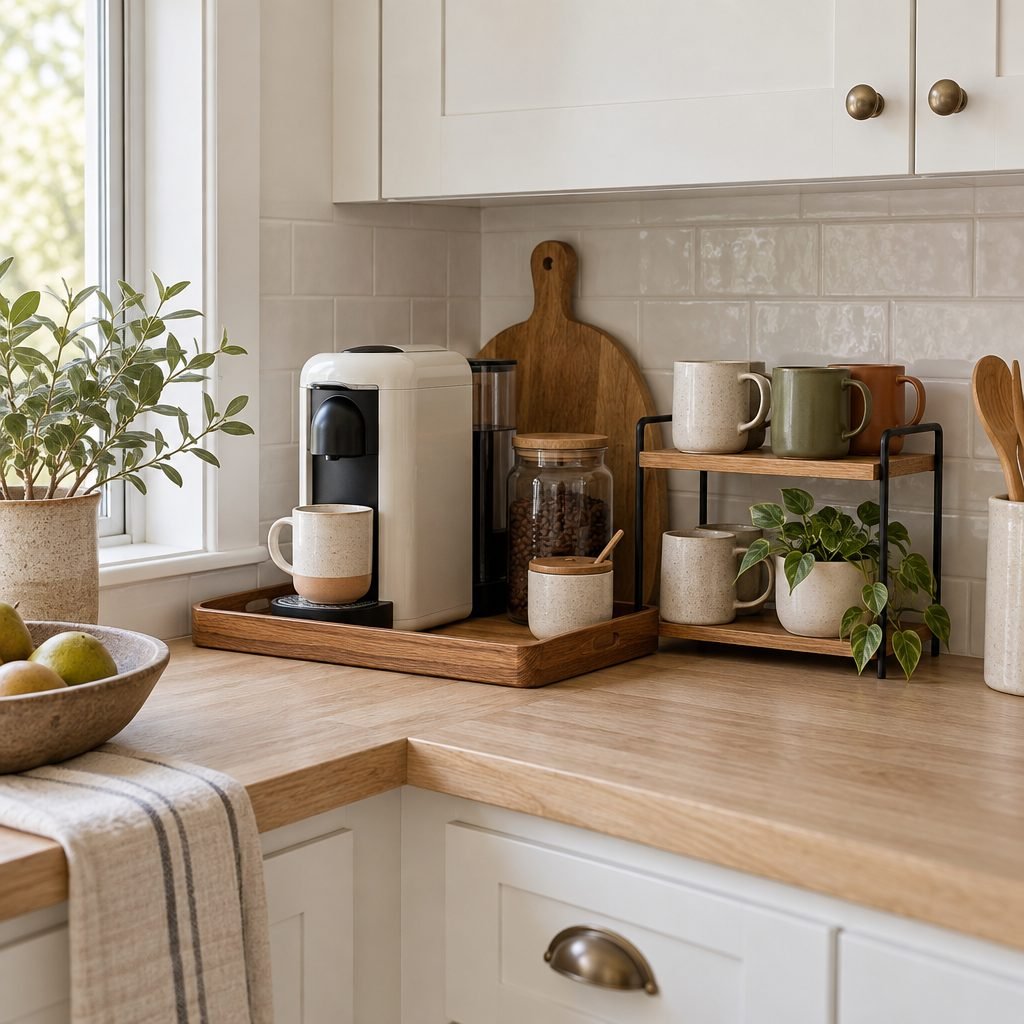
Corners are hard to prep in but perfect for coffee. Put the machine on a tray with mugs on a small riser and the beans or pods in a jar, and your morning routine stays in one tidy zone.
2. Corral oils and seasonings on a tray by the stove
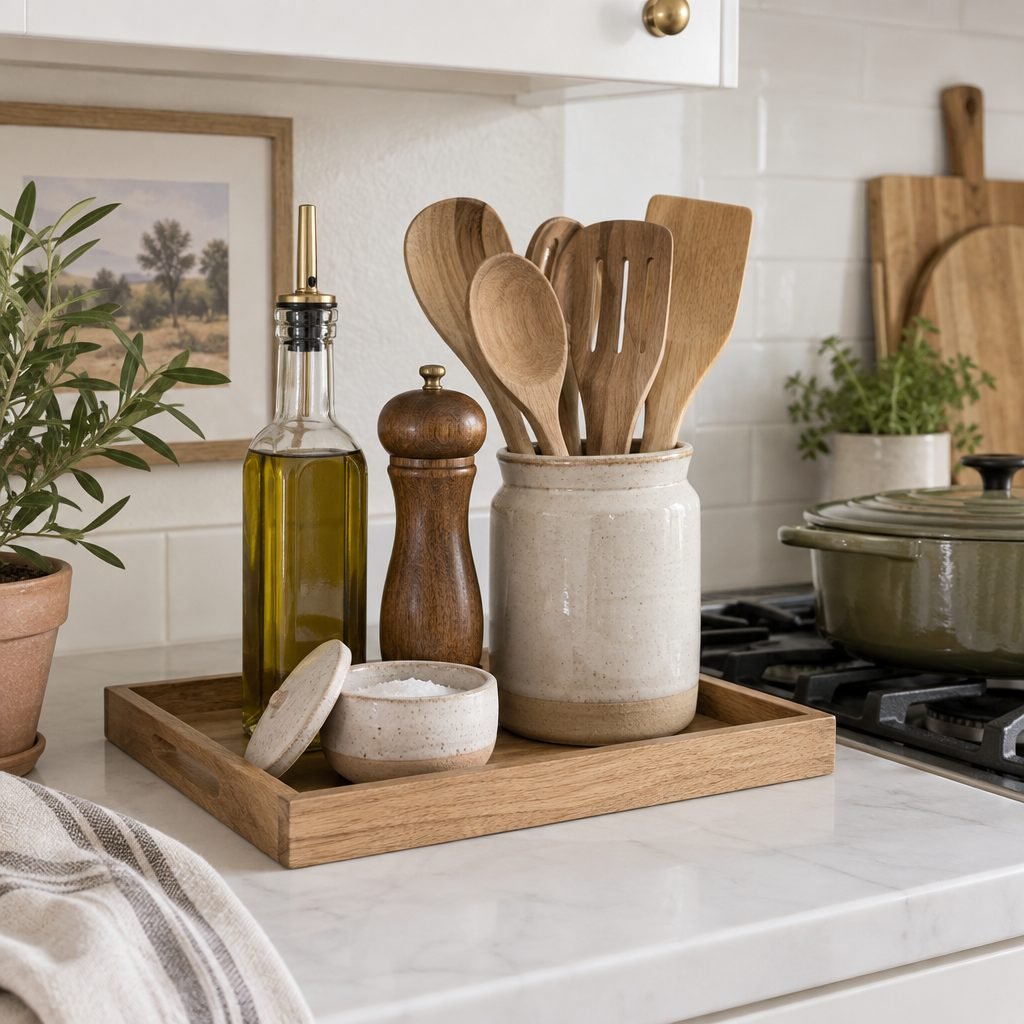
A tray turns a scattered group of bottles into one neat object. Keep only the oils, salt and pepper you use daily, and the tray lifts off in seconds when you wipe the counter.
3. Keep one utensil crock
A single crock of the spoons, spatulas and tongs you reach for most is faster than a drawer. Store the rest in a drawer so the crock doesn’t overflow.
4. Protect the prep zone
Make one stretch of counter, ideally next to the sink, a no-storage zone. Nothing lives there permanently, so it’s always ready for chopping and mixing.
5. Stand cutting boards on edge
Leaning one or two boards against the backsplash behind the prep area keeps them handy without taking up flat space.
Small Kitchen Counter Ideas
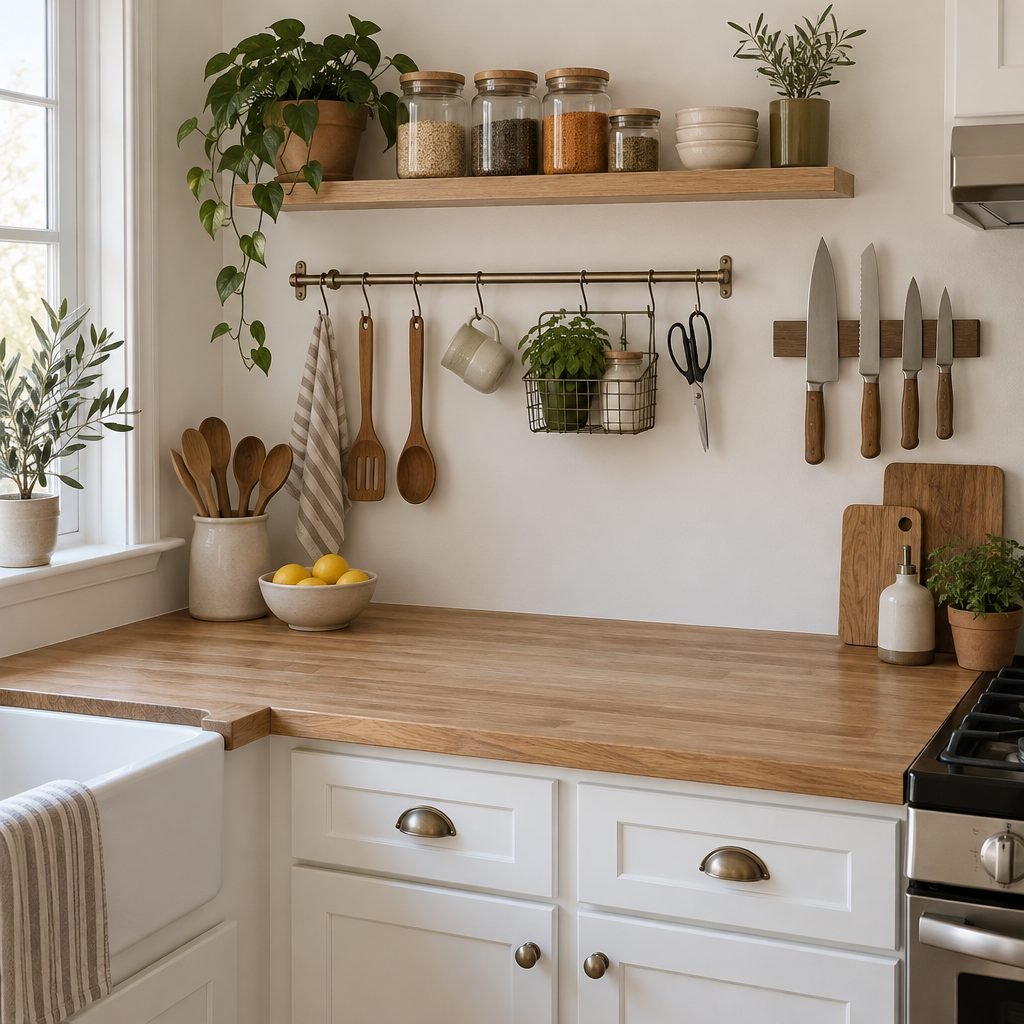
6. Hang a rail on the backsplash
In a small kitchen, the wall above the counter is your best friend. A slim rail with S-hooks holds utensils, a small basket or a paper towel roll, and frees up the counter below.
7. Add a magnetic knife strip
A knife block takes up a surprising amount of counter space. A magnetic strip on the wall holds the same knives with none of the footprint.
8. Put a floating shelf above the counter
A short shelf for spices, jars or everyday glasses moves small items up and off the counter. Our DIY floating shelves guide shows how to hang one securely.
9. Contain the sink area
Dish soap, a brush and a sponge look much tidier in a small caddy or on a little tray, and it stops water from spreading across the counter.
10. Use a tiered stand in the corner
A two-tier stand or corner riser doubles the storage of one small spot, which is ideal for spices, oils or tea.
How to Organize Appliances on the Kitchen Counter
11. Hide appliances in an appliance garage
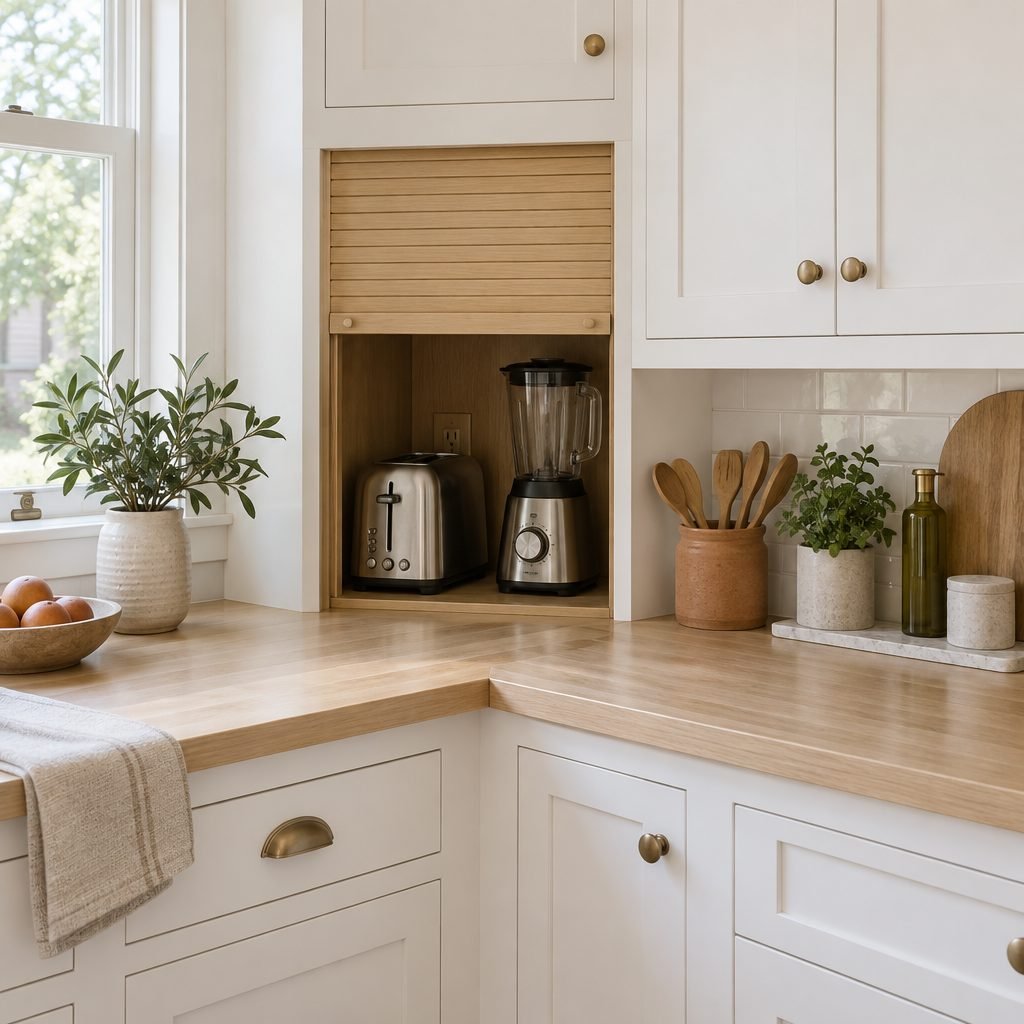
An appliance garage is a cabinet that sits on the counter with a door that rolls or lifts up. Toasters and blenders stay plugged in and ready, but out of sight when you’re done.
12. Store appliances by how often you use them
Keep the one or two appliances you use daily on the counter. Weekly ones go in a lower cabinet near an outlet, and rarely used ones, like a waffle maker, go to the pantry. Our pantry organization ideas show where bulky items fit best.
13. Try a rolling cart
A slim rolling cart can hold a stand mixer or air fryer and roll out when you need it, which works well in rentals where you can’t add cabinets.
Kitchen Counter Mail Organizer Ideas
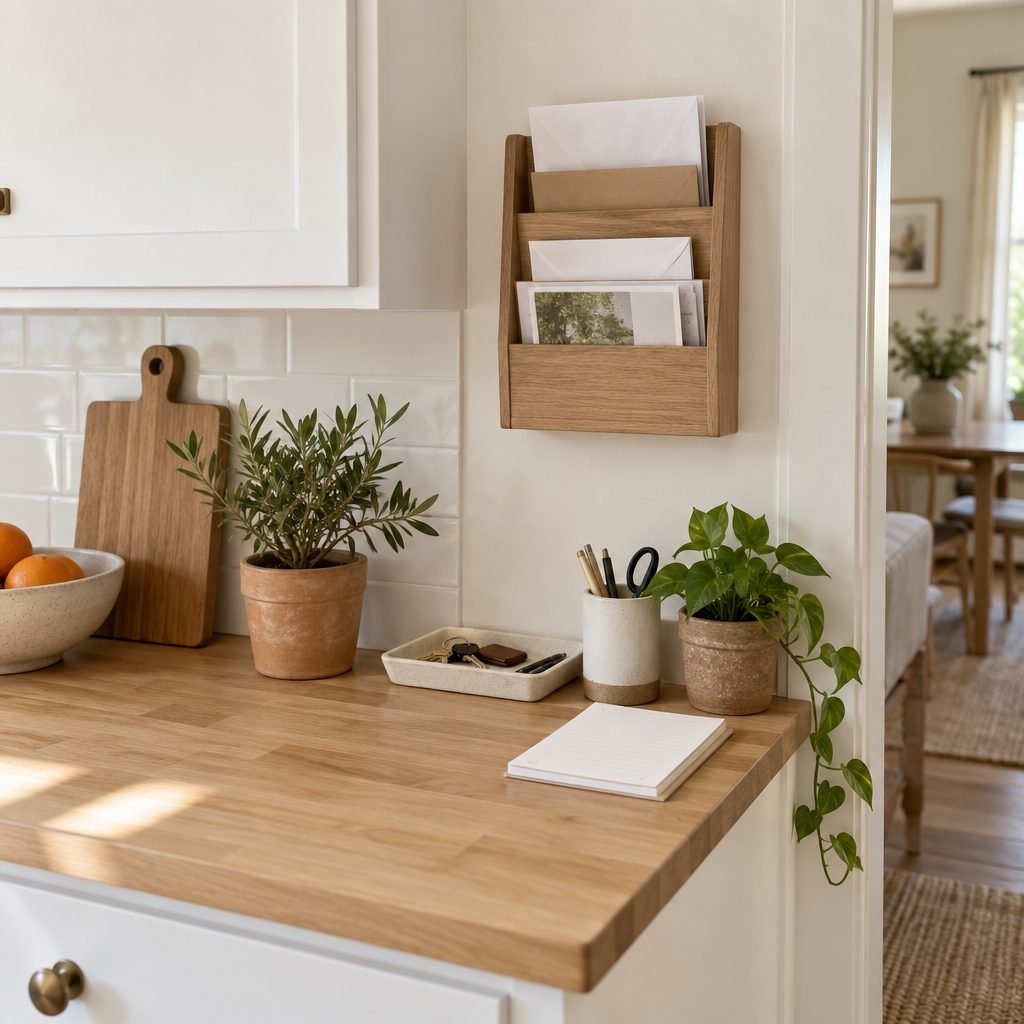
14. Give mail its own station
Mail tends to land on the kitchen counter because it’s the first flat surface people pass. A slim wall-mounted mail organizer at the end of the counter, away from food prep, keeps papers upright and easy to sort. Add a small tray for keys and pens. If your front door is nearby, our small entryway ideas cover drop zones too.
15. Use one drop basket and empty it weekly
Some things will always end up on the counter: a charger, a receipt, a toy. Give them one small basket, and clear it once a week so it never turns into a second junk drawer.
16. Get produce off the counter
A fruit bowl is fine, but piles of onions, potatoes and bananas take over fast. A hanging basket or a basket in the pantry keeps produce out of the way.
Kitchen Counter Organizers That Actually Help
| Organizer | What it solves |
|---|---|
| Tray | Groups bottles and small items so the counter is easy to wipe |
| Utensil crock | Keeps everyday cooking tools within reach |
| Tiered riser or corner stand | Adds height in a small spot |
| Wall rail and hooks | Moves utensils and towels off the counter |
| Magnetic knife strip | Replaces a bulky knife block |
| Wall mail organizer | Keeps papers upright and away from food |
Choose organizers after you’ve done the counter test, not before. The best kitchen counter organizer is the one that holds things you actually use every day.
How to Organize a Kitchen Counter in 5 Steps
- Clear everything off. Wipe the counter and see how much space you really have.
- Do the counter test. Sort items into daily, weekly and rarely used.
- Set your zones. Coffee, cooking, prep and paper, with the prep area kept empty.
- Go vertical. Move utensils, knives and spices to rails, strips and shelves.
- Reset nightly. Spend two minutes putting things back in their zones before bed.
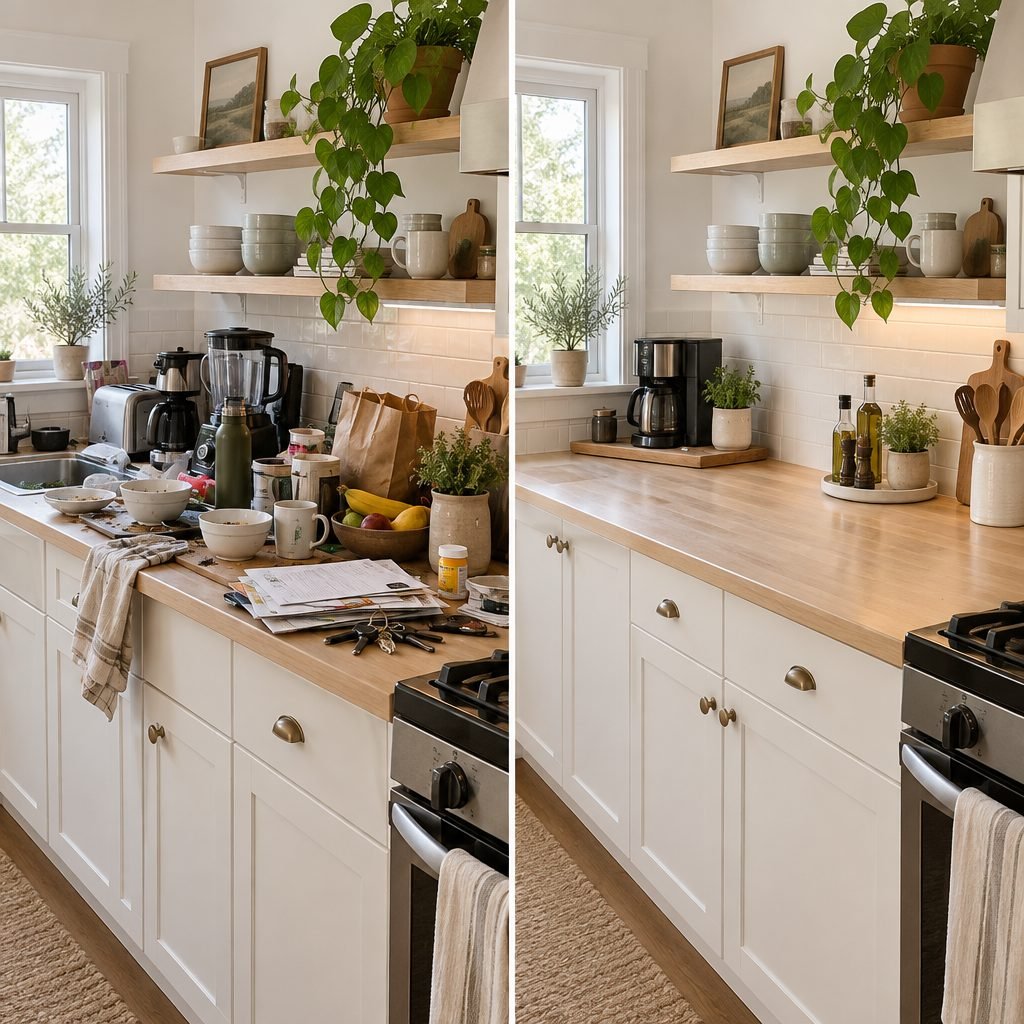
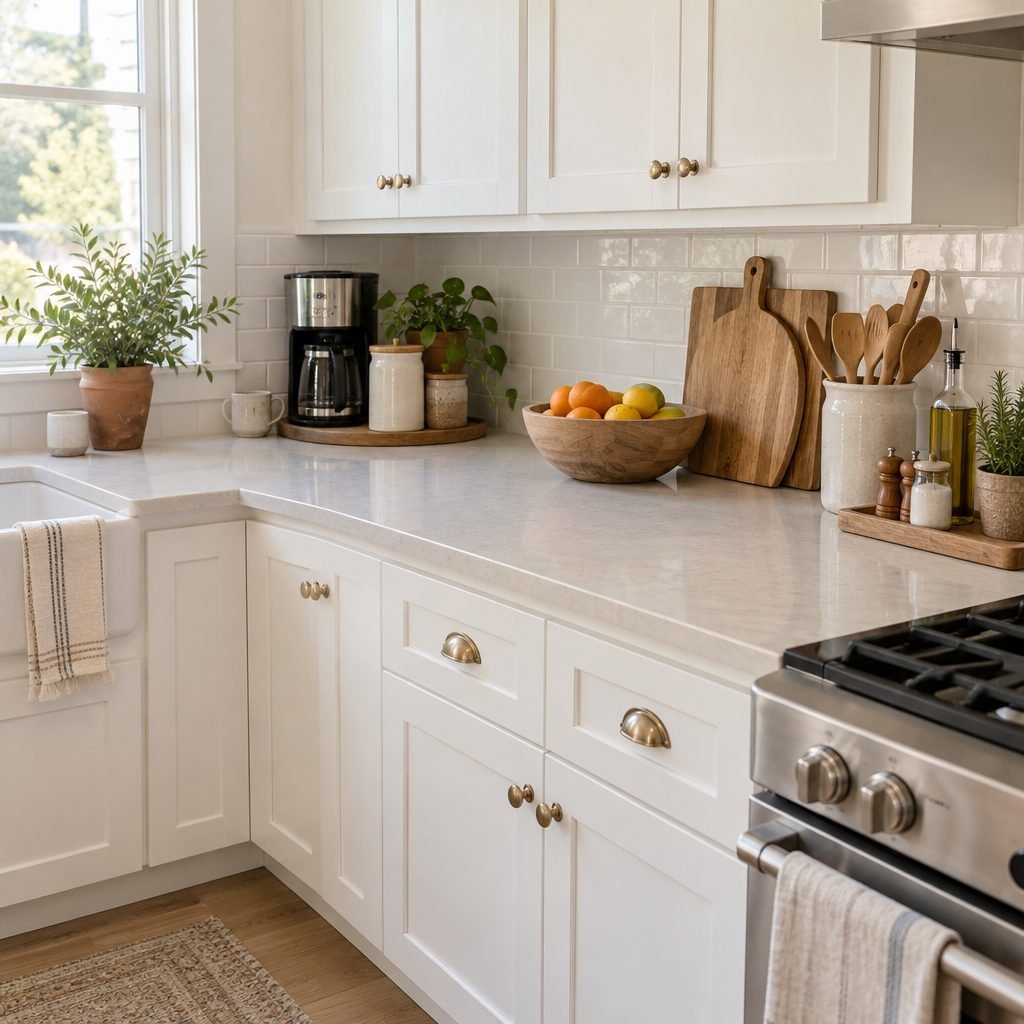
The before-and-after above shows the same counter. The difference is fewer things out, each in its own zone, and a wide clear space for cooking. That’s the goal of every good kitchen counter organization plan.
Common Kitchen Counter Organization Mistakes
- Buying organizers first. More containers often mean more clutter.
- Keeping every appliance out. Only daily appliances earn counter space.
- Storing things in the prep zone. You lose the most useful part of the counter.
- Mixing papers with food. Mail belongs at the far end, away from cooking.
- Skipping the nightly reset. Counters fill up again within days without it.
Kitchen Counter Organization FAQ
How do I organize a small kitchen counter?
Keep only daily items out, move utensils, knives and spices to the wall, use one corner for a coffee or tea station, and protect a clear prep area. Store appliances you don’t use daily in cabinets.
What should you keep on your kitchen counter?
Only what you use every day, such as your coffee setup, cooking oils, salt and pepper and a crock of utensils. Everything else is easier to keep clean in a cabinet or the pantry.
How do you organize appliances on the counter?
Keep one or two daily appliances out, group them in one zone near an outlet, and store the rest in an appliance garage, a lower cabinet or the pantry based on how often you use them.
How do I keep my kitchen counters clear?
Give every item a home off the counter, keep a single drop basket for stray things, and do a two-minute reset every night.
A clear counter is easier to keep when everything has a home behind closed doors. See our guide on how to organize kitchen cabinets for zone-based ideas for deep cabinets, corners and upper shelves.
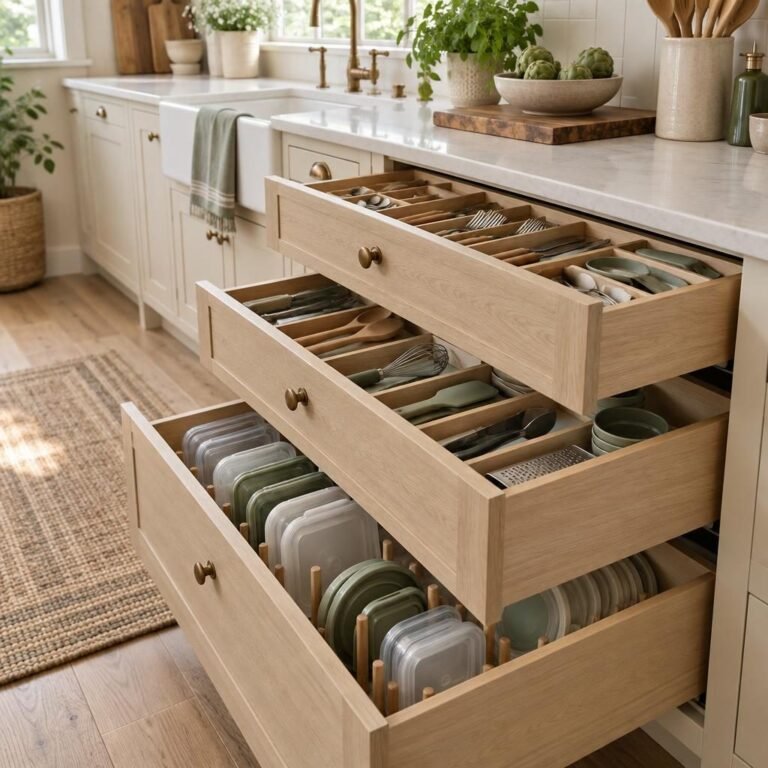
Clearing the counters often means moving tools into drawers. Our guide on how to organize kitchen drawers shows where every tool should go.
Once the counter is clear, you can add a little style without bringing the clutter back. Our kitchen counter decor ideas show where decor belongs and how to keep your prep space open.
Final Thoughts
Good kitchen counter organization comes down to one question: do I use this every day? Keep those things in clear zones, move the rest to the wall, cabinets or pantry, and protect a wide prep space. Your kitchen will feel bigger, and cooking will be easier.
Save this guide to Pinterest for your next kitchen reset.
How this guide was made: researched and written with the help of AI tools, fact-checked against trusted sources and published by Mohamed Elber. Images are AI-generated illustrations. See our Editorial Policy.