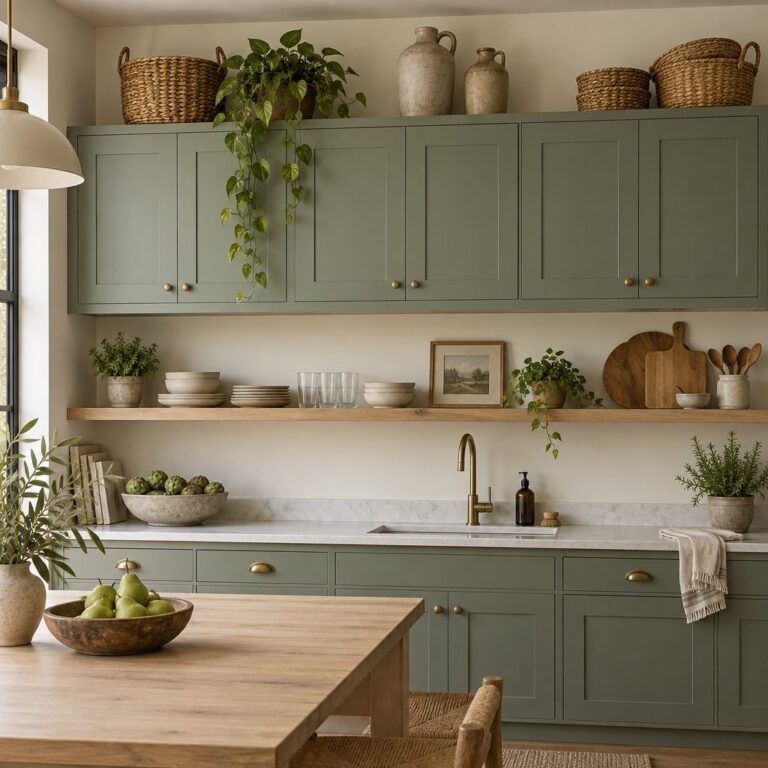
Learning how to organize kitchen cabinets is less about buying new containers and more about giving every cabinet a clear job. When plates live next to the dishwasher, pots sit by the stove and the things you rarely use move up and out of the way, cooking gets faster and cleanup gets easier.
This guide walks you through a simple zone system, the best way to organize kitchen cabinets of every type (uppers, deep base cabinets, corners and narrow gaps), and 18 practical ideas that work in rentals and small kitchens too.
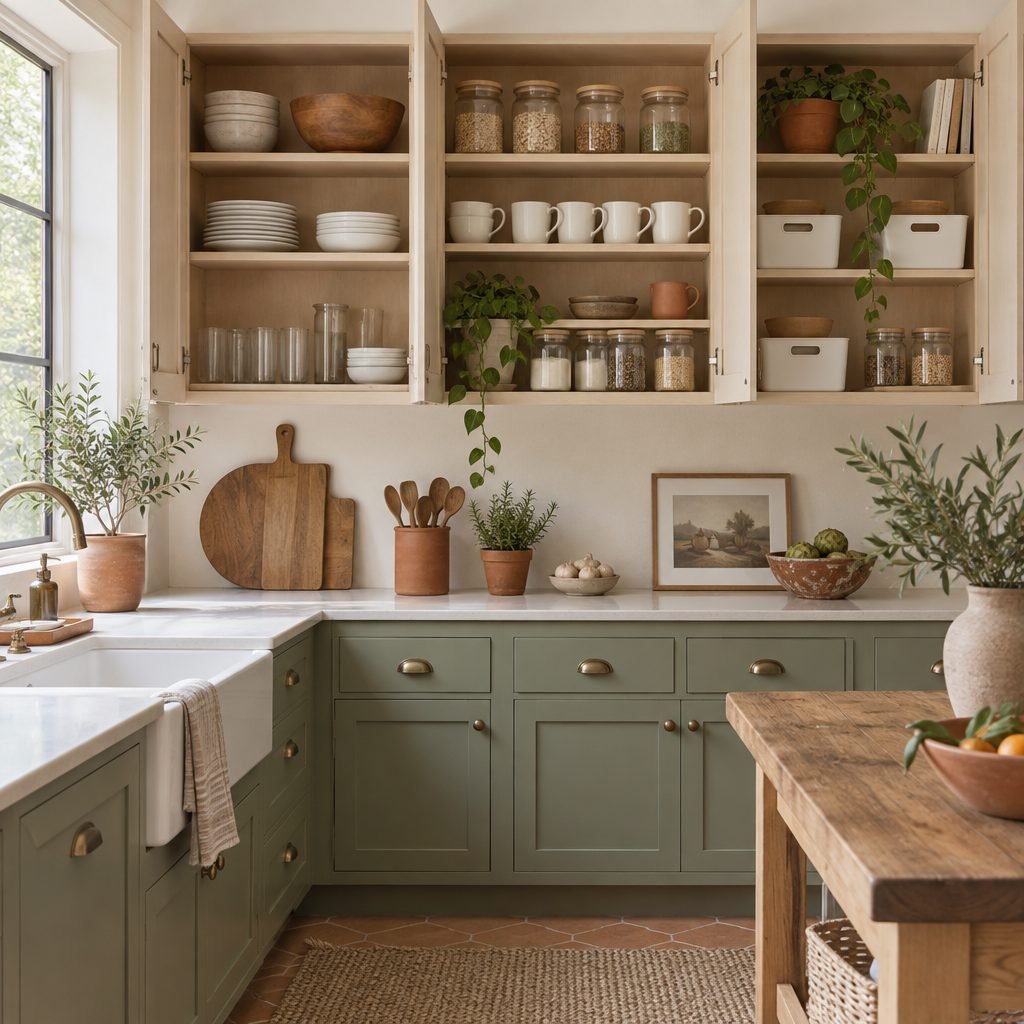
Key Takeaways
- Quick answer: To organize kitchen cabinets, store items in the cabinet closest to where you use them, keep everyday dishes within easy reach between 18 and 48 inches from the floor, put rarely used items up high, and add pull-outs to deep cabinets.
- Store items in the cabinet closest to where you use them.
- Everyday dishes go within easy reach; rarely used items go up high or at the back.
- Pull-outs, shelf risers and vertical dividers make deep cabinets easy to use.
Time: 2–4 hours · Cost: $20–150 · Difficulty: Easy
This guide covers cabinets and shelves. For cutlery, utensils and the catch-all drawer, see our separate guide on how to organize kitchen drawers.
Start With Zones, Not Containers
Before you buy a single organizer, decide what each cabinet is for. Store items close to where you use them, and at a height that matches how often you reach for them. Everyday things belong in the easiest spots. Holiday platters and backup supplies can go high or deep.
Height matters more than most people think. The UD Project’s universal design kitchen guidelines recommend keeping at least 75% of kitchen storage between 18 and 48 inches from the floor, because that range works for the most people, whether they are short, tall, seated or standing. The same guidance recommends pull-out shelves or drawers in any storage deeper than 18 inches, since they bring the back of the cabinet to you instead of making you dig.
Quick Pick: Kitchen Cabinet Organization by Problem
| Your problem | Start with these ideas |
|---|---|
| Deep base cabinets where things get lost | Pull-out drawers (#2), bins as drawers (#3) |
| Upper shelves with wasted space | Shelf risers (#5), spice riser (#6), under-shelf baskets (#7) |
| Awkward corner cabinet | Lazy susan (#9), blind corner pull-out (#10) |
| Baking sheets and boards falling over | Vertical dividers (#11) |
| Messy food storage containers | Nest by size (#13), lid organizer (#14) |
| Clutter under the sink | Two-tier sliding caddy (#16) |
18 Ideas for How to Organize Kitchen Cabinets
1. Empty, Purge and Group First
Take everything out of one section at a time. Donate duplicates, toss chipped or lidless items, and group what is left into categories: dishes, glasses, cookware, bakeware, food storage, cleaning. You can’t organize kitchen cabinets well until you know exactly what you are storing.
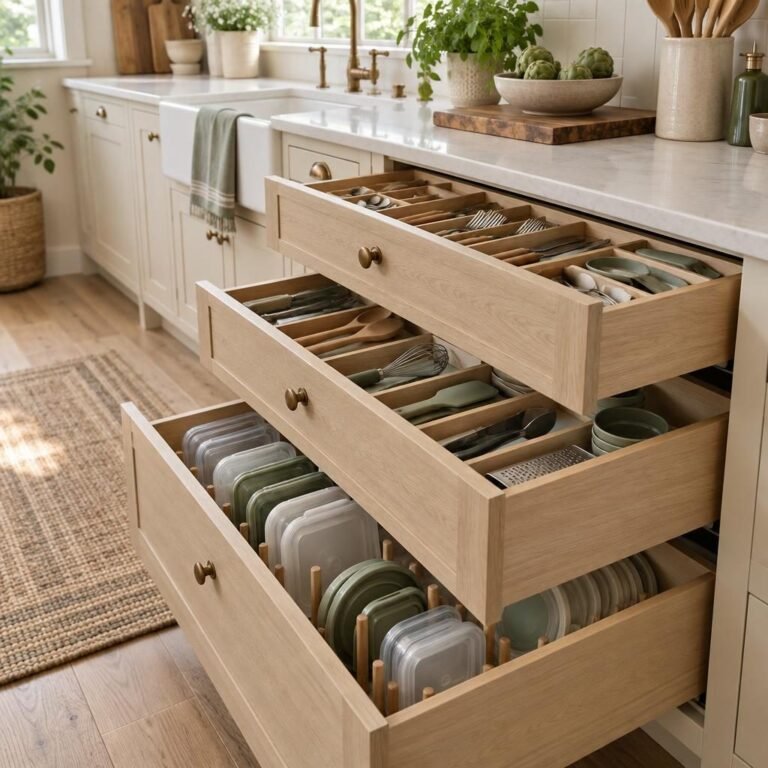
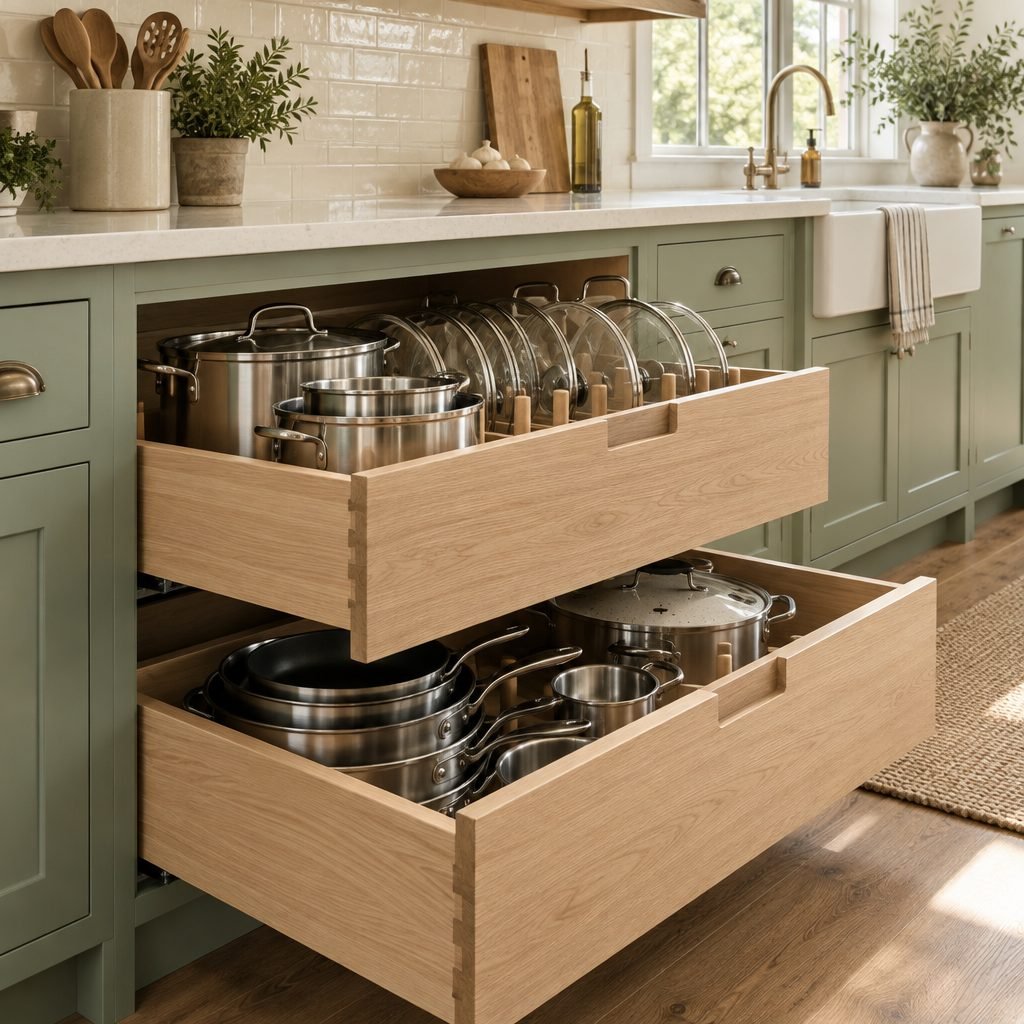
2. Swap Deep Shelves for Pull-Out Drawers
Deep base cabinets are where pots disappear. Pull-out drawers or roll-out shelves let you see everything from above, so you can nest pots by size and grab one without unstacking the rest.
3. Use Bins as Makeshift Drawers
If you rent or can’t install hardware, sturdy bins with handles work almost as well. Pull the bin out, grab what you need and slide it back. Label the front so everyone knows where things go.
4. Store Lids Upright
Pot lids are the most annoying thing to stack. A simple peg divider or a lid rack inside a drawer keeps them standing on edge, where you can see and grab each one.
5. Double Upper Shelves With Risers
Most upper cabinets have lots of empty air between shelves. A wire shelf riser creates a second level, so you can store dinner plates below and salad plates or bowls on top.
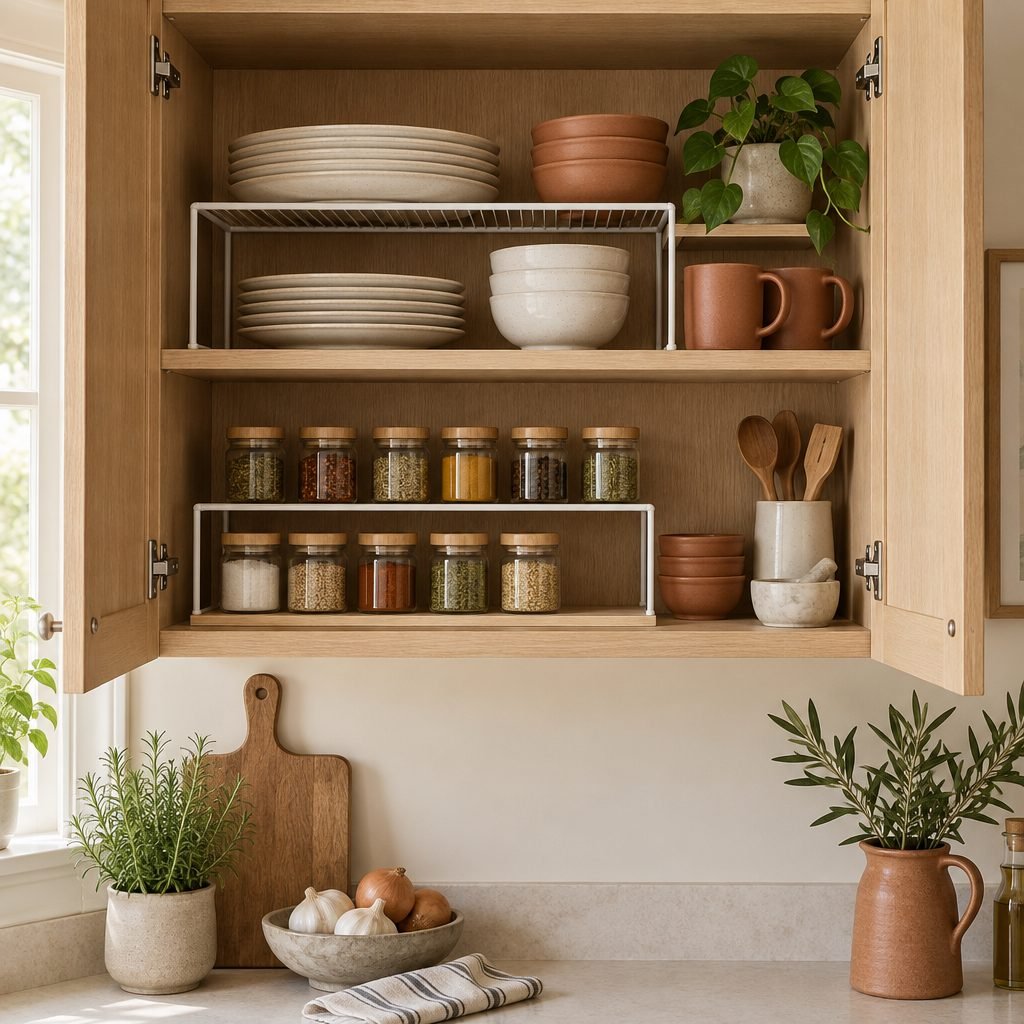
6. Add a Tiered Spice Riser
A stepped riser puts back-row jars in view. Use matching jars and label the lids or fronts so you can find cumin without pulling out every bottle. If you’d rather keep spices out, see our kitchen counter organization ideas.
7. Hang Under-Shelf Baskets
Clip-on baskets slide over an existing shelf and use the gap below it. They are great for wraps, foil, tea bags or small snack packs.
8. Keep Everyday Dishes Near the Dishwasher
Put plates, bowls and glasses in the upper cabinet closest to the dishwasher. Unloading takes half the time when you only need to turn around, not cross the kitchen.
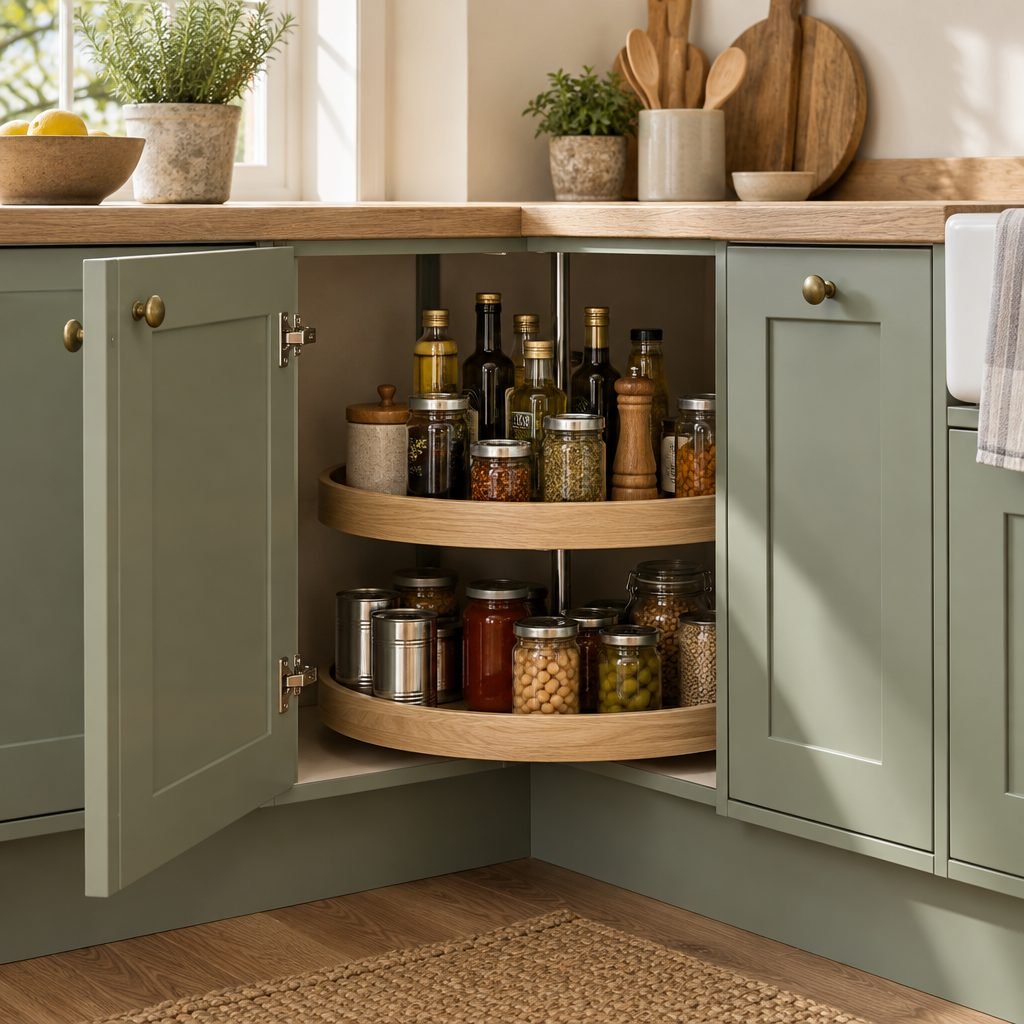
9. Put a Lazy Susan in the Corner
Corner cabinets are deep and hard to reach. A two-tier lazy susan turns that dead space into easy storage for oils, vinegars, canned goods and jars. One spin brings the back to the front.
10. Try a Blind Corner Pull-Out
If your corner cabinet has a blind side, a swing-out or pull-out unit brings those hidden shelves into the open. It costs more than a turntable but recovers almost the whole corner.
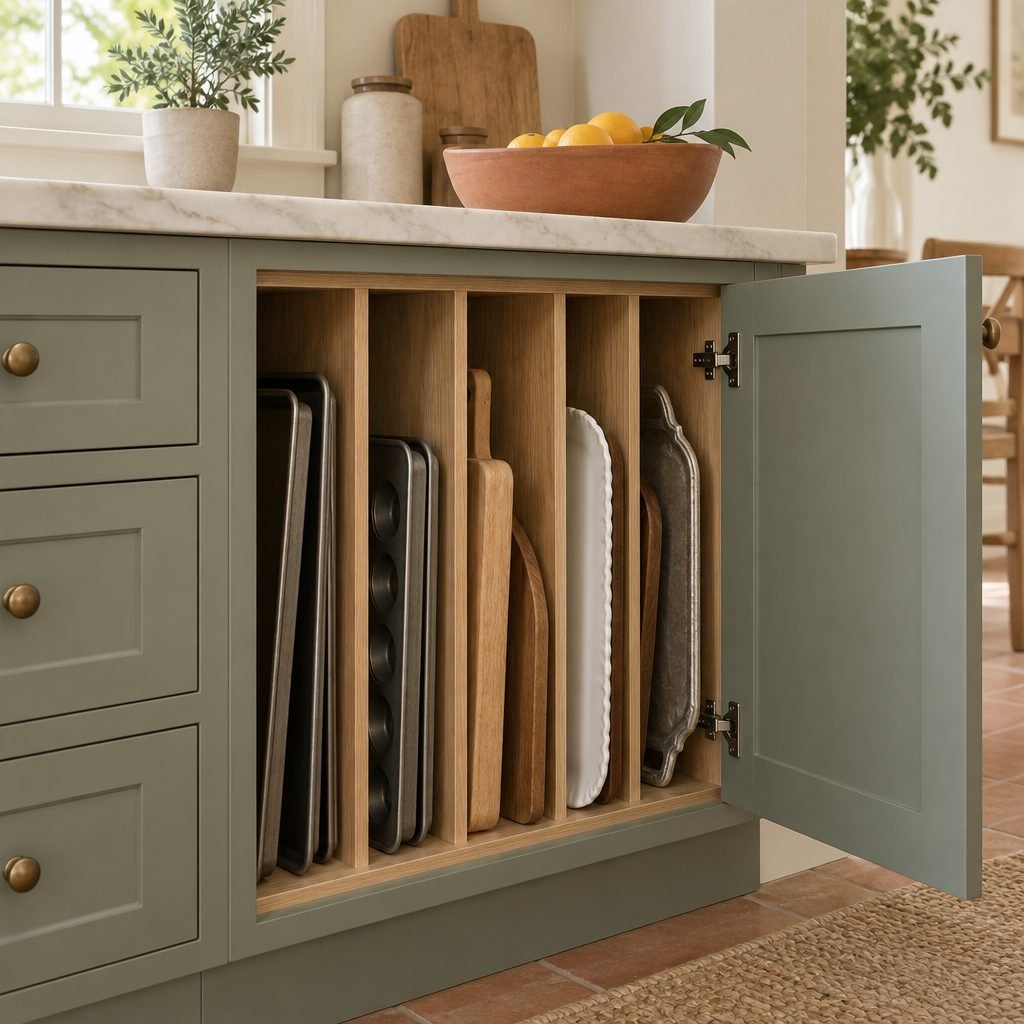
11. Store Baking Sheets Vertically
Stacked sheet pans mean lifting five to get one. Vertical dividers in a narrow cabinet or above the fridge let you slide out any baking sheet, cutting board, muffin tin or tray on its own.
12. Use Door Space
Slim racks on the inside of cabinet doors hold cutting boards, measuring cups, pot lids or cleaning supplies. Measure the depth first so the door still closes over the shelves.
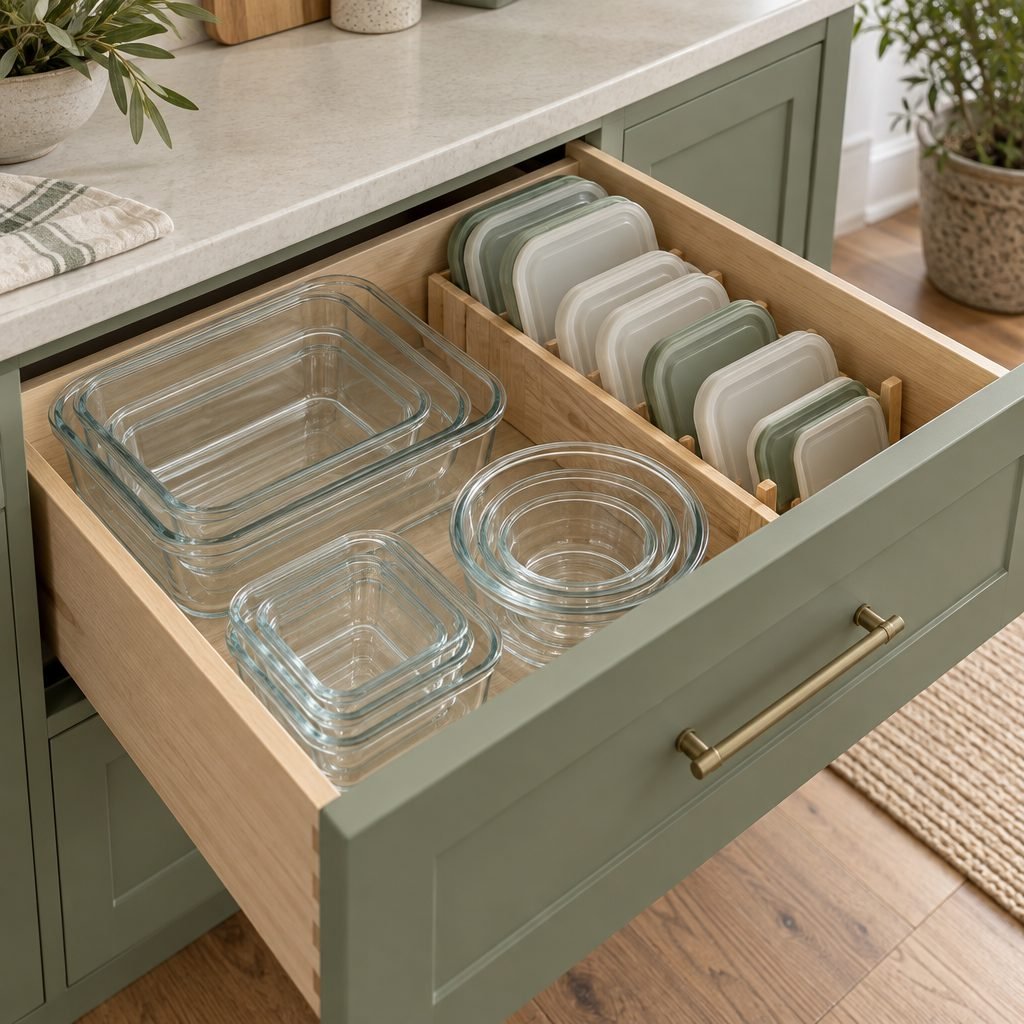
13. Nest Food Storage by Size
Keep only containers that have matching lids, then nest them from largest to smallest. Glass sets that share lid sizes save the most space.
14. File Lids in a Lid Organizer
Stand lids on edge in a lid organizer, sorted by size. When lids stop sliding around, the whole drawer stays tidy for weeks instead of days.
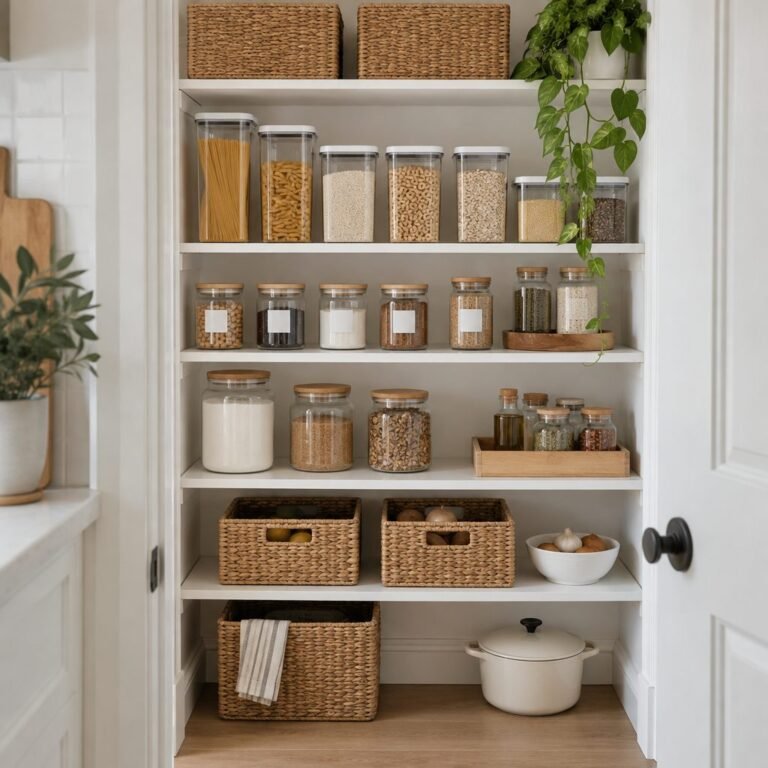
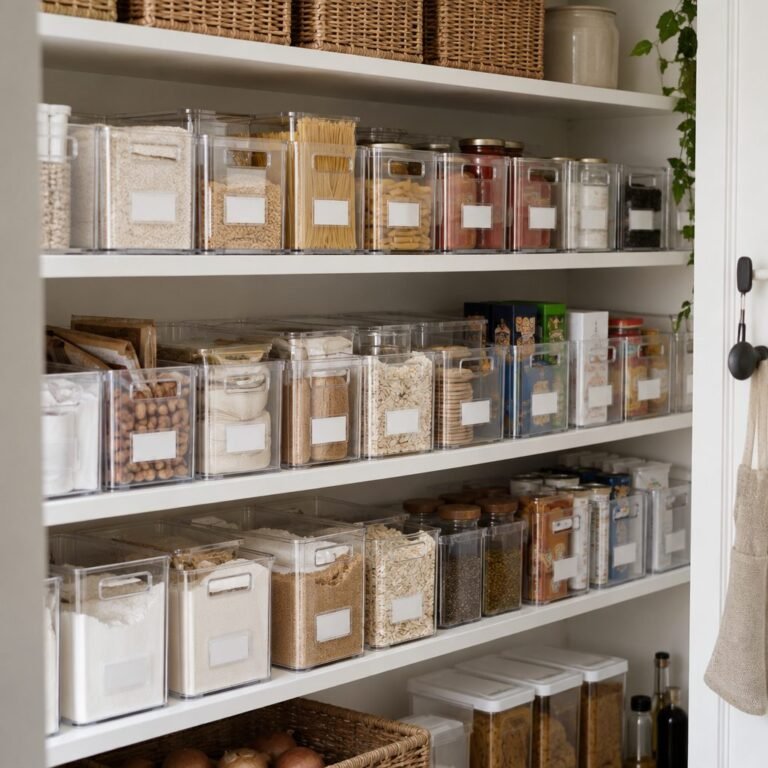
15. Group Like Items in Clear Bins
Clear bins keep small things together: baking supplies, snack bags, coffee pods or kids’ cups. For dry goods and bulk foods, our pantry organization ideas show how to set up bins and labels that last.
16. Add a Sliding Caddy Under the Sink
Plumbing makes under-sink space awkward. A two-tier sliding caddy works around the pipes and keeps dish soap, sponges and cleaners in one pull-out spot.
17. Move Rarely Used Items Up High
The top shelf is perfect for holiday platters, the big roasting pan and backup paper goods. Keep a small step stool nearby so reaching it is safe.
18. Label Shelves and Bins
Labels are what keep a system working after the first week. They tell everyone in the house where things go back, not just where they came from.
How to Organize Kitchen Cabinets Step by Step
Here is how to organize kitchen cabinets in a single weekend, working one zone at a time so the kitchen stays usable while you go.
- Clear one cabinet or zone at a time, not the whole kitchen at once.
- Purge duplicates, broken items and containers without lids.
- Group what is left into categories by use.
- Assign each category to a zone near where you use it.
- Keep daily items between knee and shoulder height.
- Add organizers (risers, pull-outs, dividers) only after you know what fits.
- Label bins and shelves, then check the system after two weeks.
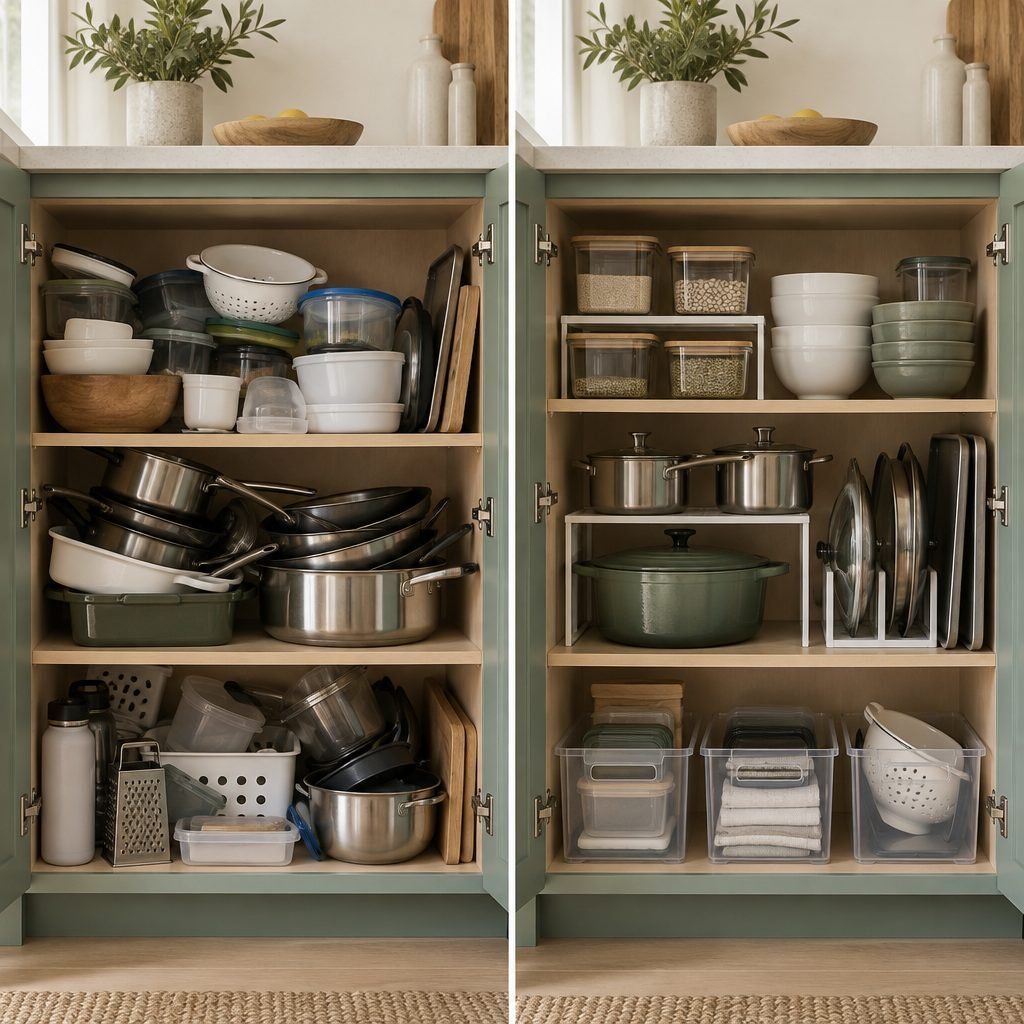
Common Mistakes to Avoid
A few habits can undo all the work you put into learning how to organize kitchen cabinets. Watch out for these.
- Buying organizers first. Measure your cabinets and sort your items before you shop.
- Stacking too high. If you have to lift a stack to reach the bottom item, it needs a riser or a divider.
- Ignoring depth. Anything pushed to the back of a deep cabinet gets forgotten. Use pull-outs or bins.
- Keeping every container. Mismatched lids and extra takeout tubs fill whole shelves.
- Mixing zones. Cleaning supplies next to food or bakeware far from the oven makes every task slower.
FAQ
What is the best way to organize kitchen cabinets?
The best way to organize kitchen cabinets is by zone: store things close to where you use them and at a height that matches how often you use them. Then add pull-outs, risers and dividers to make each zone easy to reach.
What should go in upper vs. lower kitchen cabinets?
Upper cabinets suit lighter everyday items like plates, bowls, glasses and mugs. Lower cabinets and drawers are better for heavy items such as pots, pans, small appliances and mixing bowls.
How do you organize deep kitchen cabinets?
Use pull-out drawers, roll-out shelves or bins with handles so you can bring the back of the cabinet forward. Avoid stacking items two rows deep.
How can I organize kitchen cabinets in a rental?
If you are working out how to organize kitchen cabinets in a rental, stick to freestanding organizers: shelf risers, bins, turntables, clip-on baskets, over-the-door racks and sliding caddies. None of them need drilling. For more no-drill ideas, see our pantry shelving ideas.
Cabinets done? Next, learn how to organize kitchen drawers for cutlery, cooking tools, spices and the catch-all drawer.
Spices taking over a whole shelf? Our spice cabinet organization guide covers tiered risers, lazy susans, pull-out racks and where to keep spices so they stay fresh.
Running out of room even after organizing? These kitchen storage ideas show how to add space with pull-outs, door racks, wall rails and the hidden gaps around your kitchen.
Once the inside of your cabinets is sorted, the space on top can look good too. See our over kitchen cabinet decorating ideas for simple ways to style it without adding clutter.
Final Thoughts
Once you know how to organize kitchen cabinets by zone, the rest is simple: purge first, keep daily items within easy reach, and use pull-outs, risers and dividers to beat deep shelves and awkward corners. Start with the cabinet that frustrates you most. One organized cabinet usually gives you the motivation to finish the rest.
How this guide was made: researched and written with the help of AI tools, fact-checked against trusted sources and published by Mohamed Elber. Images are AI-generated illustrations. See our Editorial Policy.