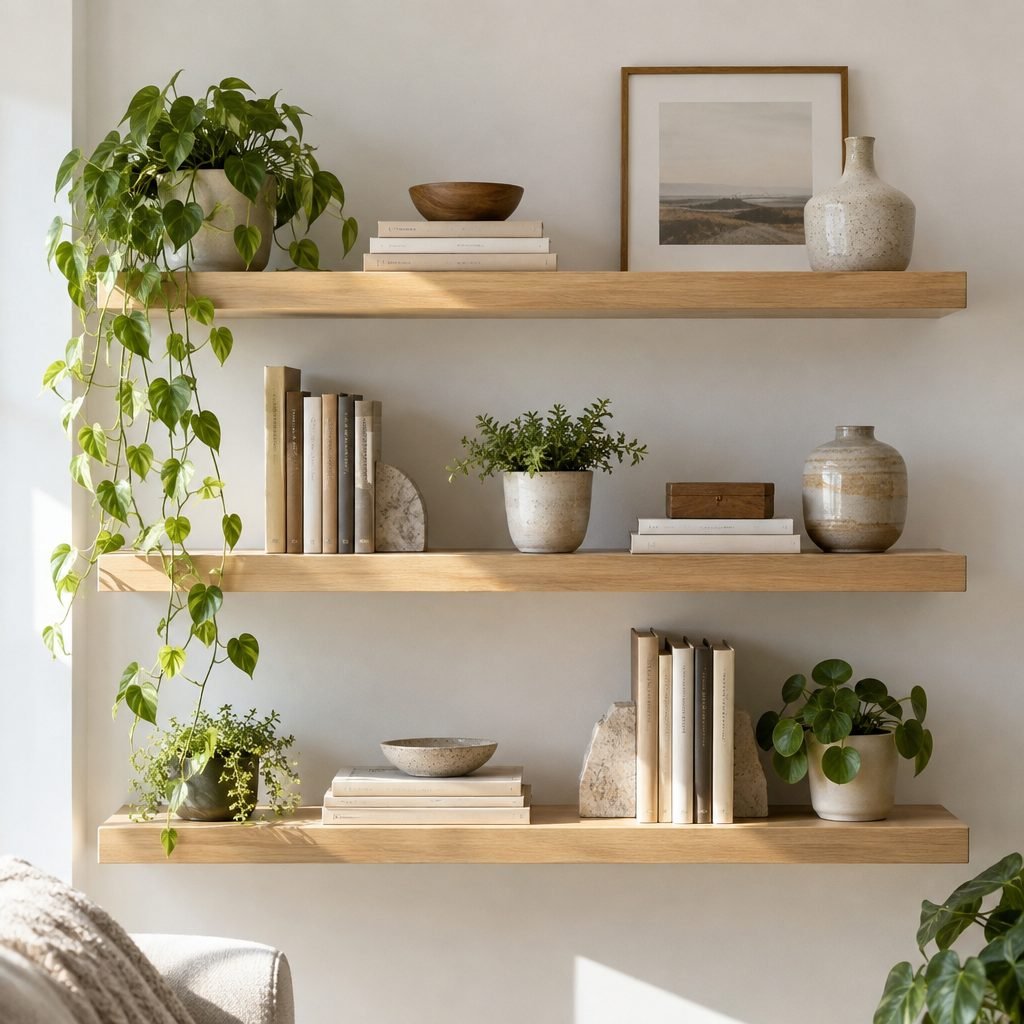
Floating shelves look like they’re held up by nothing. That clean, bracket-free look is exactly why they’re so popular, and why so many store-bought versions end up sagging or pulling away from the wall.
The good news: DIY floating shelves are one of the easiest storage upgrades you can make yourself, as long as you understand what’s actually holding them up. This guide explains how floating shelves work, the tools you need, and how to build and hang them step by step.
Key Takeaways
- Quick answer: To build DIY floating shelves, screw a hidden steel bracket into wall studs on a level line, drill holes in the back edge of a solid wood board to match the rods, then slide the board on and stay under the load rating.
- Hidden brackets hold floating shelves, so secure fixing matters most.
- Screw into studs when you can, and match anchors to your wall type.
- Check for pipes and wires before you drill.
Time: 2–4 hours · Cost: $40–120 · Difficulty: Moderate
How Floating Shelves Actually Hold
A floating shelf hides its support inside the shelf. A metal bracket is screwed to the wall, steel rods stick out from it, and the shelf board slides onto the rods through holes drilled in its back edge. The bracket carries the shelf, and the wall carries the bracket.
That’s why the most important part of any floating shelf isn’t the wood. It’s what the bracket is screwed into. Screws that go into the wood studs behind the drywall hold far more than anchors in drywall alone.
Two Ways to Make DIY Floating Shelves
| Method | How it works | Best for |
|---|---|---|
| Hidden steel bracket | A ready-made bracket with rods is screwed to the wall, and a solid board slides onto it | Beginners, solid wood boards, a clean look with the least carpentry |
| Wood cleat or box shelf | A wood frame is screwed to the studs, then a hollow shelf box is built to slide over it | Long shelves, custom sizes, lower material cost if you have woodworking tools |
This guide uses the hidden steel bracket method. It’s the simplest way to get a strong, truly floating shelf without building a frame.
What You’ll Need
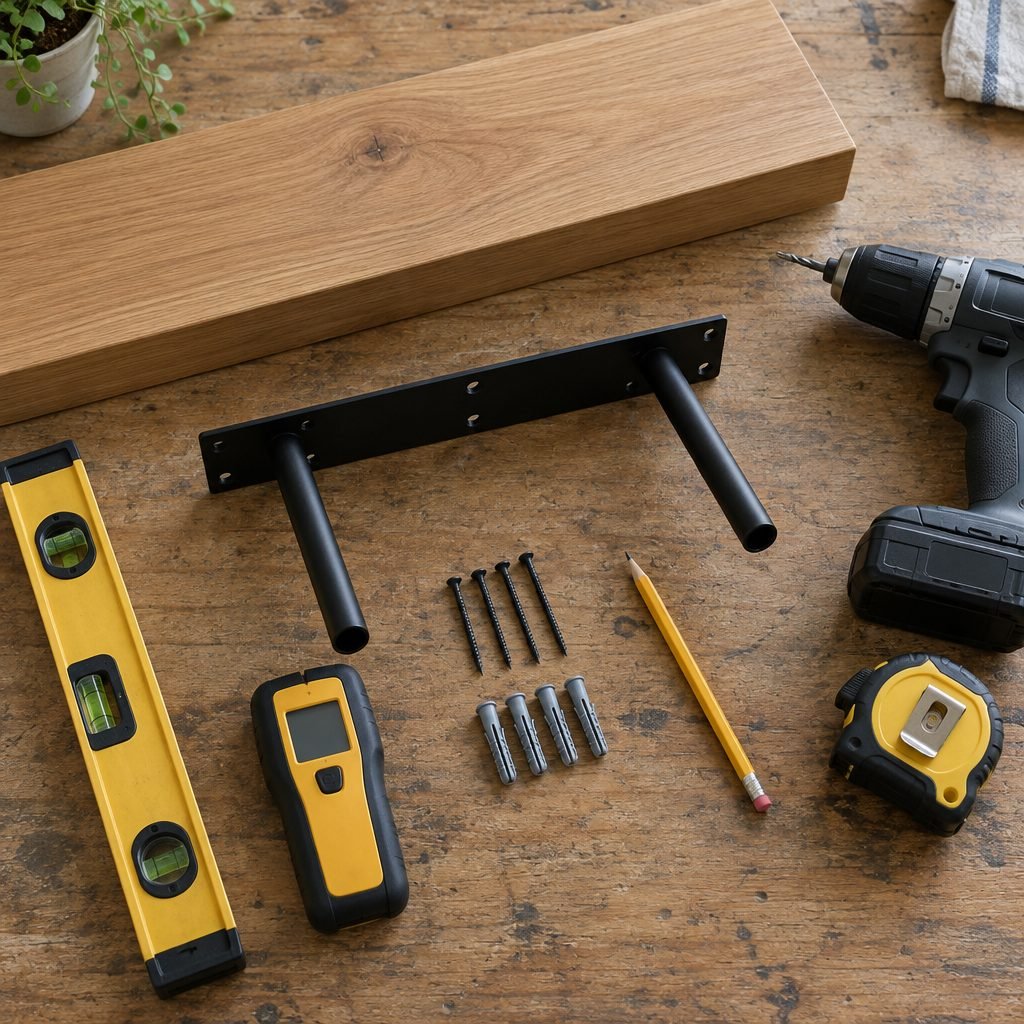
- A solid wood board, such as oak, walnut or pine, cut to length
- A hidden floating shelf bracket rated for the weight you plan to store
- A stud finder
- A spirit level and a tape measure
- A cordless drill, a drill bit that matches the rod diameter, and a driver bit
- Screws or anchors suited to your wall (see the table in the diagram above)
- Painter’s tape and a pencil
- Optional: sandpaper and a wood finish or sealer
Before you buy the board, check the bracket instructions for the minimum board thickness. The rods need enough wood around them, so hidden brackets usually call for a fairly thick board.
How to Build and Hang Floating Shelves in 8 Steps
1. Choose the spot and check for hidden utilities
Decide on the height and length of the shelf, then check the wall before drilling. As Lowe’s notes in its guide to finding studs, ducts, electrical wires and water pipes may be inside the wall, so be careful where you put fasteners. Avoid drilling directly above or below outlets and switches.
2. Find and mark the studs
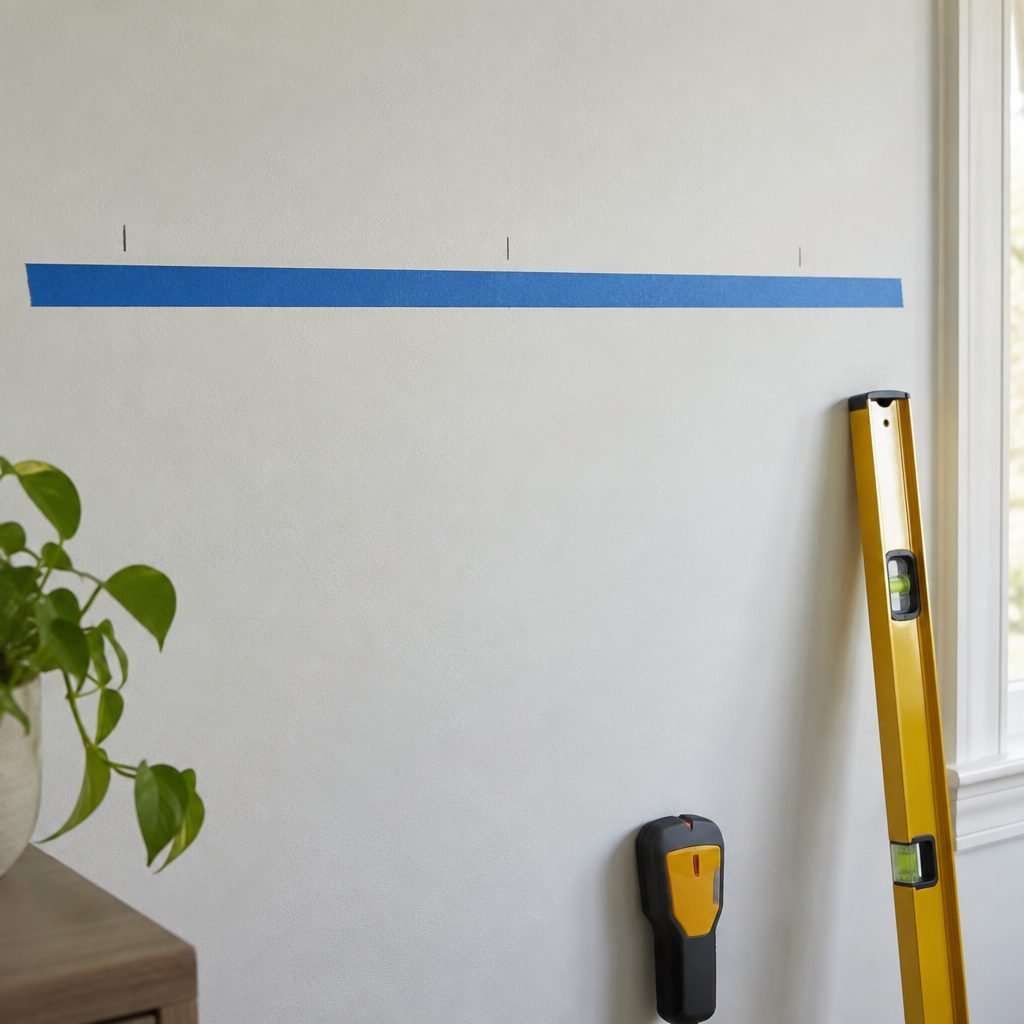
Run a stud finder along the wall and mark each stud with a small pencil line. Studs are usually spaced 16 or 24 inches apart, measured center to center, so once you find one, the next is easy to check. Plan the shelf so the bracket crosses at least one stud, ideally two.
3. Mark a level line
Put a strip of painter’s tape along the wall at the height where the bracket will sit, and use the level to make sure it’s perfectly straight. The tape is easier to see than pencil and comes off without marking the paint.
4. Mount the bracket
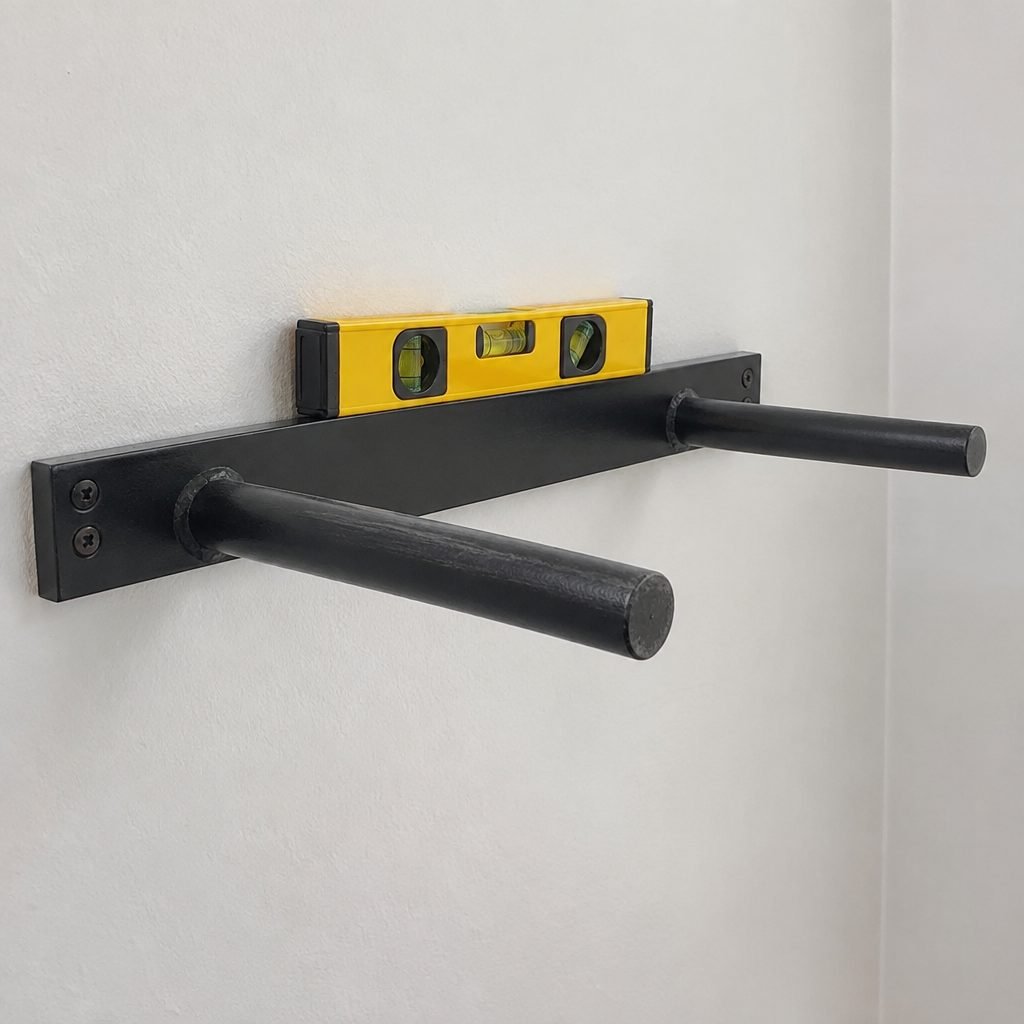
Hold the bracket on your line, check it with the level, and mark the screw holes. Drive the screws into the studs wherever the holes line up. For holes that don’t hit a stud, use anchors rated for your wall type. Check the level again once every screw is tight, because a bracket that’s slightly off will be very visible once the shelf is on.
5. Mark the rod positions on the board
Measure the exact spacing and height of the rods on the mounted bracket, then transfer those measurements to the back edge of the board. Double-check them, since this is the step where most mistakes happen.
6. Drill the holes
Use a drill bit that matches the rod diameter and drill straight into the back edge of the board. Wrap a piece of tape around the bit to mark the rod length, so every hole is the same depth. Keep the drill level: a drill guide or a helper watching from the side makes a big difference.
7. Slide the board onto the rods
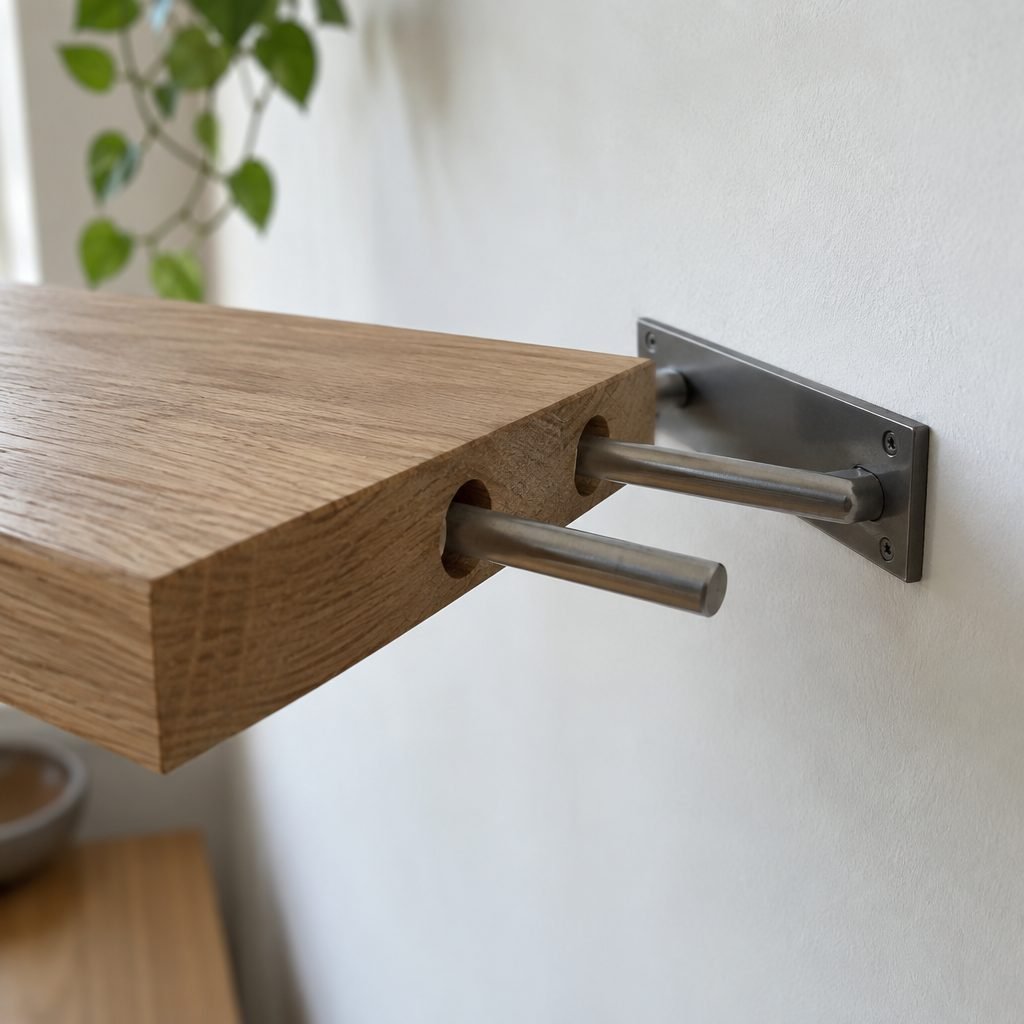
Line up the holes and push the board onto the rods until it sits flat against the wall. If it’s tight, tap it on with a rubber mallet and a scrap block of wood to protect the edge. Some brackets include a way to lock the board in place; follow the maker’s instructions for that step.
8. Check it and load it gradually
Check the shelf with the level one last time, then add items a few at a time, heaviest ones closest to the wall and near the studs. Never go over the load rating printed on your bracket and anchors.
Floating Shelf Ideas for Every Room
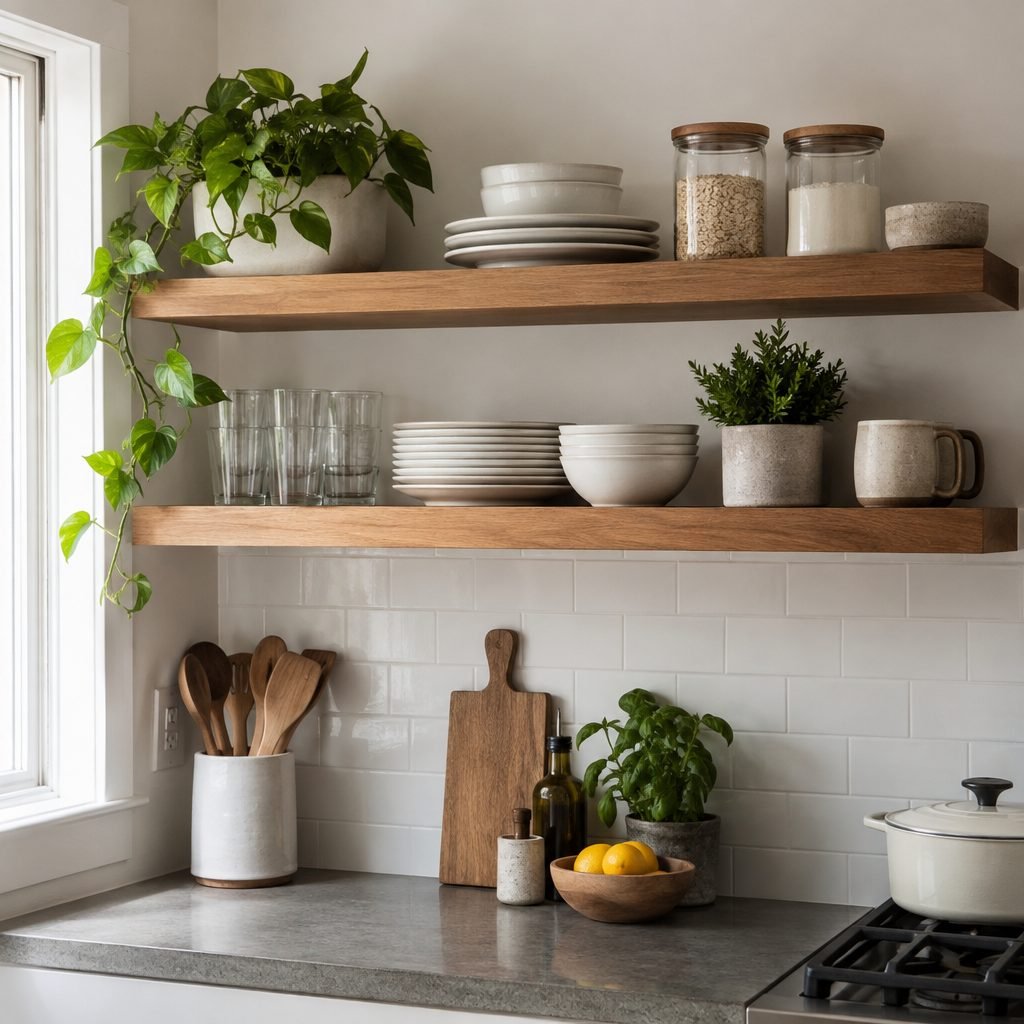
- Kitchen: everyday plates, bowls and glass jars within easy reach. Keep the heaviest stacks above the studs.
- Bathroom: towels and toiletries above the toilet. Use a sealed or finished board, since bathrooms are humid. Our over the toilet storage ideas show how to use that wall.
- Laundry room: backup supplies on a shelf mounted high enough to clear a top-loader’s lid, as explained in our small laundry room guide.
- Pantry: an extra shelf for jars and spices where a standard shelf won’t fit. See our pantry organization ideas for what to put on each level.
- Entryway: a slim floating ledge by the door makes a drop zone for keys and mail. See more small entryway ideas.
- Bedroom: a single floating shelf beside the bed works as a slim nightstand in a small room.
- Living room: books, plants and a few favorite objects, grouped in threes so the shelf doesn’t look cluttered.
Tips for Strong, Straight Floating Shelves
- Hit the studs. A bracket screwed into studs holds far more than one held only by drywall anchors.
- Keep spans reasonable. Longer shelves need a longer bracket or more support points, and they’re more likely to sag in the middle.
- Choose solid wood for hidden brackets. Rods need solid material around them. Hollow-core boards or thin plywood won’t hold them securely.
- Seal the wood. A finish protects the shelf from moisture and stains, especially in kitchens and bathrooms.
- Spread the weight. Put heavy items near the wall and over the studs, and lighter decor toward the ends.
Common DIY Floating Shelf Mistakes
- Relying on drywall anchors for heavy loads. Anchors alone are for light, decorative items.
- Drilling crooked holes. Angled holes make the shelf tilt forward or down. Go slowly and keep the drill level.
- Skipping the level check. Check the bracket before the board goes on, not after.
- Ignoring the load rating. The bracket and anchor packaging tells you the safe load. Stay under it.
- Using raw wood in wet rooms. Unsealed wood can warp or stain in a humid bathroom or above a sink.
DIY Floating Shelves FAQ
How much weight can a floating shelf hold?
It depends on the bracket, the board and, most of all, what the bracket is screwed into. A bracket fixed into studs holds much more than one in drywall alone. Always follow the load rating printed on your bracket and anchors.
Can you hang floating shelves without studs?
Only for light, decorative items, using heavy-duty anchors rated for your wall. For books, dishes or anything heavy, the bracket should be screwed into studs, or into masonry with the right anchors.
How deep should floating shelves be?
Most floating shelves are between 6 and 12 inches deep. Shallower shelves are easier to support and suit books and decor, while deeper shelves suit kitchen dishes but put more strain on the bracket.
What is the best wood for DIY floating shelves?
Solid hardwoods like oak and walnut are strong and look great with a simple finish. Pine is a good budget option. For hidden-bracket shelves, use a solid board thick enough for the rods, as listed in the bracket instructions.
Building shelves inside a closet? See our DIY closet shelves guide for cleats, shelf-and-rod brackets and the right rod heights.
Not sure how far apart to hang your shelves? Our free shelf spacing calculator gives you the height of every shelf from the floor, in inches or centimeters.
Building shelves for a kitchen? Our kitchen wall decor ideas show how to style them so they look good and stay practical.
A floating shelf can also stand in for a mantel in a home without a fireplace; our Christmas mantel decorating ideas work on a shelf too.
Final Thoughts
DIY floating shelves come down to one thing: a solid connection to the wall. Find the studs, mount a level bracket, drill straight holes, and stay within the load rating, and your shelves will look like they float for years.
Start with one short shelf to get the technique right, then save this guide to Pinterest for your next project.
How this guide was made: researched and written with the help of AI tools, fact-checked against trusted sources and published by Mohamed Elber. Images are AI-generated illustrations. See our Editorial Policy.