DIY closet shelves are one of the most satisfying weekend projects in the house. A sagging wire shelf and a single wobbly rod hold far less than a closet can, and a few plywood boards, some wood strips and a new rod can roughly double the usable space without a custom closet company. You do not need a workshop either: most of the cutting can be done at the store, and the rest takes a drill, a level and a stud finder.
This guide starts with the measurements that make a closet work, then walks through the materials, a simple 7-step build and 18 ideas for shelves, rods, towers, drawers and budget upgrades. If your closet is small, pair it with our small closet organization ideas once the shelves are up.
Key Takeaways
- Quick answer: The easiest DIY closet shelves are 3/4-inch plywood boards resting on wood cleats screwed into the wall studs, with a wooden rod about 66 inches above the floor, at least 12 inches from the back wall and at least 2 inches below the shelf.
- Keep plywood shelf spans to about 32 inches, or add a support in the middle, and add a solid wood strip to the front edge for strength.
- Anchor any tall shelf tower or drawer unit to the wall, and use the rest of the height for a second shelf or a double rod.
Time: a weekend · Cost: $50–300 · Difficulty: Easy to moderate
Closet Shelf and Rod Measurements to Know
Good closet shelves start with a few numbers. Bob Vila’s guide to closet rod height recommends mounting a single rod 66 inches above the floor, measured to the bottom of the rod. For a double-hang closet, it suggests a top rod at 81¾ inches and a lower rod at 40½ inches. It also says to leave at least 2 inches between the bottom of a shelf and the top of the rod, and to place the rod at least 12 inches from the back wall so hangers do not hit it.
For the shelves themselves, about 12 inches deep is plenty for folded clothes in a reach-in closet. A shelf above the rod works best at 14 to 16 inches deep, so the rod can sit underneath it. Hunker’s closet rod and shelf guide suggests spacing shelves about 12 inches apart, 15 inches for bulkier linens and towels, and 6 or 7 inches for shoes.
Shelf span matters as much as height. On the woodworking forum WOODWEB, one contributor limits 3/4-inch plywood closet shelves to 32 inches between supports and particleboard to 28 inches, and others recommend a solid wood strip on the front edge for strength. Beyond that, plan a support in the middle or a shorter run.
Quick Pick: Which Closet Shelves Fit Your Project?
| Your goal | Best option | Ideas to start with |
|---|---|---|
| Replace a sagging wire shelf | Plywood shelves on wood cleats | #1, #13, #15 |
| Add one shelf and a rod fast | Shelf-and-rod brackets | #2, #5 |
| Fit more clothes in a reach-in | Double rods and side-wall shelves | #6, #7, #8 |
| Store folded clothes and small items | Shelf tower with drawers | #9, #10, #12 |
| Make it look custom on a budget | Painted built-in look with trim | #11, #16 |
What You Need for DIY Closet Shelves
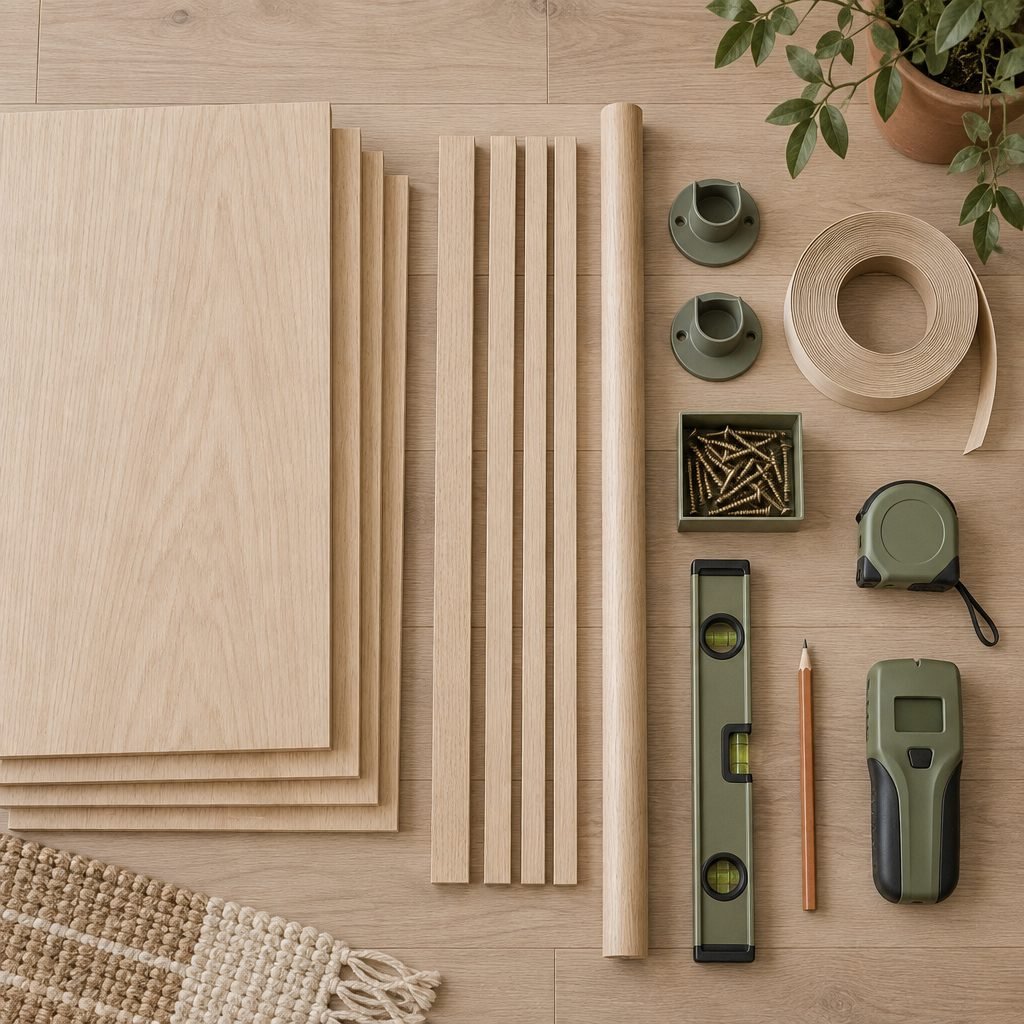
- Shelves: 3/4-inch plywood, cut to depth and length. Many home centers will rip a sheet into shelf strips for you.
- Cleats: 1×2 or 1×3 boards to support the back and sides of each shelf.
- Front edge: iron-on edge banding or a thin strip of solid wood.
- Rod: a wooden or metal closet rod, two rod sockets or shelf-and-rod brackets, and a center support for long runs.
- Fasteners: wood screws long enough to go through the cleat and drywall into the studs, plus finish nails or short screws to fix the shelf to the cleats.
- Tools: stud finder, level, tape measure, pencil, drill and a saw if you cut boards yourself.
How to Build DIY Closet Shelves and Rods in 7 Steps
- Empty the closet and measure. Note the width at the back and at the front, the depth and the height. Older closets are rarely square, so measure each wall.
- Plan the layout. Sketch where each shelf and rod goes using the heights above. Decide which sections hang and which hold folded clothes.
- Find and mark the studs. Use a stud finder on the back and side walls and mark each stud just above every shelf line.
- Draw level lines. Mark the bottom of each shelf with a level on all three walls, so the cleats go up straight.
- Install the cleats. Cut the back cleat and two side cleats for each shelf and screw them into the studs along the lines. On a side wall with no stud where you need one, use anchors rated for the load.
- Cut, edge and set the shelves. Cut the plywood to fit, add edge banding or a solid wood strip to the front, then rest each shelf on its cleats and fix it with a few short screws or finish nails.
- Hang the rod. Mount the rod sockets or brackets at your chosen height, at least 12 inches from the back wall, and add a center support on long runs before you load the rod.
Simple Closet Shelf Ideas
These four shelf styles cover most closets, from the cheapest fix to the prettiest one.
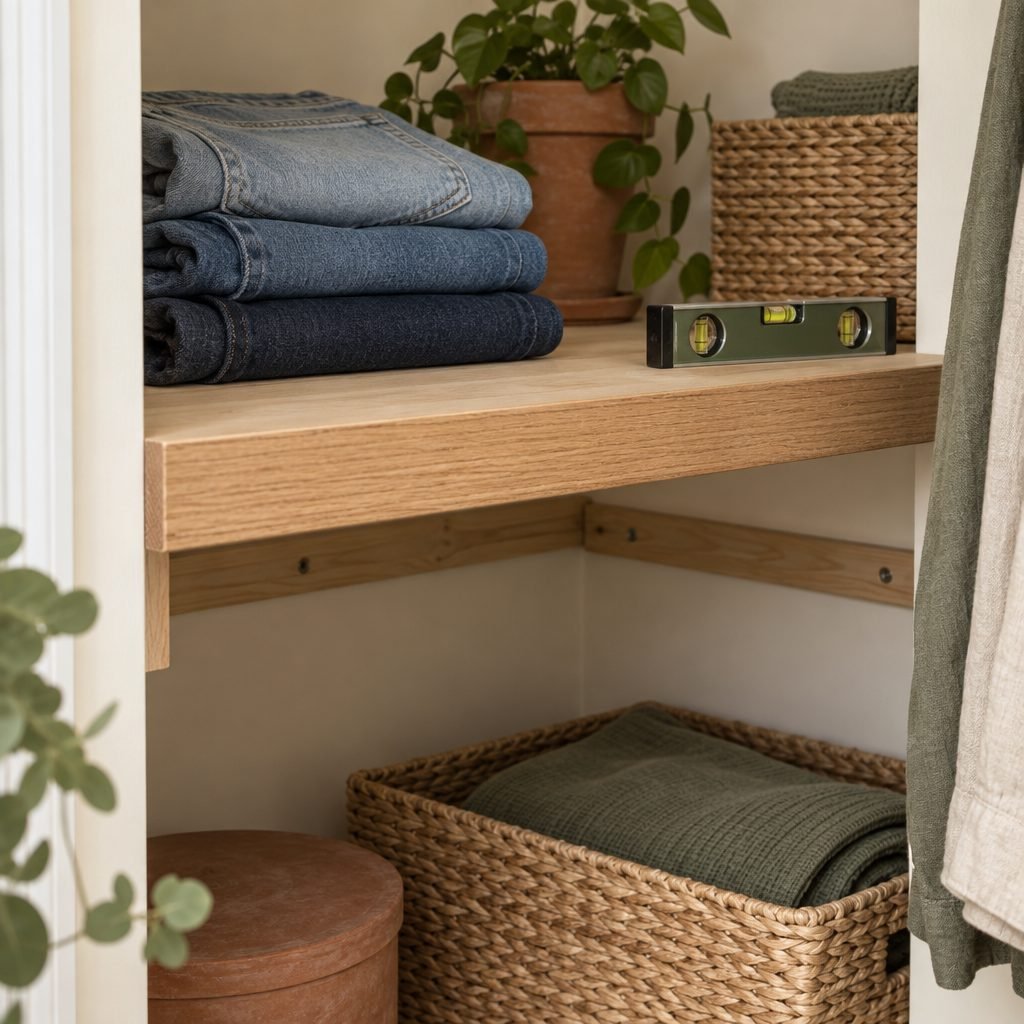
1. Plywood Shelves on Wood Cleats
Cleats are the simplest and strongest way to build closet shelves. A strip of wood screwed into the studs along the back and both side walls supports the shelf on three sides; on spans over about 32 inches, add a solid wood front strip or a middle support. The cleats can be painted to match the wall, and the shelves look built in once the front edge is finished. This is the method in the step-by-step above, and it is the one to choose if you are replacing a wire shelf.
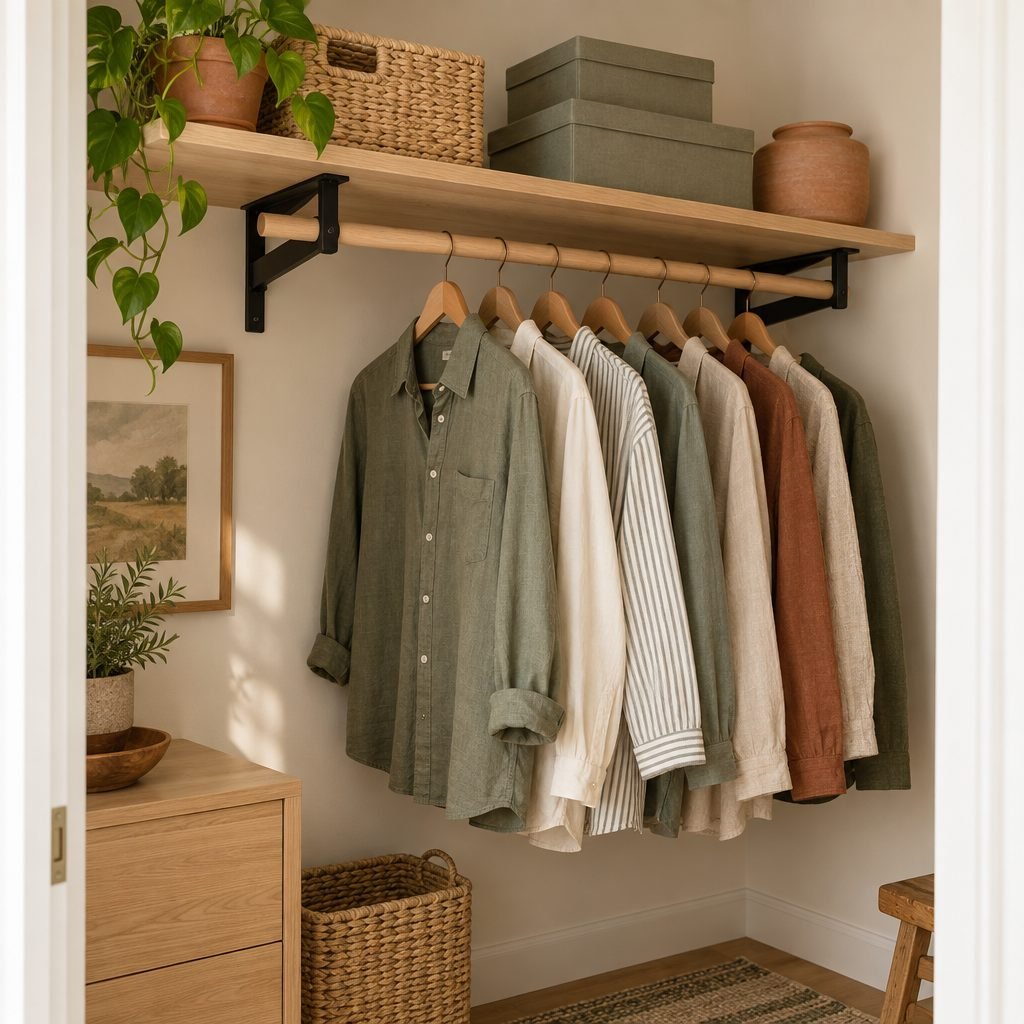
2. Shelf-and-Rod Brackets
If you want one shelf and one rod in an afternoon, shelf-and-rod brackets do both jobs at once. Each bracket screws into a stud, holds the shelf on top and cradles the rod in a hook underneath. They are the classic choice for a reach-in closet and work well on a single wall where side cleats are not possible. Space the brackets at studs, and add one in the middle of a long shelf.
3. Adjustable Wall Standards and Brackets
Slotted metal standards screwed to the studs let you move shelves up or down later, which is useful in a kids’ closet or a closet whose use will change. Wooden shelves on these brackets look much warmer than wire. The tradeoff is the visible metal strips, so paint them the wall color or choose a finish that blends in.
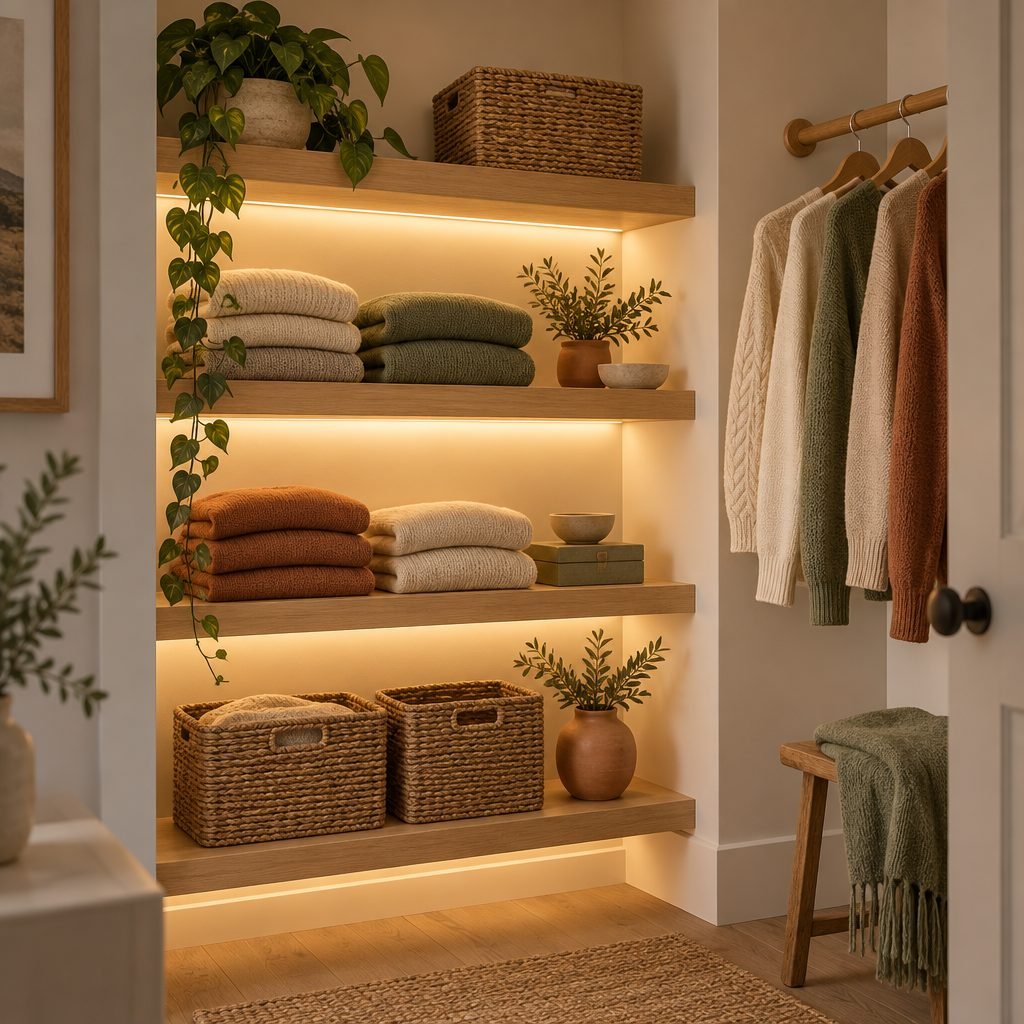
4. Floating Shelves With LED Strips
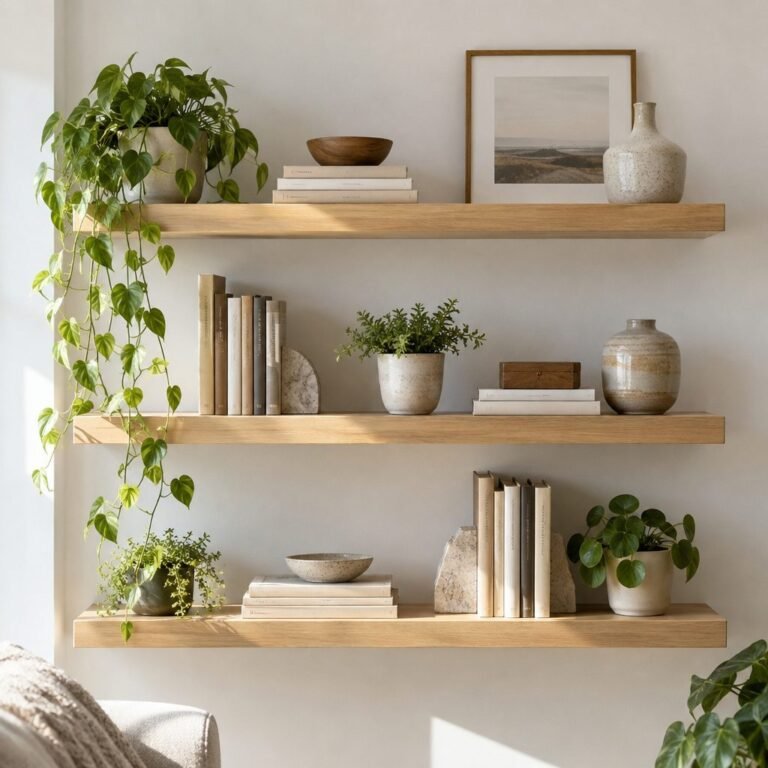
Floating shelves give a closet a calm, boutique look, especially with a warm LED strip under each one. They rely on hidden brackets screwed firmly into studs, so they suit folded sweaters, baskets and accessories more than heavy stacks of jeans. Use plug-in or battery LED strips unless an electrician adds a circuit. Our DIY floating shelves guide walks through the hidden bracket method.
DIY Closet Shelves and Rods
Most closets need both shelves and hanging space. These ideas combine them for the most storage.
5. A Single Rod With a Shelf Above
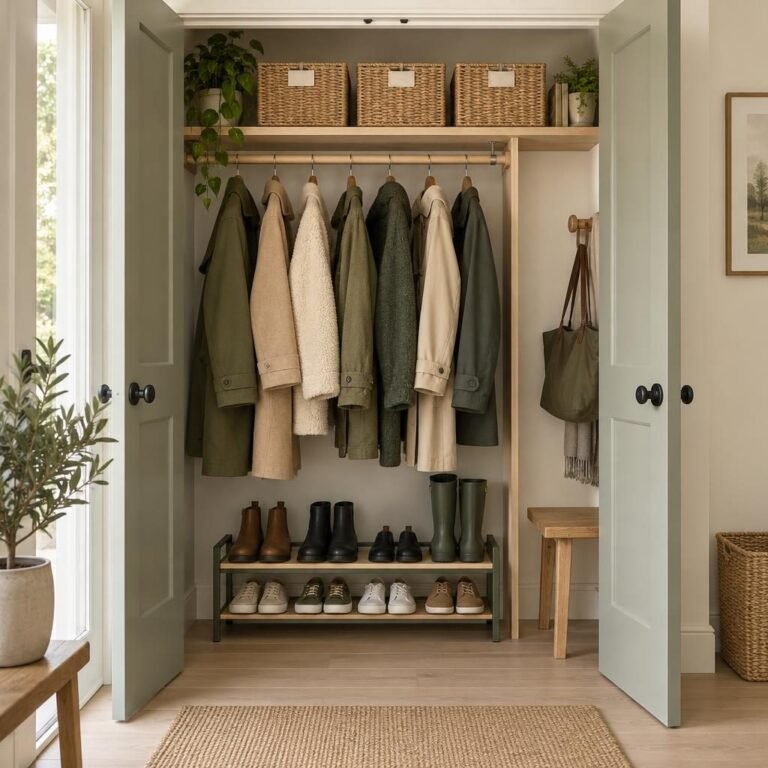
The classic reach-in layout is still the best place to start: one rod about 66 inches high and a deeper shelf just above it for boxes and baskets. Use the space under long items like dresses and coats for a laundry basket or a low shoe shelf. If most of your clothes are short, the next idea doubles the hanging space.
6. Double-Hang Rods for Short Clothes
Shirts, folded trousers and skirts rarely need more than about 40 inches of drop, so two rods stacked in the same space hold twice as much. Use the upper rod at 81¾ inches and the lower at 40½ inches as a starting point, and keep one section at full height for long items. Our small walk-in closet ideas show double rods in a tight space.
7. Side-Wall Shelves Next to the Rod
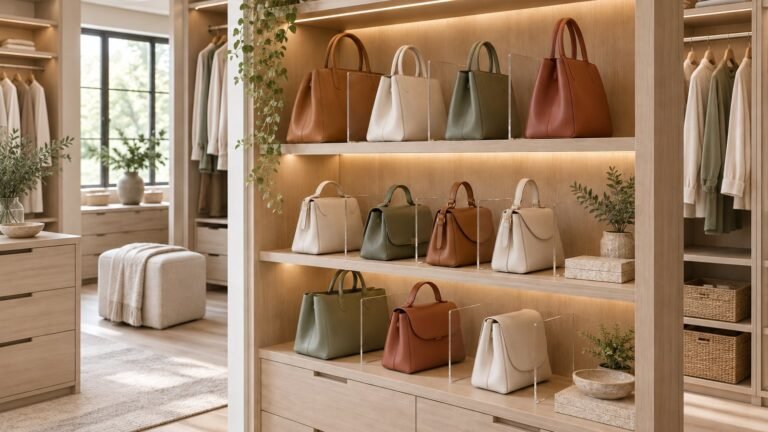
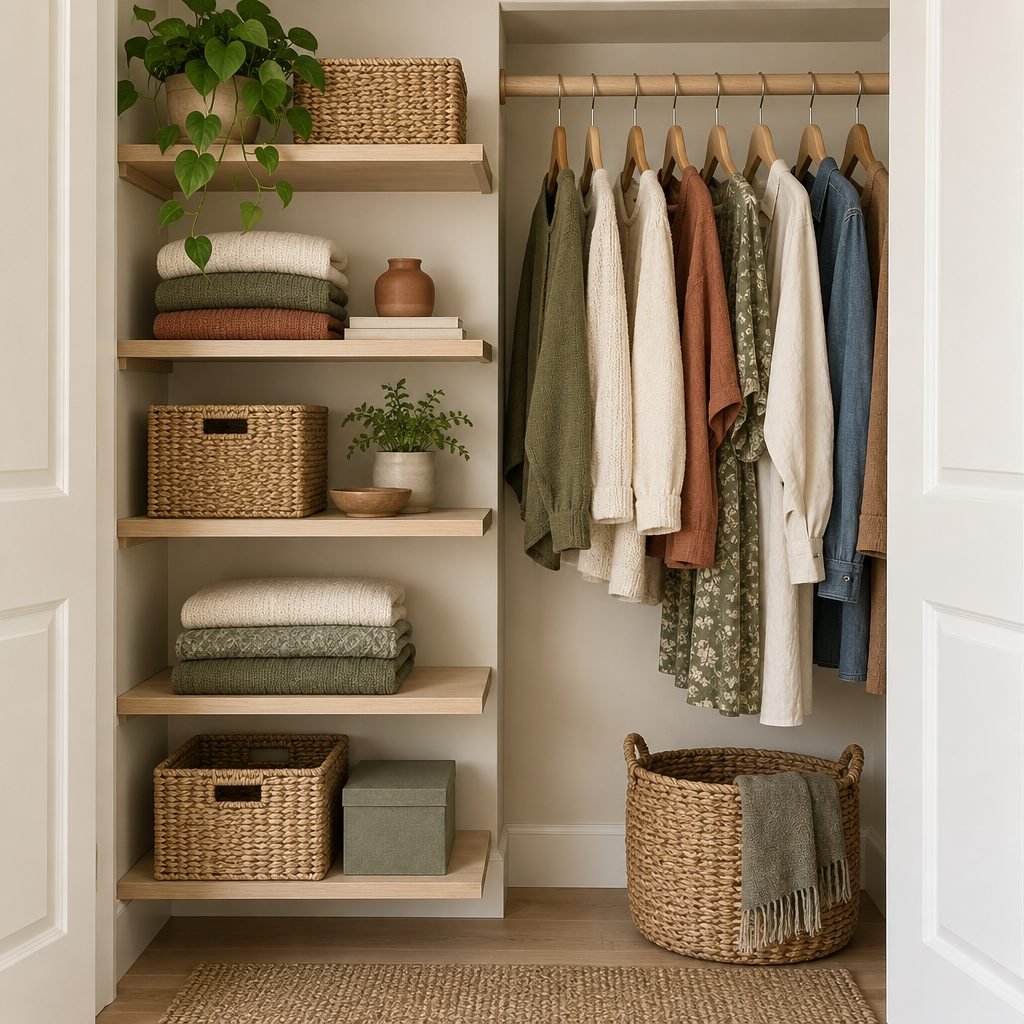
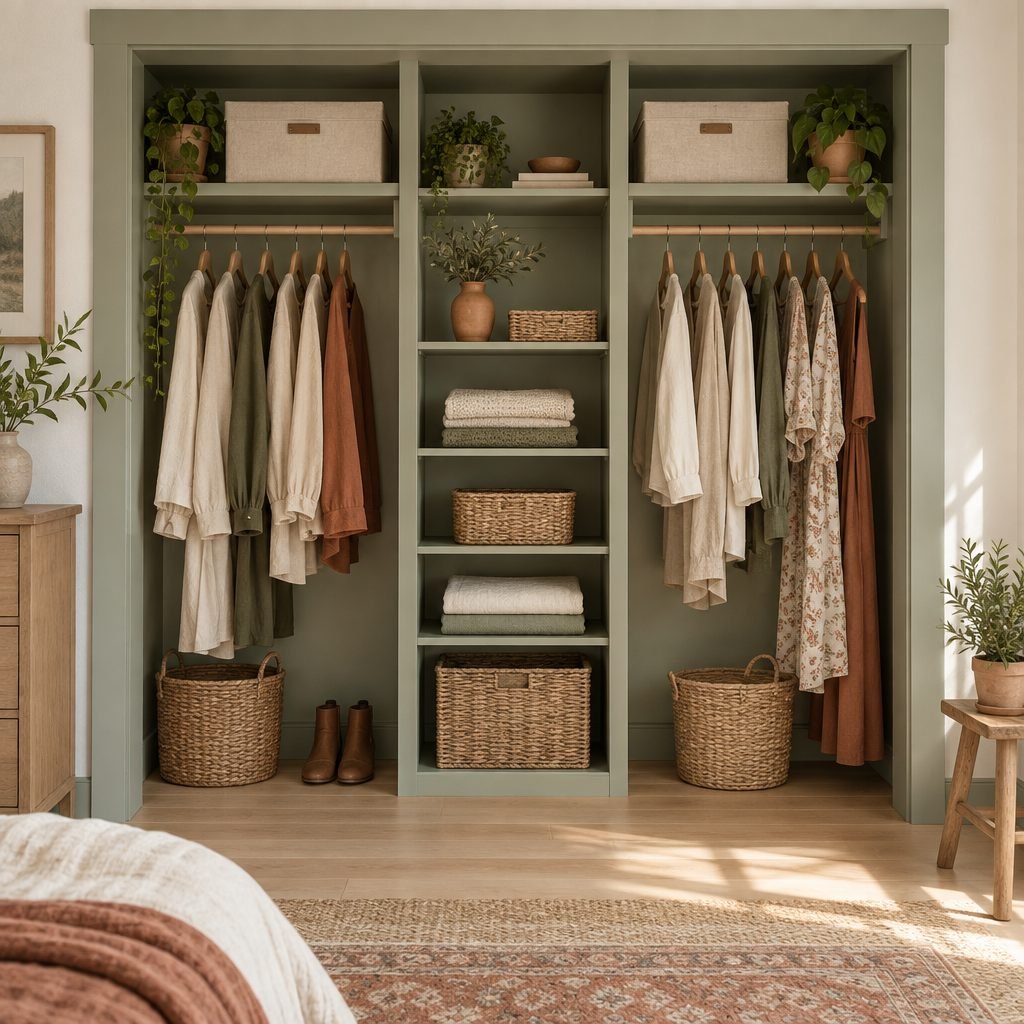
In a reach-in closet, the ends behind the door frame are hard to reach with hangers but perfect for shallow shelves. A column of 12-inch shelves on one side, like the closet at the top of this guide, holds folded sweaters, bags and baskets while the rod runs across the rest of the closet. It is one of the best ways to use the hard-to-reach ends of a small closet.
8. A Second Shelf Above the First
Most closets have a foot or more of empty wall above the top shelf. A second shelf up there is perfect for off-season clothes, spare bedding and keepsakes in labeled boxes. Keep a small step stool nearby, and put only light things on the highest shelf.
Shelf Towers and Drawers
A shelf tower turns an open closet into something closer to a custom system, and it is where DIY closet shelving ideas save the most money.
9. Build a Center Shelf Tower
A tower of shelves in the middle of a wide closet divides it into two hanging sections and gives folded clothes their own home. Build it from 3/4-inch plywood sides with fixed or adjustable shelves, and rest the rods on the tower sides at one end and on wall sockets at the other. The tower also supports the middle of long rods, which keeps them from sagging.
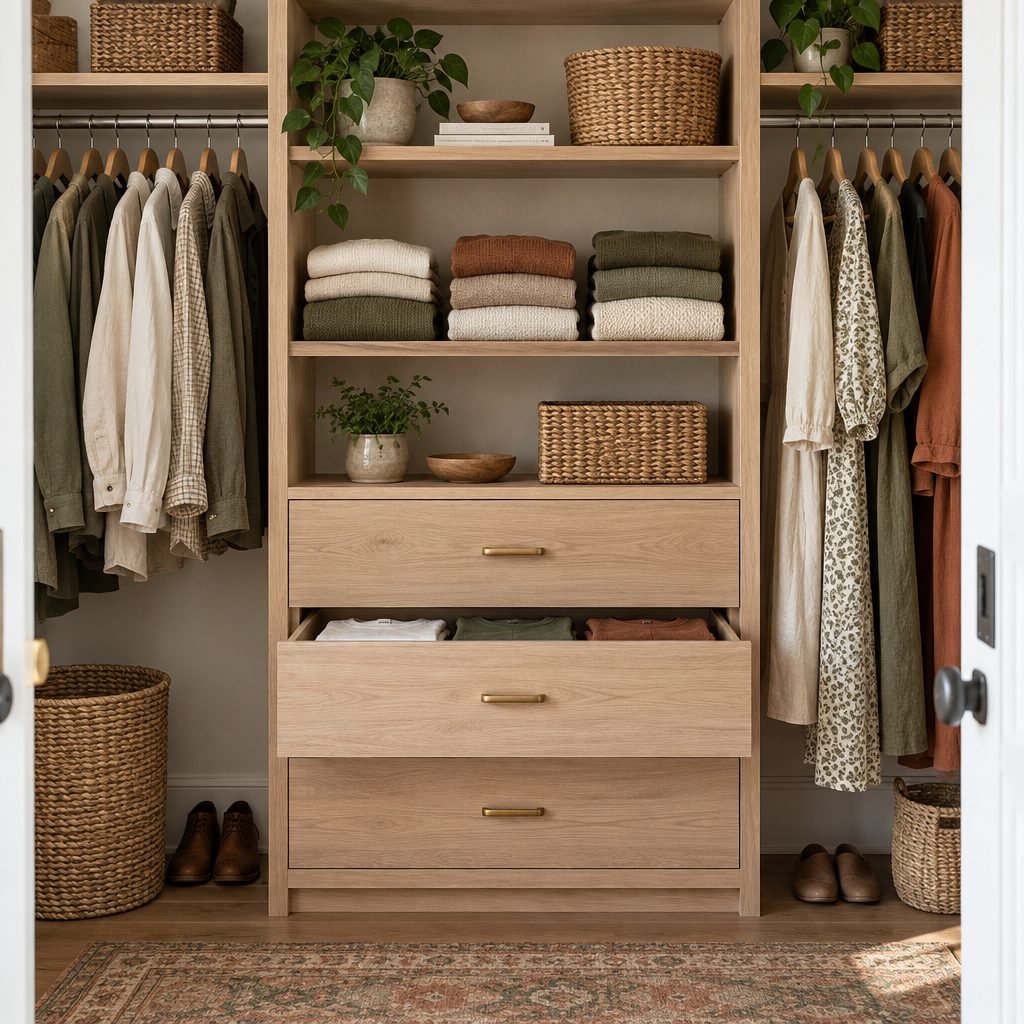
10. Add Drawers to the Tower
Drawers at the bottom of a tower hide socks, underwear and workout clothes and keep dust off folded t-shirts. You can build simple boxes on side-mount drawer slides, or skip the joinery and slide a small ready-made chest of drawers into the base of the tower. Either way, a closet with drawers often frees up a dresser in the bedroom.
11. Fake a Built-In With Trim and Paint
The difference between a homemade closet and a custom one is often just trim. Cover the raw plywood edges and the gaps along the walls with flat face-frame boards, caulk the seams and paint everything one color. A soft sage green or a warm white makes a budget closet look like it came with the house.
12. Anchor Tall Units to the Wall
Any tall shelf tower or drawer unit should be fixed to the wall, especially in a home with children. The U.S. Consumer Product Safety Commission’s Anchor It campaign says anchoring all furniture with drawers, doors and shelves to the wall prevents tip-over injuries and deaths. Screw the tower into a stud with an anti-tip bracket or a cleat at the top, even if it feels steady on its own.
Easy and Cheap DIY Closet Shelving
You do not need a full rebuild to get better closet shelves. These easy upgrades cost little and still make a big difference.
13. Swap a Wire Shelf for Wood
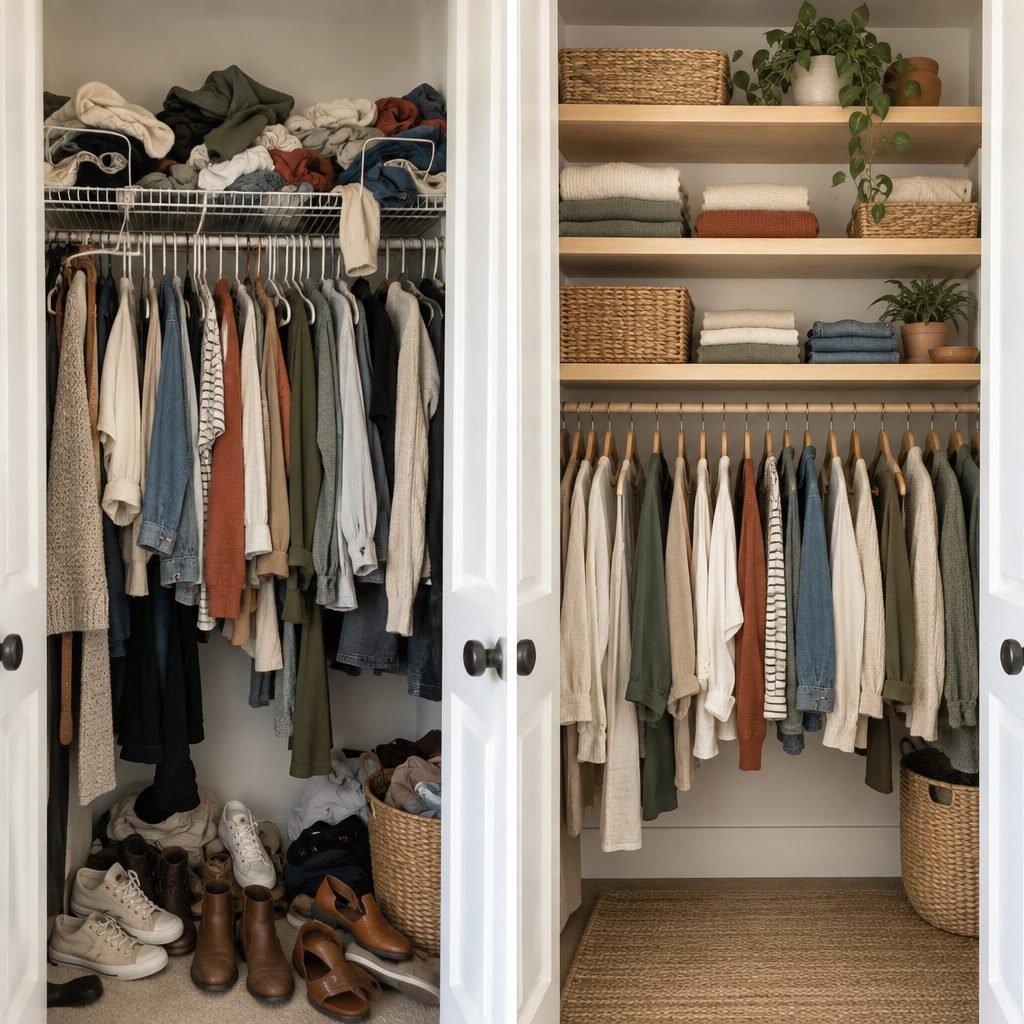
Wire shelves sag, leave lines on folded sweaters and let small things fall through. Replacing them with plywood on cleats is often the single biggest upgrade in a builder-grade closet. Patch the old anchor holes with spackle, and set the new shelves at better heights while you are at it.
14. Let the Store Cut the Boards
If you do not own a table saw, buy a sheet of plywood and ask the store to rip it into shelf strips. Bring a cut list with the exact depths and lengths, plus a little extra for trimming. Then you only need a drill, a level and a stud finder at home, which makes this one of the easiest closet projects you can take on.
15. Finish the Front Edge
Raw plywood edges look unfinished and can snag delicate fabrics. Iron-on edge banding takes minutes, and a solid wood strip glued to the front edge looks even better and adds stiffness to a long shelf. Sand lightly and finish the shelves with a clear water-based finish or paint so clothes do not catch on bare wood.
16. Paint the Closet Before You Build
Painting an empty closet takes far less time than painting around shelves later. A light warm color makes a small closet feel brighter, and a satin or semi-gloss finish wipes clean. Paint the cleats before you install them, then touch up the screw heads at the end.
17. Low Shoe Shelves at the Bottom
The floor of a closet often turns into a pile of shoes. Two or three low shelves about 6 to 7 inches apart keep pairs lined up under short hanging clothes. Angle them slightly with a lip at the front if you want to see more of each pair. For more ideas, see our shoe storage ideas.
18. Size Baskets to Your Shelves
Measure your shelves before you buy baskets, so they fit edge to edge with no wasted gaps. Matching bins hold small items, keep folded stacks upright and make the closet look calm. Fold clothes into neat rectangles with our guide on how to fold clothes to save space and they will stack better on the new shelves.
Closet Shelf Mistakes to Avoid
- Screwing only into drywall. Loaded closet shelves are heavy. Fix cleats and brackets to the studs, and use anchors rated for the load only where there is no stud.
- Shelves that span too far. A long plywood or particleboard shelf will sag over time. Keep spans short or add a middle support.
- A rod too close to the back wall. Hangers need room. Place the rod at least 12 inches from the back wall.
- No gap between the shelf and the rod. Leave at least 2 inches so hangers lift on and off easily.
- Skipping the stud finder. Guessing where studs are leads to extra holes and weak shelves.
- Leaving tall units free-standing. Anchor any tower or drawer unit to the wall.
DIY Closet Shelves FAQ
How deep should closet shelves be?
About 12 inches deep works for folded clothes in a reach-in closet. A shelf above a hanging rod is usually 14 to 16 inches deep so the rod, which should sit at least 12 inches from the back wall, fits underneath it.
How high should a closet rod be?
For a single rod, about 66 inches from the floor is a common height. For double-hang closets, Bob Vila suggests about 81¾ inches for the upper rod and 40½ inches for the lower one. Adjust for your height and the length of your clothes.
What is the best wood for DIY closet shelves?
3/4-inch plywood is the most popular choice because it is strong, flat and easy to finish. Particleboard and melamine boards are cheaper but sag more over long spans, so keep them short or support them in the middle.
Can I build closet shelves without screwing into studs?
Light shelves can hang on heavy-duty drywall anchors rated for the weight, but loaded closet shelves are safest when the cleats or brackets are screwed into studs. A free-standing shelf tower is another option, as long as it is anchored to the wall at the top.
How far apart should closet shelves be?
Space closet shelves about 12 inches apart for folded clothes. Use about 15 inches for bulkier linens and towels, and 6 to 7 inches for shoes. If you are not sure what each shelf will hold, adjustable wall standards let you change the spacing later without new holes.
How do you replace wire closet shelves with wood?
Remove the wire shelves, brackets and wall clips, then patch the old anchor holes with spackle. Find the studs, screw wood cleats along the back and side walls at your new shelf heights, and rest 3/4-inch plywood shelves on top. Paint the patched walls before the new shelves go in.
Can you use MDF for closet shelves?
Yes, MDF works for short closet shelves, but it is heavier than plywood and sags more over long spans. Keep MDF shelves short or add a support in the middle, add a solid wood strip to the front edge, and paint or seal it, since raw MDF swells if it gets damp.
The same shelf-building steps work above a washer and dryer, too; our laundry closet ideas show where shelves fit safely in a laundry closet.
Final Thoughts
The best DIY closet shelves are simple: plywood on cleats, a rod at the right height and a little trim and paint. Start with the measurements, build one section at a time and add towers, drawers or lighting once the basics work.
When the shelves are up, finish the job with our guides to a closet clean out, linen closet organization and small closet organization ideas.
How this guide was made: researched and written with the help of AI tools, fact-checked against trusted sources and published by Mohamed Elber. Images are AI-generated illustrations. See our Editorial Policy.