Learning how to organize Tupperware starts with one rule: every container needs a matching lid and a fixed place. Most food storage cabinets fail for the same reasons. There are too many mismatched pieces, the lids are loose in a pile, and nothing is sorted by shape, so one pull brings the whole stack down.
This guide gives you a simple drawer and cabinet map, a 6-step clean-out and 15 Tupperware organization ideas for drawers, cabinets and lids, plus what to throw out and how many containers you really need. Tupperware is a brand name; like most people, we use the word loosely for any plastic or glass food storage containers, whatever the brand. This guide is not affiliated with Tupperware.
Key Takeaways
- Quick answer: Take everything out, match every base to a lid and recycle the orphans. Nest the bases by shape, largest at the bottom, and file the lids upright in a divider or rack, sorted by size. Keep one everyday set with lids on at the front, and keep only as many containers as your drawer or shelf holds.
- Filing lids upright, like files, is the easiest single fix.
- Replace cracked, warped or badly scratched containers and keep takeout tubs out of the microwave.
Time: 30 to 60 minutes · Cost: free to about $40 (pull-outs and glass sets cost more) · Difficulty: Easy
The Container Drawer Map
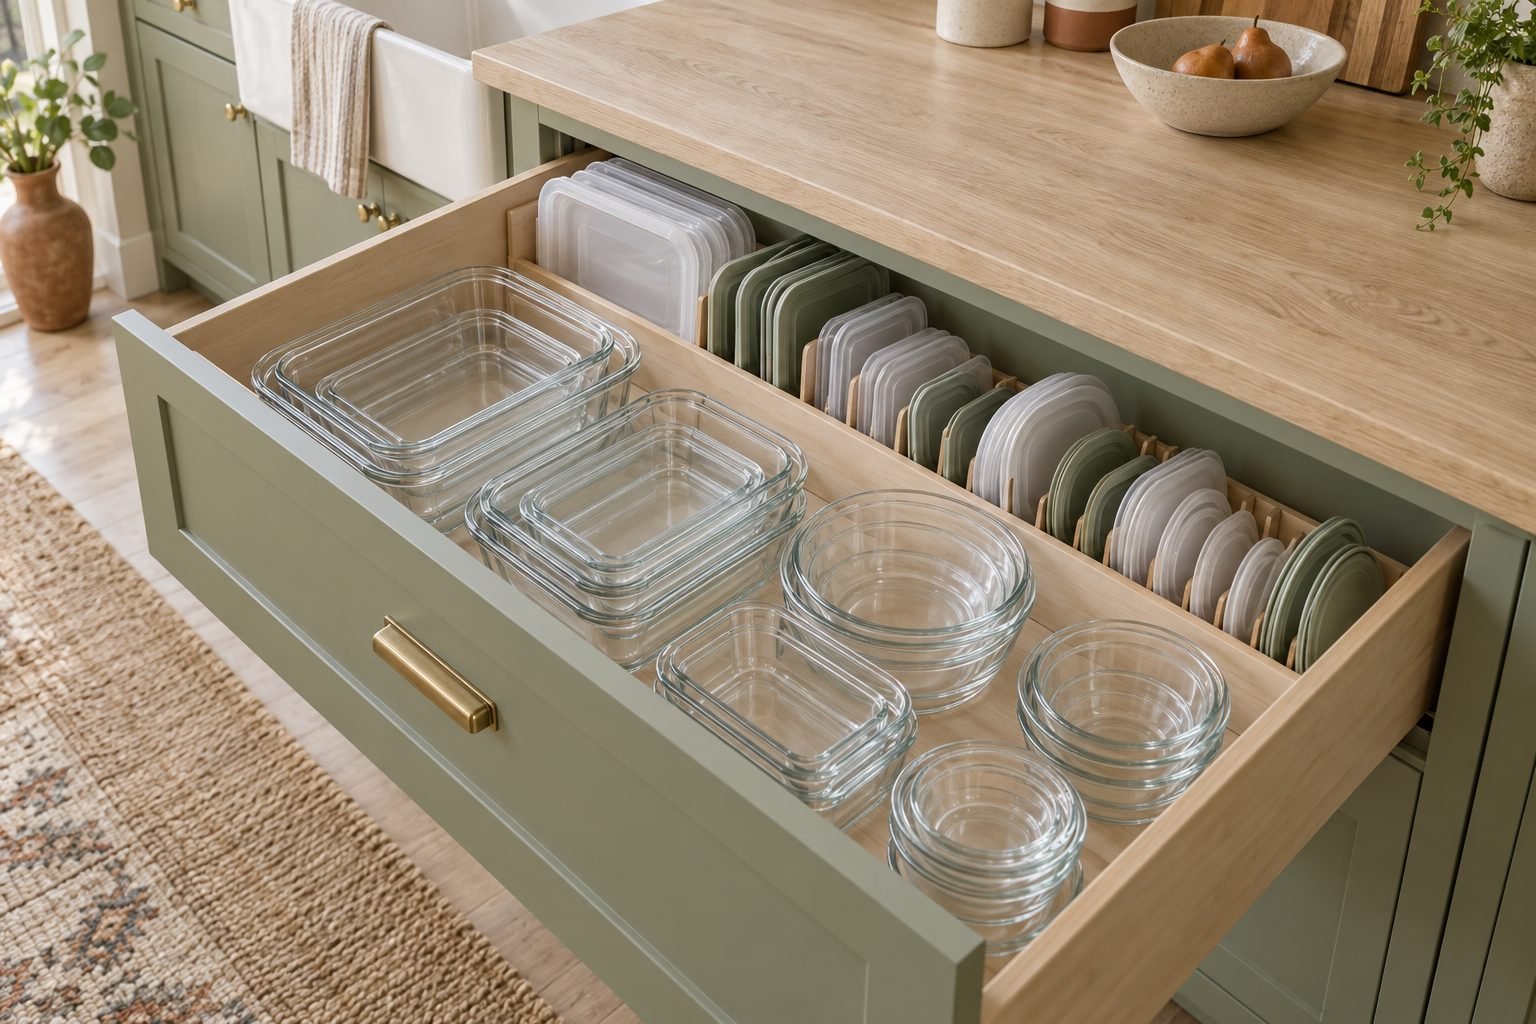
The simplest way to organize Tupperware is to give every type of piece its own zone. Whether you use a deep drawer or a cabinet shelf, the same five zones work. Lids go in an upright file at the back, nested bases sit in the middle by shape, and the everyday containers you grab most often sit at the front with their lids already on.
Good organization also makes leftovers safer. The USDA’s leftovers and food safety guide says to refrigerate leftovers within 2 hours (1 hour above 90°F), divide large amounts into shallow containers, and keep leftovers in the fridge for 3 to 4 days or in the freezer for 3 to 4 months. A few shallow containers in sizes you can find quickly make that much easier than a cupboard of mismatched tubs.
Quick Pick: Tupperware Organization Ideas by Space
| Your space | Best ideas | Cost |
|---|---|---|
| Deep kitchen drawer | #1, #2, #3 | Free to medium |
| Lower cabinet shelf | #5, #6, #8 | Low |
| Deep cabinet, hard to reach | #7, #6 | Medium |
| Lids everywhere | #3, #5, #9, #10 | Free to low |
| Too many containers | #13, #14, #15 | Free |
| Renters, no drilling | #1, #4, #6, #10 | Low |
How to Organize Tupperware in 6 Steps
- Empty everything. Take every container and lid out of the cabinets, drawers, dishwasher and the back of the fridge, and put them on the counter.
- Do the match test. Snap a lid onto every base. Anything without a partner goes in a donate, recycle or reuse pile.
- Remove damaged pieces. Set aside containers that are cracked, warped, badly stained or scratched, or that no longer seal.
- Pick one home. Choose a drawer or cabinet near the dishwasher or prep area, and keep all food storage there.
- Sort by shape and nest. Group rectangles, squares and rounds, then nest each group from largest to smallest.
- File the lids. Stand the lids upright in a divider or rack, largest at one end, and keep the everyday set at the front with lids on.
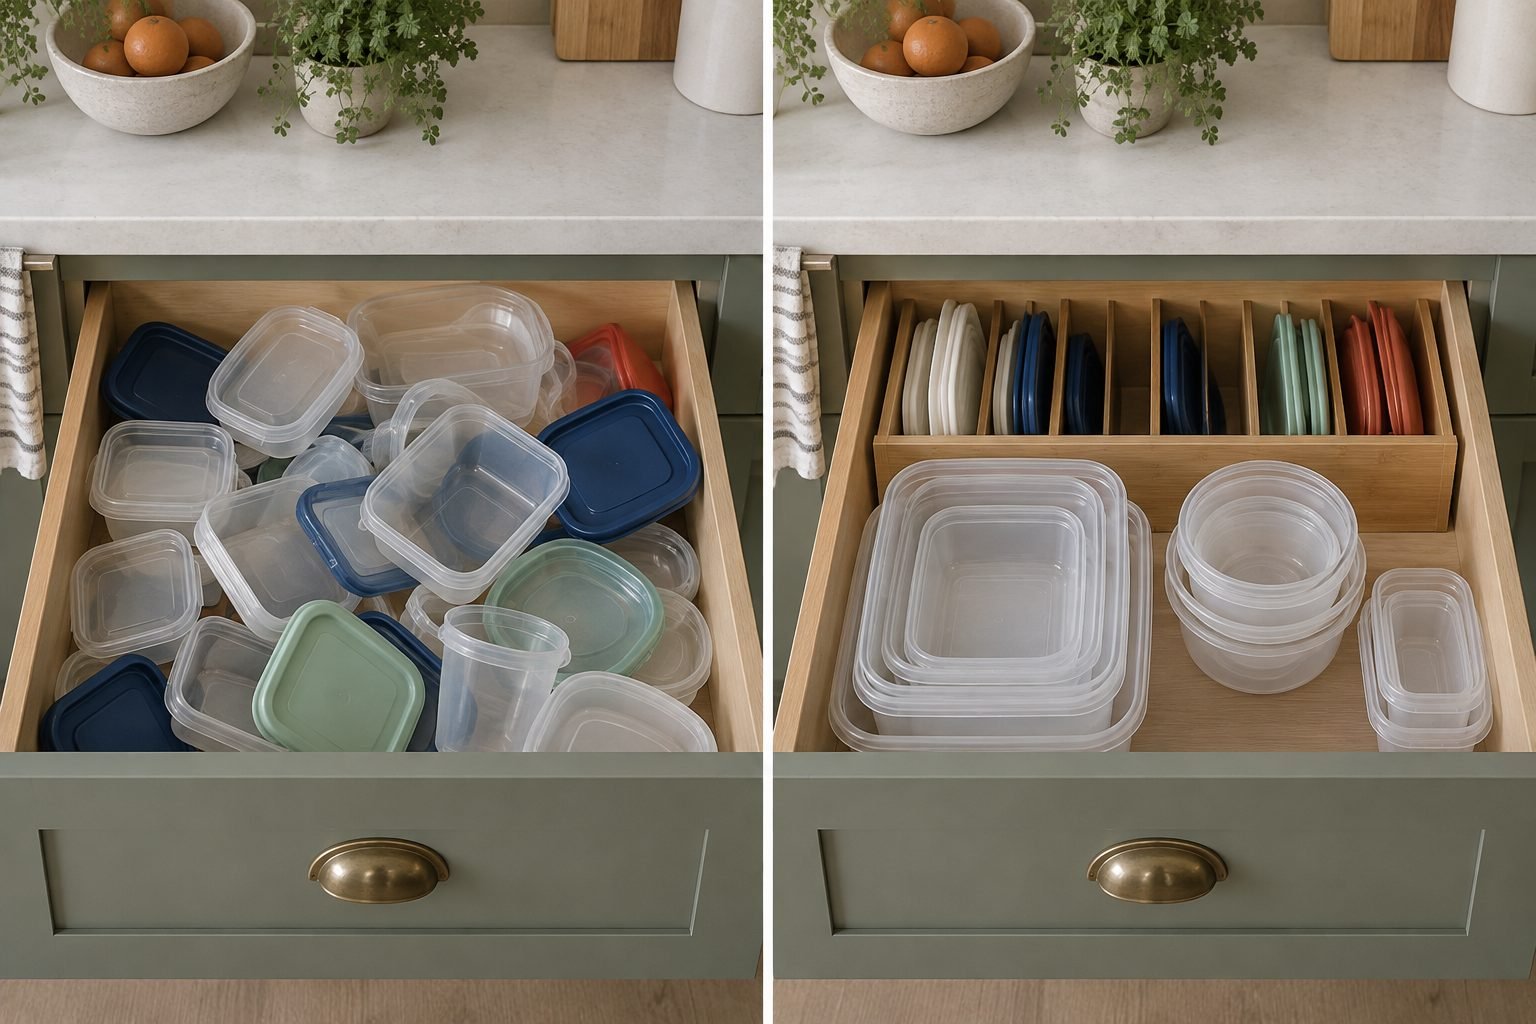
If your cabinet is crowded with more than food containers, start with our guide on how to organize kitchen cabinets so the containers end up in the right zone of the kitchen.
Tupperware Organization Ideas for Drawers
A deep drawer is the easiest place to store food containers, because you see everything from above and nothing falls out when you open it.
1. Nest Containers by Shape in a Deep Drawer
Put each shape family in its own section: rectangles together, squares together and rounds together, each nested from largest to smallest. Two short stacks side by side are easier to use than one tall tower, and you can see at a glance which size is free. This one change makes the rest of the Tupperware organization ideas much easier.
2. A Pegboard Drawer System
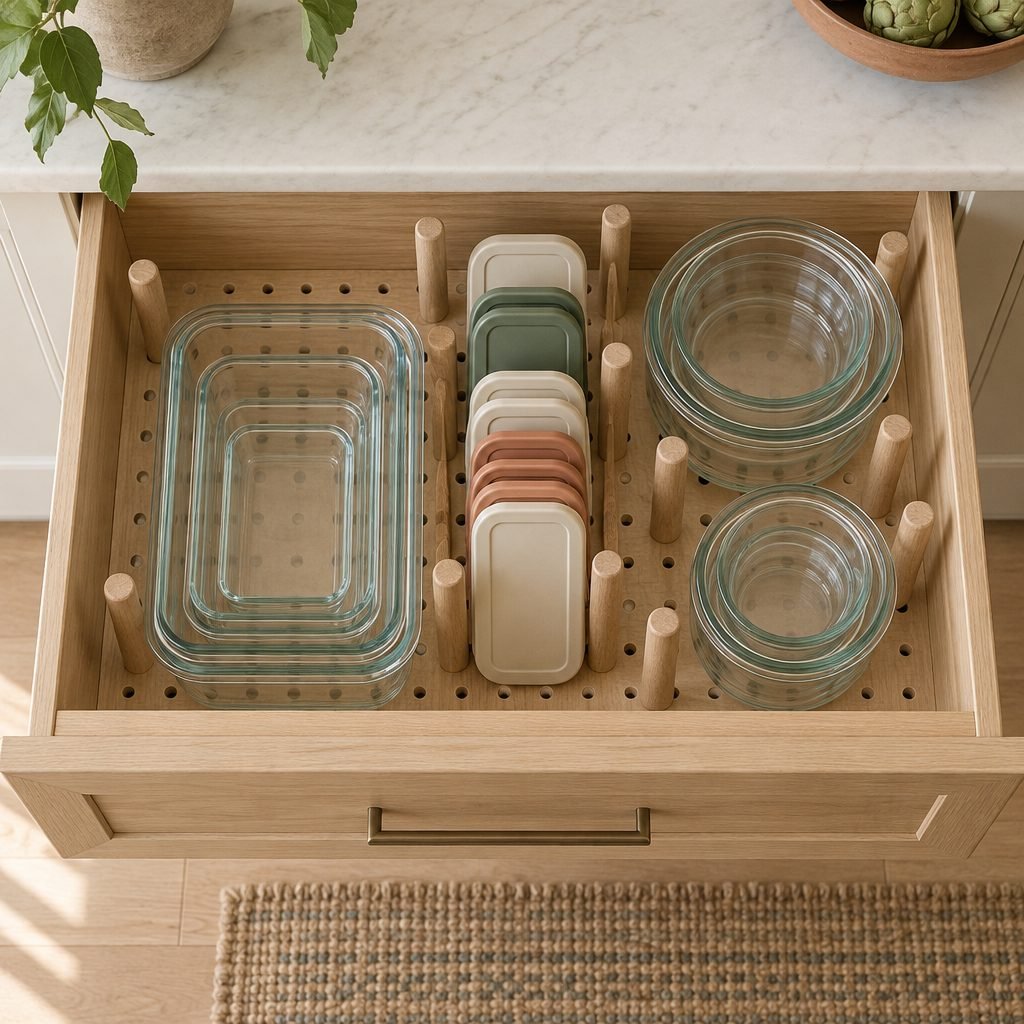
A pegboard base with movable wooden pegs turns a deep drawer into compartments that you can change as your containers change. Set one compartment for nested bases, one for lids on edge and one for rounds. The pegs stop stacks from sliding when you open and close the drawer.
3. A Slim Lid Divider at the Back
A narrow wooden or acrylic divider along the back of the drawer holds the lids upright like files. Sort them from largest to smallest so the right lid is easy to find. If your drawer is too shallow for lids to stand, lay them flat in a single row behind the bases instead.
4. Adjustable Drawer Dividers
Spring-loaded bamboo dividers fit most drawer widths without screws, so they suit renters. Run one or two across the drawer to separate lids from bases and keep stacks from tipping. Our ideas for organizing kitchen drawers show more ways to use them.
Tupperware Organizer Ideas for Cabinets
If you have no free drawer, a lower cabinet shelf works well. The trick is to make the back of the shelf easy to reach.
5. A File-Style Lid Rack
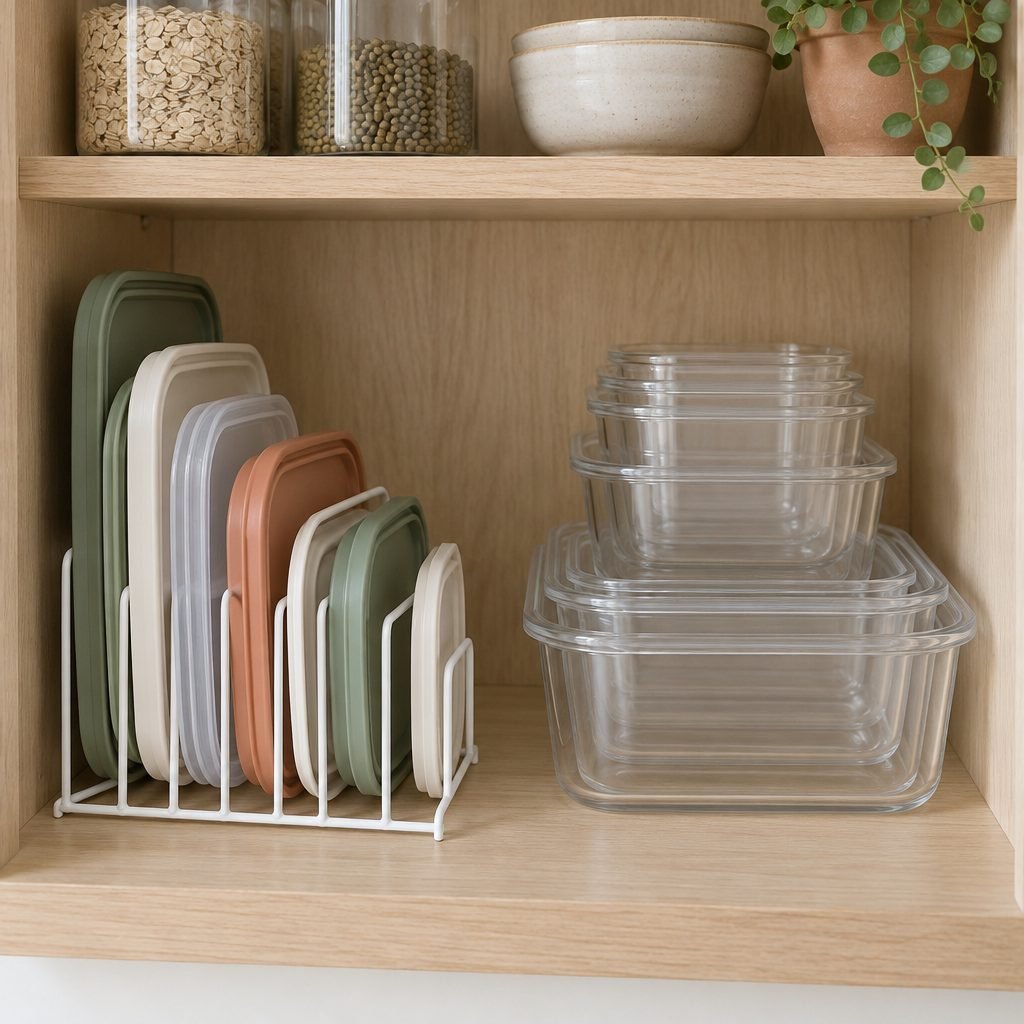
A wire or bamboo lid rack, the kind sold as a Tupperware lid organizer or pot lid rack, holds flat lids upright on the cabinet floor. Put it at one side of the shelf and the nested bases beside it, so a lid and its base are always within one reach.
6. Clear Bins by Use
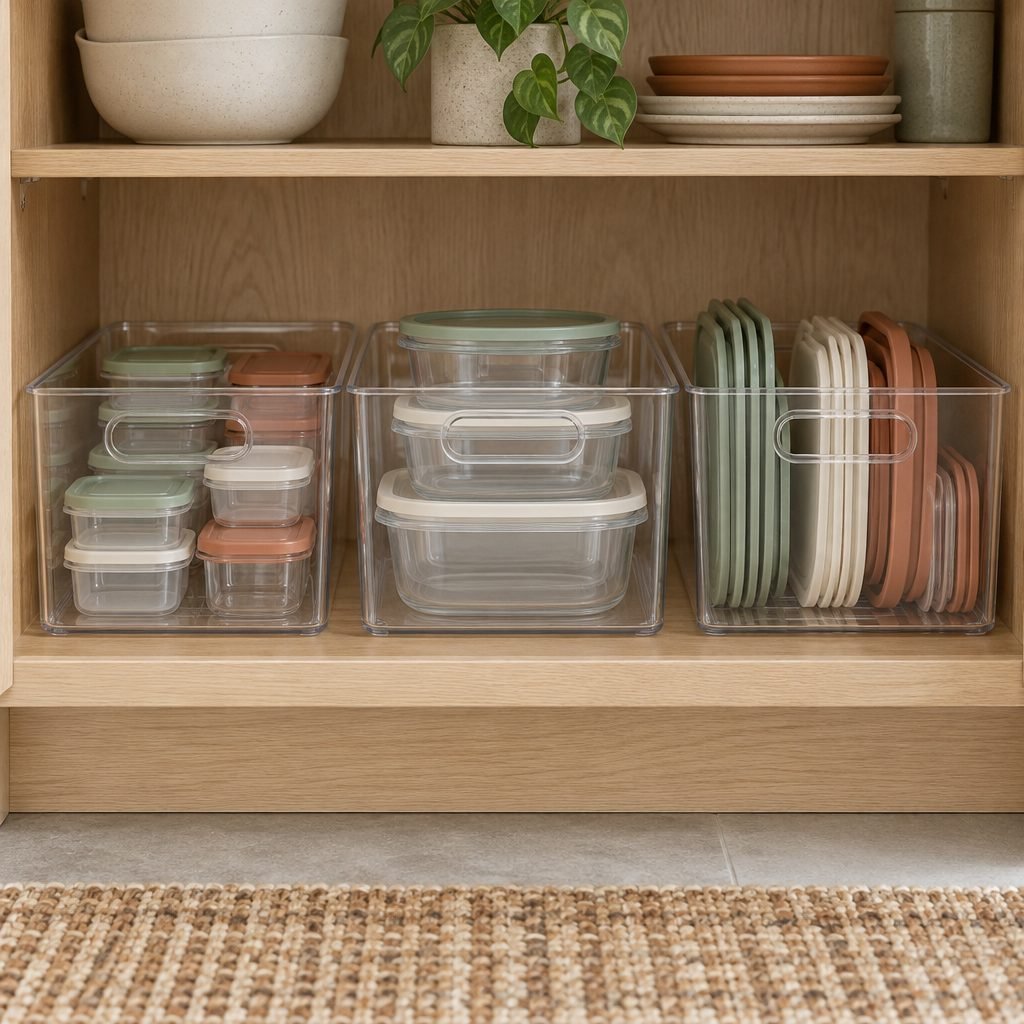
Clear bins with handles turn a deep shelf into drawers. Use one bin for small lunch containers, one for medium nested containers and one for lids. Pull the whole bin forward, take what you need and slide it back.
7. A Pull-Out Cabinet Organizer
For a deep base cabinet, a pull-out basket or sliding shelf brings the back of the cabinet to you. Measure the cabinet opening and the hinge side before you buy, because the door and hinges reduce the usable width. Our kitchen storage ideas include more ways to use deep cabinets.
8. A Shelf Riser to Double the Space
A wire shelf riser adds a second level inside a tall cabinet. Store light, everyday containers on top and heavier glass on the bottom. If you want to add a real shelf instead, our shelf spacing calculator helps you plan the gap between shelves.
How to Organize Tupperware Lids
Lids cause most of the mess, because they are flat, slippery and come in more sizes than the bases. These ideas keep them under control.
9. Switch to One Matching Set

The most effective way to organize Tupperware lids is to need fewer of them. A matching set in two or three sizes, where many bases share the same lid, cuts the number of lids you have to sort. Glass containers with snap lids are a popular choice because they stack well with the lids on.
10. A Magazine File or a Dish Rack
A plain magazine file or a small dish drying rack works as a cheap lid organizer. Stand it upright in a cabinet, or lay it on its back in a deep drawer, and slot the lids in by size.
11. A Lid Holder on the Cabinet Door
A shallow lid holder on the inside of a cabinet door frees up the shelf. Check that it clears the shelf edges when the door closes, keep only light plastic lids on it, and use adhesive strips rated for the weight if you cannot drill.
12. Store the Everyday Set With Lids On
For the four to six containers you use every day for lunches and leftovers, keep the lids on. They take more space but save time, and they are the first thing you reach for. Store the rest of the collection nested, with lids filed separately.
Keep Your Container Collection Small
Organizers help, but the real reason a container cabinet overflows is having too many pieces. These ideas keep the collection to a size that fits.
13. Keep Only What Fits
Decide how much space food storage gets, one drawer or one shelf, and keep only what fits there. When you buy a new set, let an old one go. Our guide on how to declutter your home applies the same keep-only-what-fits idea to every room.
14. Move Takeout Tubs Out of the Food Cabinet
Takeout tubs and margarine tubs are handy for crafts and screws, but most are not made for reheating. Harvard Health notes that most takeout containers and plastic tubs or jars made to hold margarine are not microwave-safe, and that old, scratched or cracked containers may leach more plasticizers. Move them to the garage or craft box, or recycle them.
15. Count What You Really Use
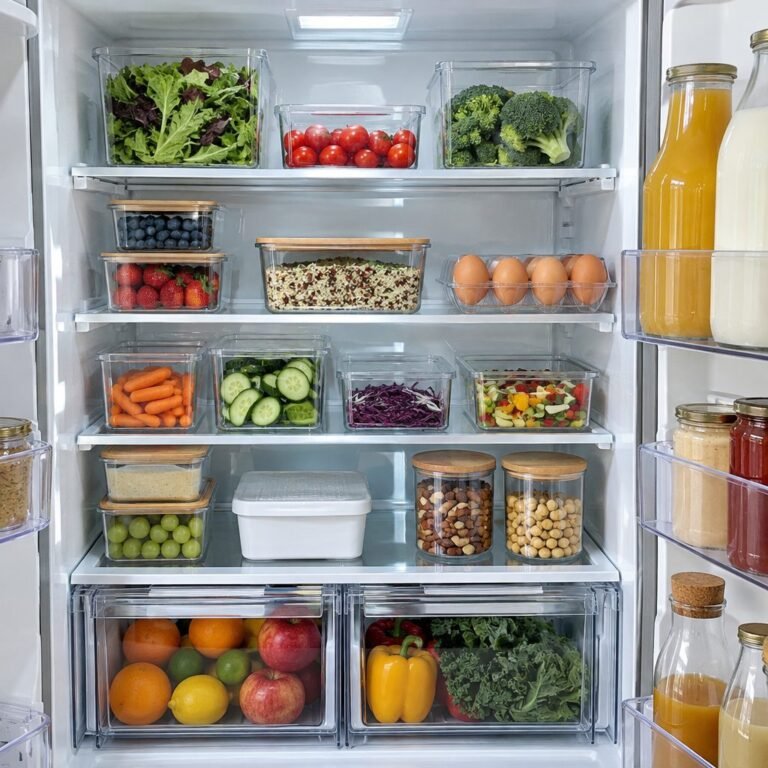
Most homes need enough containers for about three or four days of leftovers and lunches, a good match for the USDA’s 3-to-4-day fridge limit for leftovers. Add a few freezer containers and a couple of large ones for batch cooking. Anything beyond that usually sits unused. For the fridge side, see our fridge organization guide.

Save the checklist
Pin this four-point clean-out checklist so you can sort your containers before you buy any organizers.
Save to PinterestCommon Tupperware Organization Mistakes
- Buying organizers first. Do the match test and clear out the extras before you buy a rack or bins.
- Stacking lids flat in a pile. Flat piles slide and hide the size you need; file them upright.
- Mixing shapes in one stack. Rounds and rectangles do not nest together and topple.
- Keeping takeout tubs with good containers. They take space, and most are not meant for the microwave.
- Storing containers far from where you use them. Keep them near the dishwasher or prep area so they get put away.
Tupperware Organization FAQ
What is the best way to store Tupperware?
The best way to store Tupperware is to nest the bases by shape, largest at the bottom, and file the lids upright in a divider or rack, sorted by size. Keep the containers you use every day at the front with their lids on, and keep the whole collection in one drawer or cabinet near the dishwasher.
Should you store Tupperware with lids on or off?
Store most containers with the lids off: nested bases and upright lids take much less space. Keep the lids on only for a small everyday set that you grab for lunches and leftovers. Matching glass sets that stack well can also be stored with the lids on if you have the room.
What Tupperware should I throw out?
Let go of containers without a matching lid, and those that are cracked, warped, badly stained or no longer seal. Harvard Health notes that old, scratched or cracked containers, or ones that have been microwaved many times, may leach more plasticizers, so replace them or keep them for non-food storage.
How do you organize Tupperware in a cabinet?
To organize Tupperware in a cabinet, put a lid rack at one side of a lower shelf and the nested bases beside it, or use clear bins with handles so you can pull the back of the shelf forward. In a deep cabinet, a pull-out basket brings everything within reach.
How many food storage containers do you need?
Most homes do well with enough containers for three or four days of leftovers and lunches, plus a few freezer and batch-cooking sizes. The easier rule is to keep only what fits in your chosen drawer or shelf.
Final Thoughts
Knowing how to organize Tupperware is less about buying organizers and more about a few simple rules. Once every base has a lid, every shape has a section and the lids stand upright, a food storage cabinet stays tidy with little upkeep. Start with the match test, set up the five zones and keep only what fits.
Ready for the rest of the kitchen? See our pantry organization ideas, tackle the junk drawer next, and save this guide on Pinterest for later.
How this guide was made: researched and written with the help of AI tools, fact-checked against trusted sources and published by Mohamed Elber. Images are AI-generated illustrations. See our Editorial Policy.